Yesterday, July 15, was National Ice Cream Day (who knew, right?) … Actually, Ronald Reagan designated July as National Ice Cream Month in 1984. It’s one of those random “holidays” that has no significance on day-to-day life, but when your 8-year-old daughter finds out about it, it makes a great case for some ice cream! And who am I to complain?
One of the fun DIY projects that we worked on this summer was homemade ice cream in a bag.
I’m pretty sure Girl Scouts and summer camps have been making ice cream in a bag with rock salt for ages, but it was new to us. And cheap! … with no special tools required!
Homemade Ice Cream in a Bag
What you’ll need:
- 6 Tbs. rock salt (also called ice cream salt — this can easily be found at Target with regular salt and cost $1.12 for a box)
- (2) gallon sized Ziploc bags
- 1 cup milk or half-and-half (we used whole milk)
- 2 Tbs. sugar
- 1/2 tsp. vanilla

2. Fill the other bag with the ice cream mixture (milk, sugar, vanilla). You can experiment with different flavored extracts, but we stick with vanilla. MAKE SURE BAG IS COMPLETELY SEALED.
3. Place the ice cream mixture bag into the bag filled with ice and seal.
It should look something like this:

4. Now, shake, shake, SHAKE!
5. Keep shaking for 7-10 minutes.
6. Enlist the help of a child.

You make want to wrap a dish towel around as you shake — the ice is VERY cold!
7. When the ice cream looks firm, remove the bag from the ice and serve immediately (or store in the freezer)
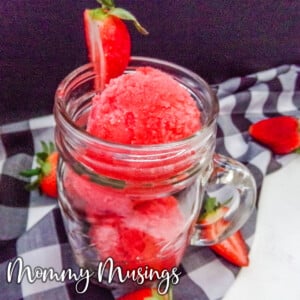
Since this ice cream is special (hello…you make it yourself!), serve in a pretty glass and garnish with your favorite toppings.
Voilà ! Homemade ice cream!