Mommy Musings

  • Home
  • Food
    • Appetizers
    • Beverages
    • Breakfast
    • Desserts
    • Holiday
    • Main Dishes
    • Side Dishes
    • Snacks
    • Soups
  • Travel
    • Cruises
      • Carnival
      • Disney Cruise Line
      • Holland America
      • Norwegian Cruise Line
    • United States
      • Florida
      • Hawaii
      • Illinois
      • Louisiana
      • Michigan
      • Tennessee
    • Canada
    • Caribbean
    • Mexico
    • Europe
    • Asia
    • South America
    • Theme Parks
      • Disney World
      • Disneyland
      • Legoland Florida
  • Lifestyle
  • DIY
  • Recipe Index
  • Work with Me
    • PR Request
menu icon
go to homepage
  • Food
  • DIY
  • Travel
  • Lifestyle
  • Entertainment
  • Recipe Index
search icon
Homepage link
  • Food
  • DIY
  • Travel
  • Lifestyle
  • Entertainment
  • Recipe Index
×
Home >> DIY >> INSIDE OUT Nail Art Tutorial for Beginners

INSIDE OUT Nail Art Tutorial for Beginners

Modified: Jul 1, 2015 by Stefanie Fauquet · This post may contain affiliate links · 1 Comment

113 shares
  • Share1
  • Tweet

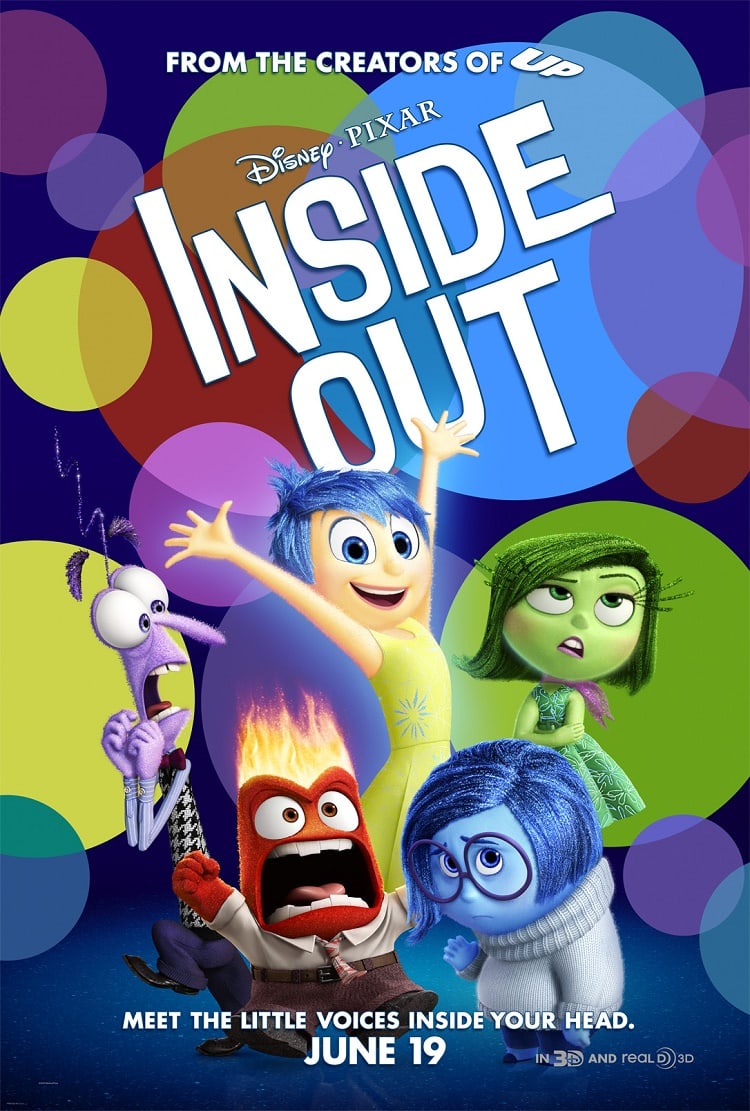
Like many kids, my daughter is head over heels for Disney-Pixar's INSIDE OUT. She saw it in theaters in 3D on opening weekend and has been begging to see it again. Thankfully, we have a lot of time on our hands this summer and I've already purchased tickets from Fandango for a second showing this week (Shhhh...it's a surprise!).

inside out nail art

In the meantime, she asked me to try a bit of nail art inspired by INSIDE OUT. Apparently she saw a tutorial online and wanted me to do her nails in the same fashion. After finding the tutorial, I knew instantly, that while beautiful, the face designs shown would be impossible for a novice like me to replicate. Instead, I offered to create a themed nail for each of the five emotions: Joy, Sadness, Disgust, Anger and Fear.

Here's the original INSIDE OUT nail tutorial which my designs were inspired by. 

nail-colors

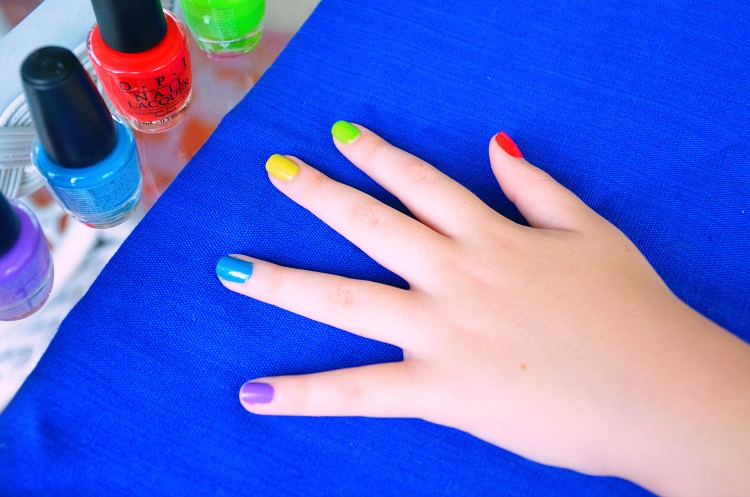
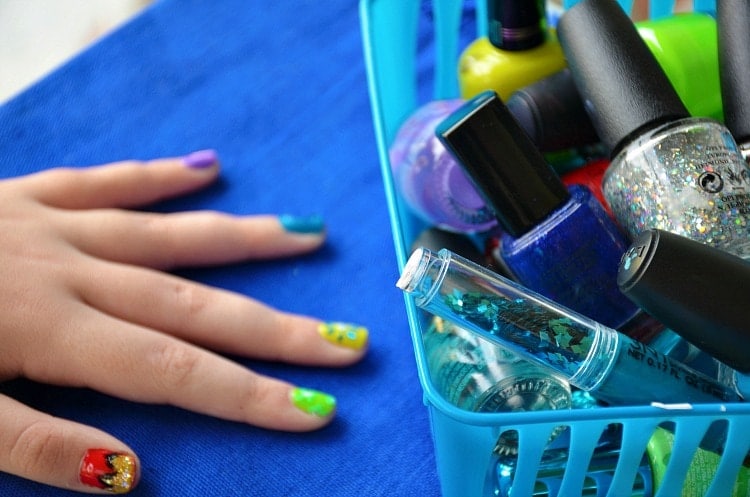
While this may look like a ton of supplies, we already owned most of the nail colors. We did pick up a few of the nail art polishes, which have a super thin brush. Clearly, I am not a professional with professional tools— but my daughter was more than pleased with the outcome. This is definitely a tutorial for beginners!

Supplies for INSIDE OUT Nail Art

  • Bright yellow nail polish
  • Purple nail polish
  • Blue nail polish
  • Red nail polish
  • Green nail polish
  • White nail art polish or pen
  • Black nail art polish or pen
  • Light or Dark green nail art pen (a contrast color of the base coat green)
  • Dark blue nail art polish or pen
  • Light or Dark green nail art pen (a contrast color of the base coat green)
  • Silver sparkle polish
  • Gold sparkle polish
  • Clear top coat polish
  • Blue nail glitter/sparkles
  • Silver nail glitter/sparkles (optional)
  • Toothpicks
  • Nail polish remover for mistakes

inside out nail art tutorial

INSIDE OUT Nail Art Instructions

Tip: Make sure you let polish dry thoroughly between each step.
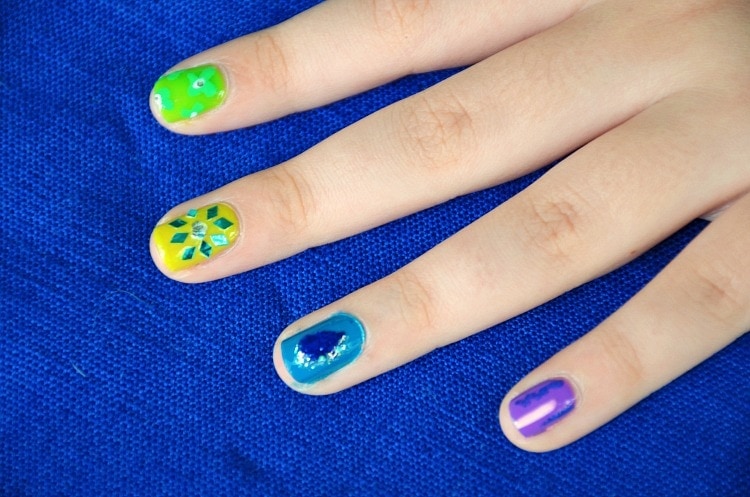
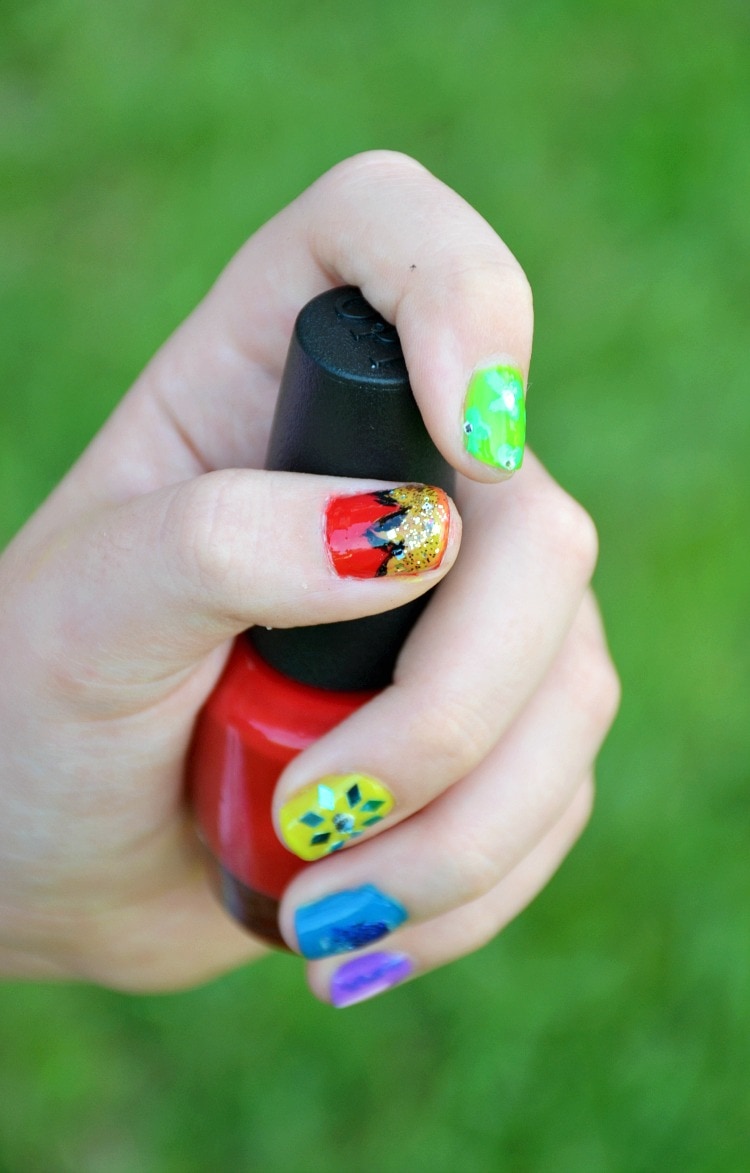
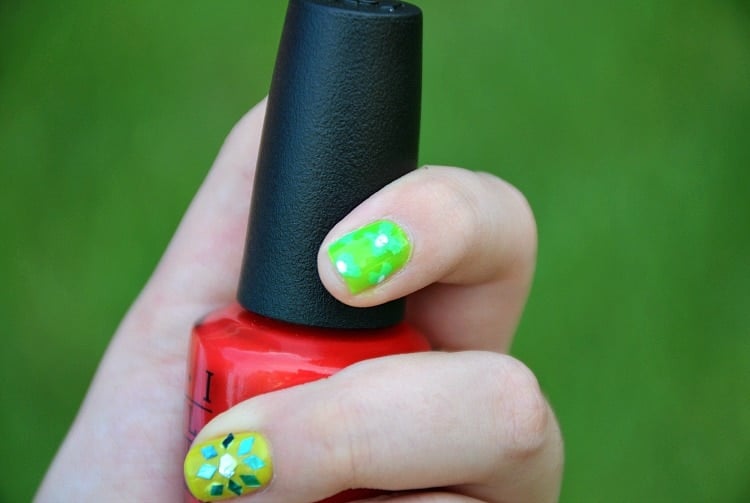
Joy - 2-3 coats bright yellow nail polish. Using white nail art polish as glue, place a dot in the center of nail and attach round silver glitter with toothpick. Repeat this process with seven pieces of blue glitter (we used diamond shaped), forming a circle around the center. Brush with clear top coat.

Sadness - 2 coats blue nail polish. Carefully paint a teardrop shape with dark blue nail polish. Use a toothpick to guide the sides into desired shape. With a thin brush or toothpick, line the edge of one side of the teardrop with silver glitter polish. Brush with clear top coat.

Disgust - 2-3 coats green nail polish.With contrasting green art pen, paint flowery shapes on nail. This is supposed to represent broccoli. Add silver glitter in the center of each design with a toothpick. Brush with clear top coat.

Anger - 2 coats red nail polish. Make a zig-zag pattern with yellow nail polish on the lower half of nail. Fill in with gold glitter polish. Line "fire" with black nail art pen. Brush with clear top coat.

Fear - 2 coats purple nail polish. Paint a single white line with nail art polish. Make a zig-zag design with contrasting blue nail art polish on each side of the white line. Brush with clear top coat.

inside out nail art tutorial easy

easy inside out nail art

nail-art-inside-out-pixar

pixar-nail-art

I think with a bit more practice I could really "nail" this nail art thing! We both enjoyed the quality time together and look forward to many more nail sessions inspired by new releases — I can already see MINIONS nail art in our future! 

fandangobadge

More DIY

  • overhead view of cute kawaii sushi polymer clay craft
    Adorable Sushi Charms from Polymer Clay - Kids Craft for Friends
  • kiwi jelly cube slime in a tiny bathtub
    Kiwi Jelly Cube Slime is So Simple to Make But Hours of Fun!
  • best friend charms for kids to make avocados
    Polymer Clay Avocado Cutie BFF Charm Set - Kids Craft Idea
  • polymer clay pop tart charms being held in a hand
    Polymer Clay Craft for Kids: Easy Pop Tart Friends Charms
113 shares
  • Share1
  • Tweet

Comments

  1. navigieren Sie zu diesen Jungs says

    January 02, 2016 at 4:51 pm

    Good day I am so happy I found your web site, I really found you by mistake, while
    I was looking on Askjeeve for something else, Anyhow I am here now and would just like to
    say cheers for a marvelous post and a all round thrilling blog
    (I also love the theme/design), I don’t have time to
    go through it all at the moment but I have saved it and also added your RSS
    feeds, so when I have time I will be back to
    read a lot more, Please do keep up the awesome b.

    Reply

Leave a Reply Cancel reply

Your email address will not be published. Required fields are marked *

Recipe Rating


This site uses Akismet to reduce spam. Learn how your comment data is processed.

Welcome!

Welcome to Mommy Musings™ - I'm Stefanie Fauquet and my passions are food & family travel! I regularly share easy recipes and travel tips to inspire families to create a life they love...one that's full of delicious food and incredible adventures!

📧 [email protected]

Recent Posts

  • How to Make Fossil Cookies for a Dinosaur Party
  • This Strawberry Jelly Cube Slime is a Fast DIY Slime Recipe
  • How To Make Dinosaur Cookies for a Dinosaur Party
  • Easy and Fun 3-Ingredient Strawberry Sorbet Recipe
  • Fun and Fast to Make This Watermelon Jelly Cube Slime is a Kid-Favorite

Categories

Pages

  • Mommy Musings
  • PR Request
  • Privacy Policy
  • Recipe Index
  • Work with Me
113 shares