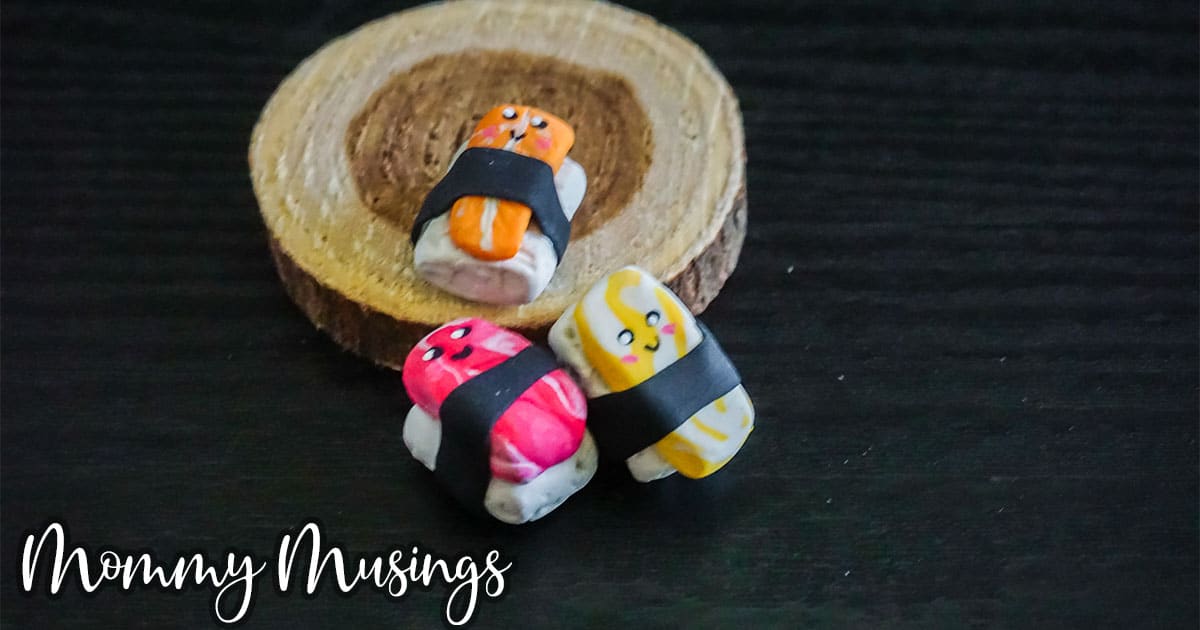
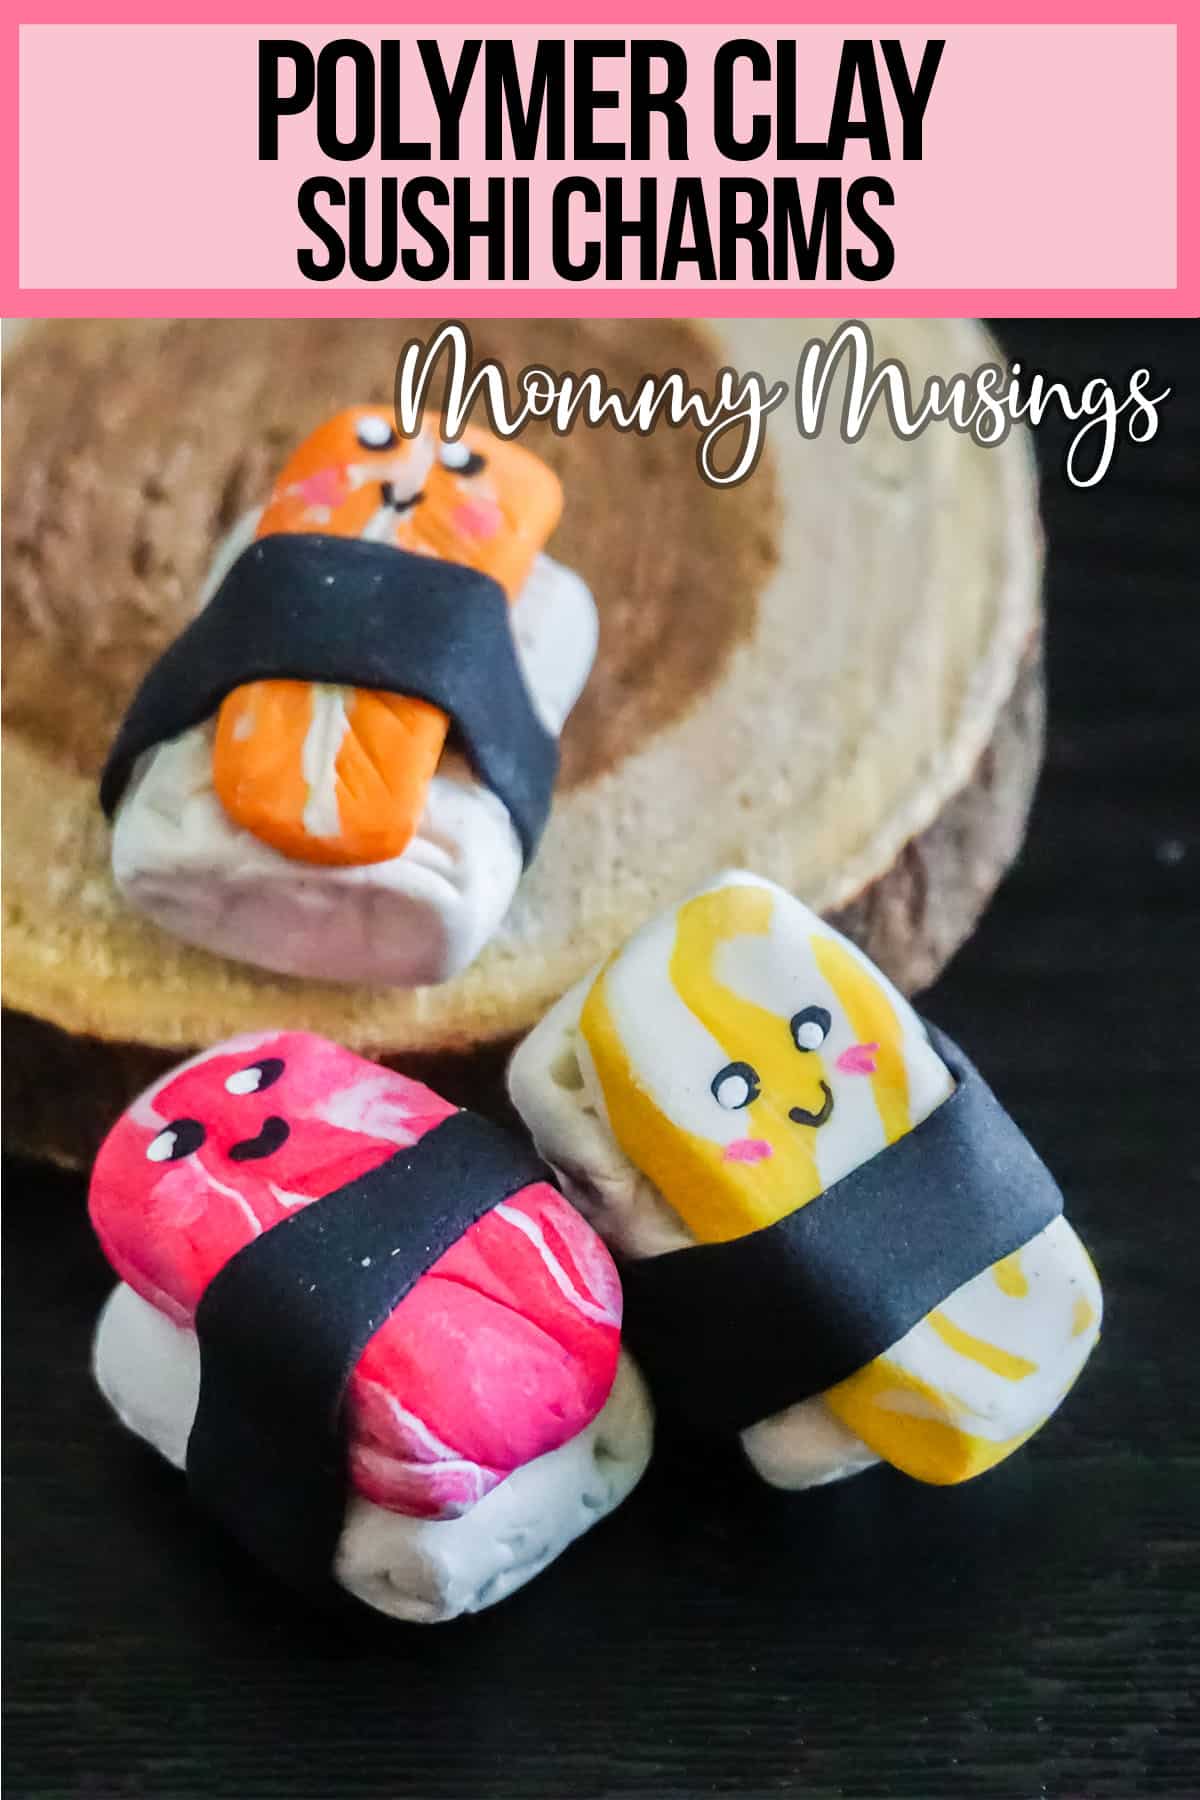
Looking for a fun and easy kids craft project they can make with or for their friends? These adorable sushi charms are perfect for exactly that! They are made from polymer clay, so they are very simple to make. You can use them as keychains, zipper pulls, or just to decorate a room. Let’s get started!
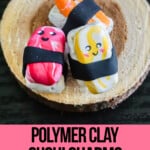
Adorable Sushi Charms from Polymer Clay – Kids Craft for Friends
What Is Polymer Clay?
Polymer clay is a type of modeling clay that is made from polyvinyl chloride (PVC), plasticizers, and pigments. It is very versatile and can be used to create a wide variety of different projects. Polymer clay does not dry out like other types of modeling clay, so it can be stored for long periods of time.
Why Use Polymer Clay Instead of Air Dry Clay?
There are a few reasons why you might want to use polymer clay instead of air dry clay. Polymer clay is much stronger than air dry clay, so it can be used to create projects that will be handled a lot or that need to be strong (like keychains). It is also available in a wide variety of colors, which can make your project more unique. And finally, it does not shrink or crack when it dries, so your project will keep its shape.
Can You Paint Polymer Clay?
Yes, you can paint polymer clay! You can use acrylic paints or even watercolors. Once the clay is painted, it can be sealed with a clear sealer to protect the paint.
Do You Need to Seal the Polymer Clay?
No, you don’t need to seal the polymer clay. However, if you are going to use it for something that will be handled a lot (like a keychain), you may want to seal it to protect it from scratches. You can also seal it if you want to preserve the color of the clay.

WHAT SUPPLIES DO YOU NEED TO MAKE THIS EASY POLYMER CLAY SUSHI CRAFT?
- Black Polymer Clay
- White Polymer Clay
- Red Polymer Clay
- Orange Polymer Clay
- Yellow Polymer Clay
- White Acrylic Paint
- Black Acrylic Paint
- Rubbing Alcohol

WHAT TOOLS DO YOU NEED TO MAKE THIS EASY POLYMER CLAY KITTEN CRAFT?
- Chopstick or 1/8-inch Dowel
- Oven
- Parchment Paper
- Baking Sheet
- Toothpick
- Paintbrush
HOW DO YOU MAKE THIS EASY POLYMER CLAY SUSHI CRAFT?
- Preheat your oven to the temperature noted on your clay packaging. For my clay the baking temperature is 230-degrees F.
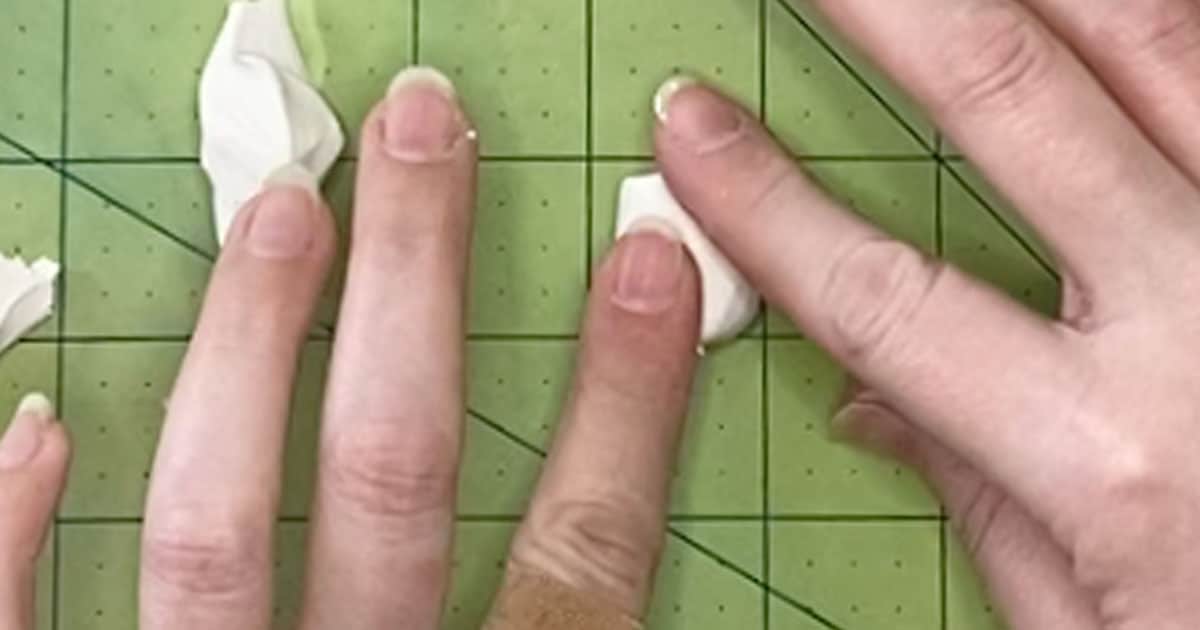
- To make the rice portion of each sushi, break off a small portion (about 1/8 inch square) of the white clay.
- Roll this white clay into a nice, neat ball that is very smooth, then mash it into a rectangle with about 1/4-inch width. This should be as rounded and smooth as you can get it.

- Using the chopstick or dowel, gently poke the surface of the white clay rectangle, giving it a texture. Overlap the pokes and texture to get a similar look to a rice ball. Repeat twice more for 3 total rice balls/rectangles. Set aside.
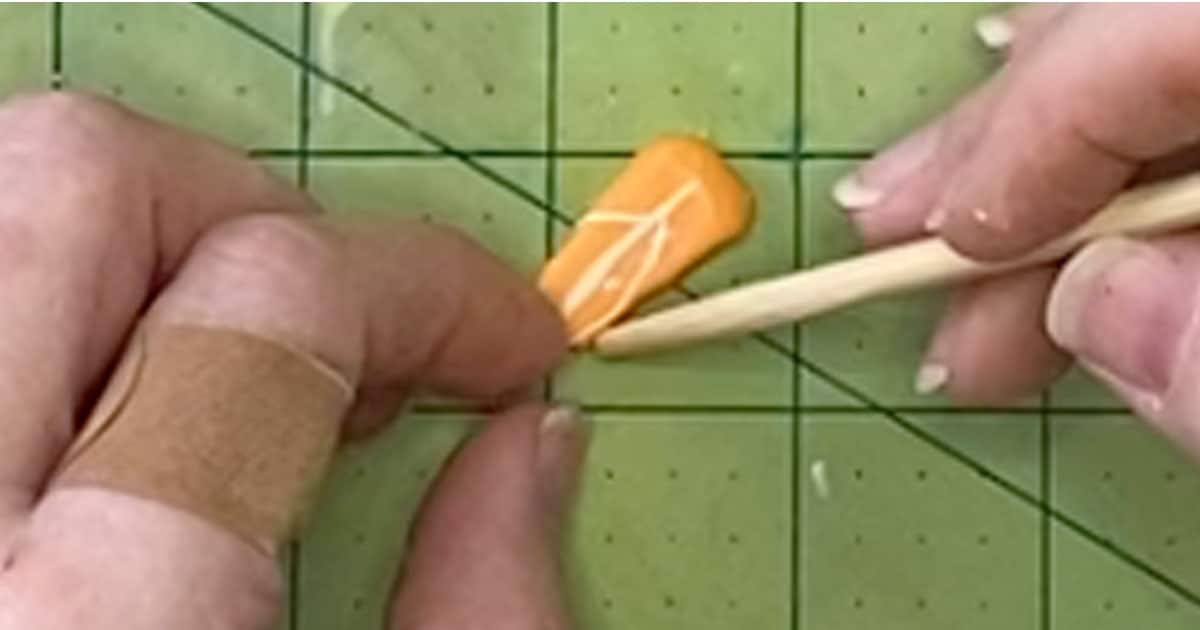
- Make the red meat piece by pinching off one very small piece of the red clay (about â…›-inch square) then repeating the process of making a rectangle with it that you used for the rice portion.
- To make the white veins in the meat piece, pinch off a very tiny piece of white clay and roll this on your work surface into a very very thin white snake. Cut off small lengths of this snake and pressing them in random locations over different locations on the red clay. Gently press this into the surface of the red clay. Repeat with orange and yellow clay to make 3 total meat variations. Set aside.
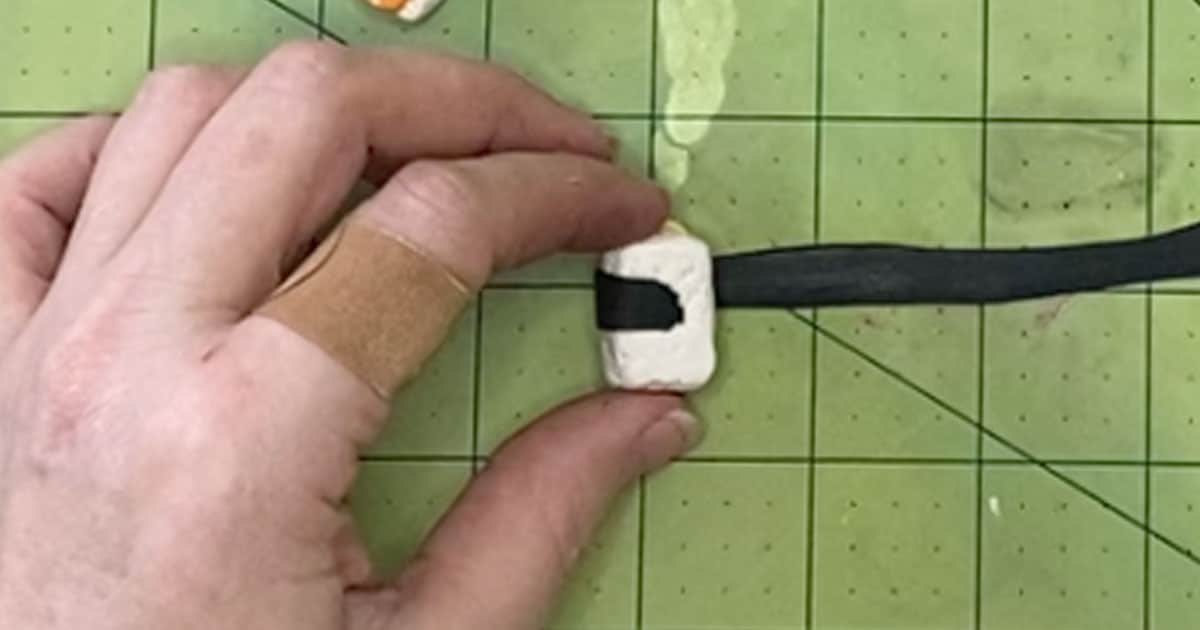
- Make the nori (seaweed) wrap by pinching off a piece of black clay (about 1/8-inch square) and pressing it into a wide, flat shape. You want this as thin and flat as you can make it. Once it is super thin (like paper), cut a long strip (about 4 inches long by 1/4-inch wide), trimming all sides to make the edges neat.
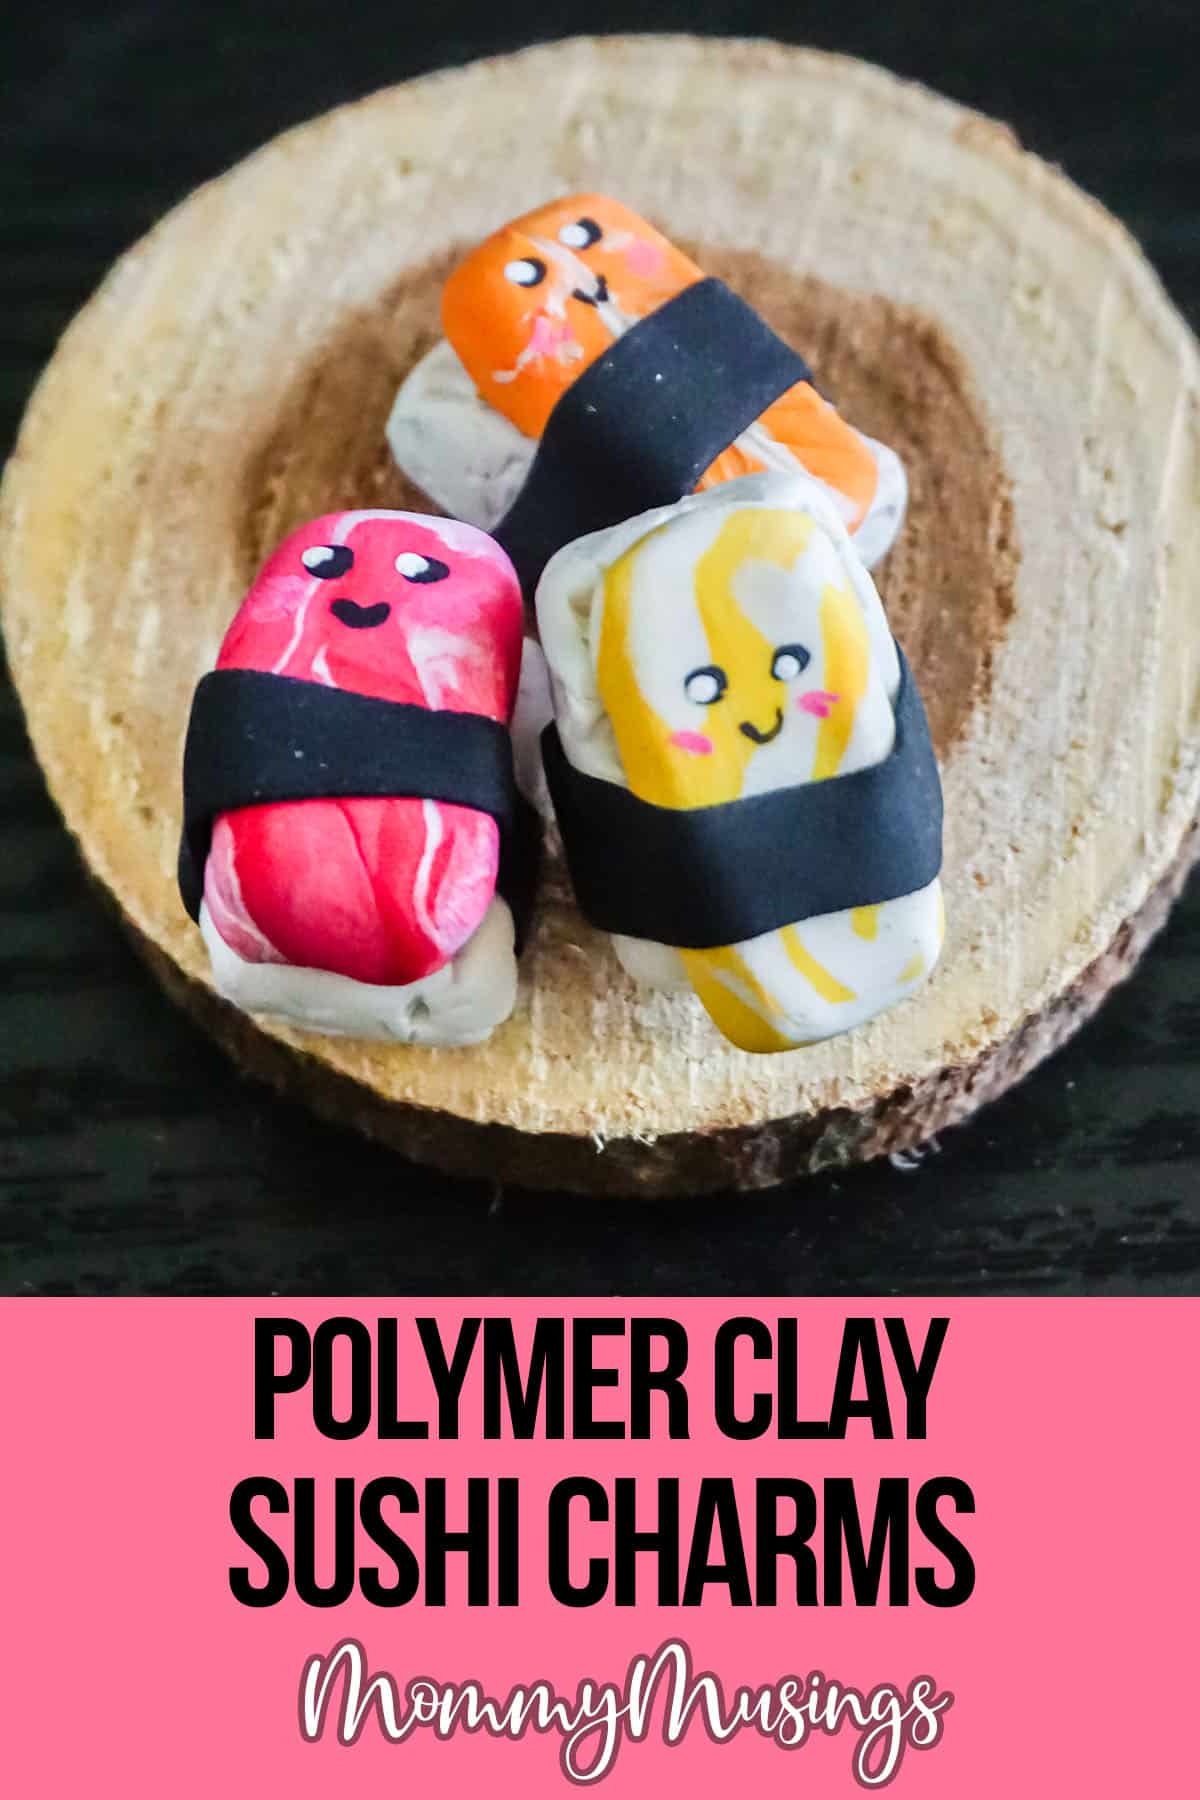
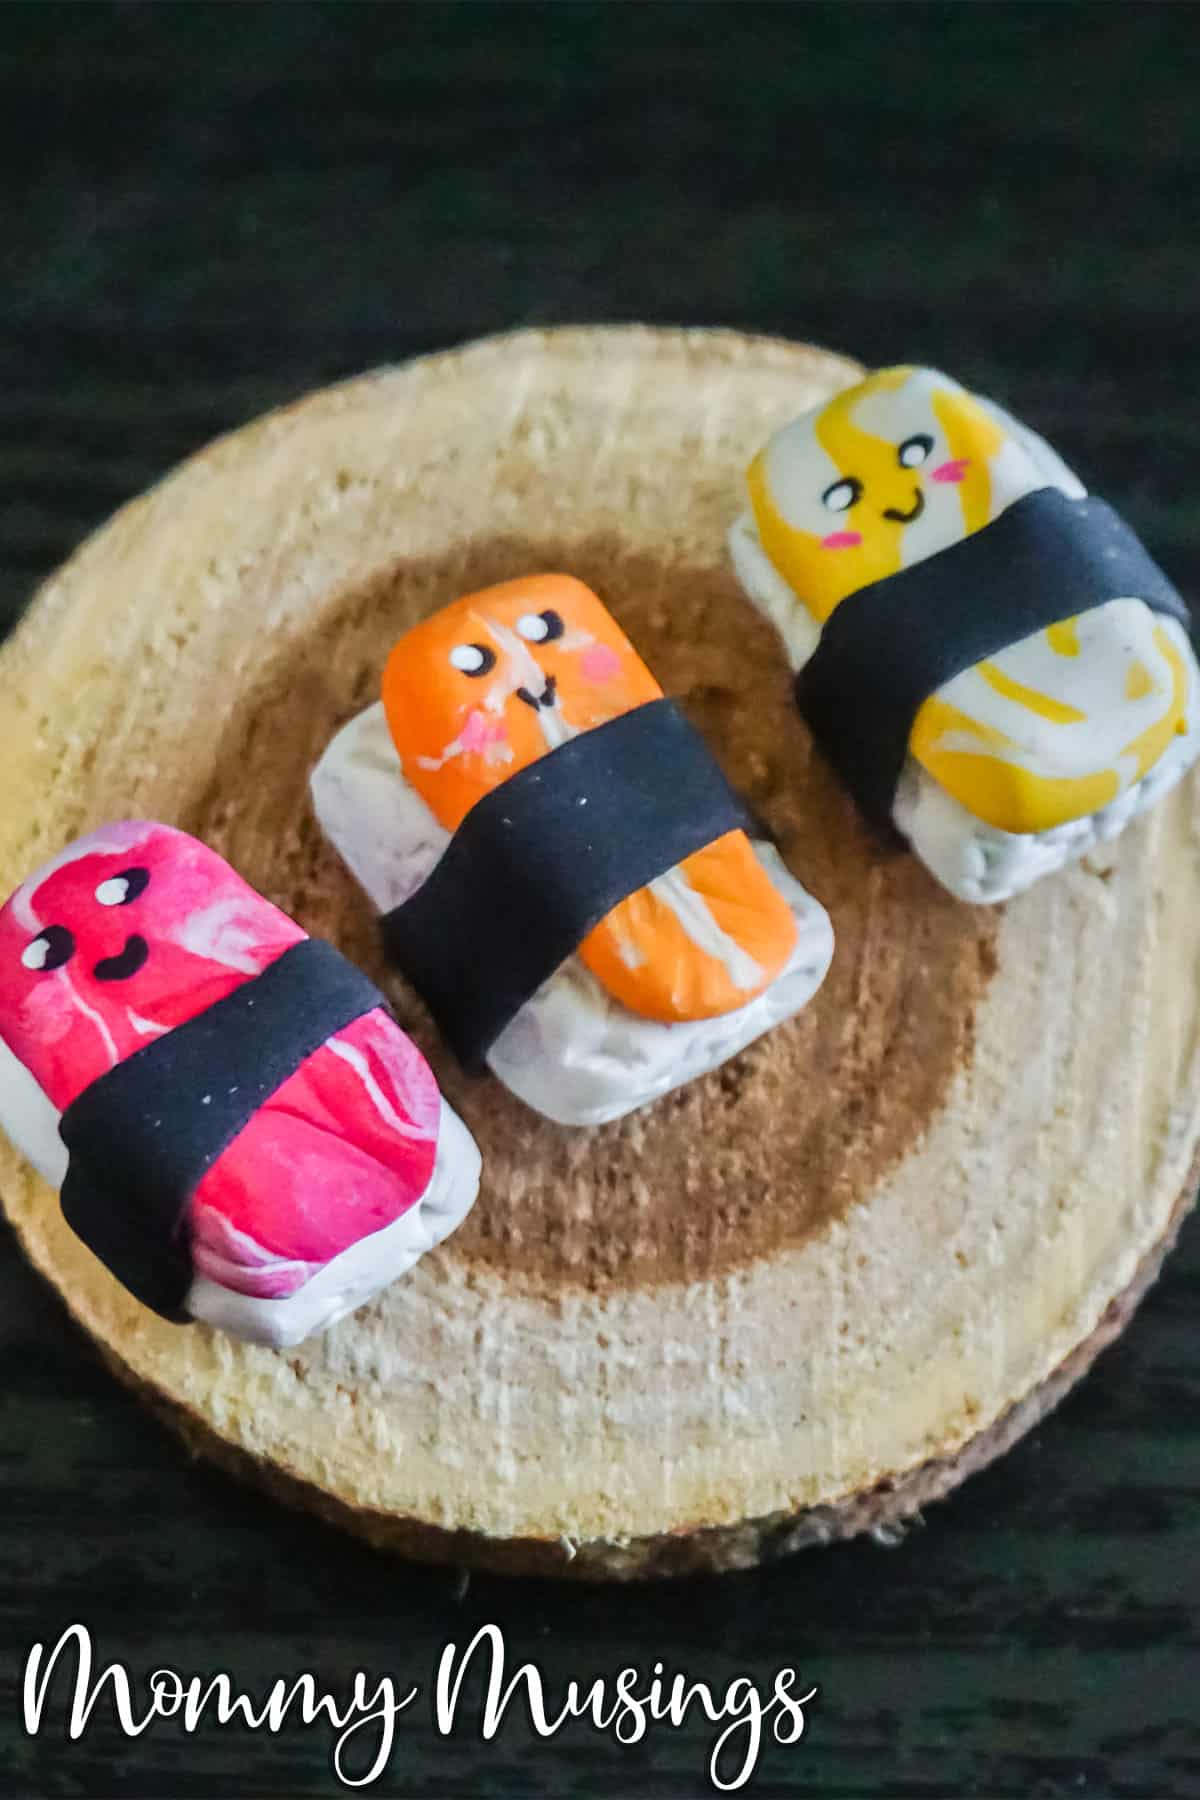
- Stack a meat piece on top of a rice piece, then wrap both in a 1 1/2-inch length of the black around the middle. Gently press all layers together in the center and trim excess black clay. Repeat with the other two sets.
- Clean your fingerprints and tiny imperfections from your sushi by gently brushing the clay with a paintbrush dampened in rubbing alcohol. This does not have to be super wet with the alcohol, just a little goes a long way. Take care to brush the white parts first, followed by the darker colors so that no black clay smears on your white clay.
- Bake the clay sushi per the instructions on your clay packaging. Allow to cool completely before handling.
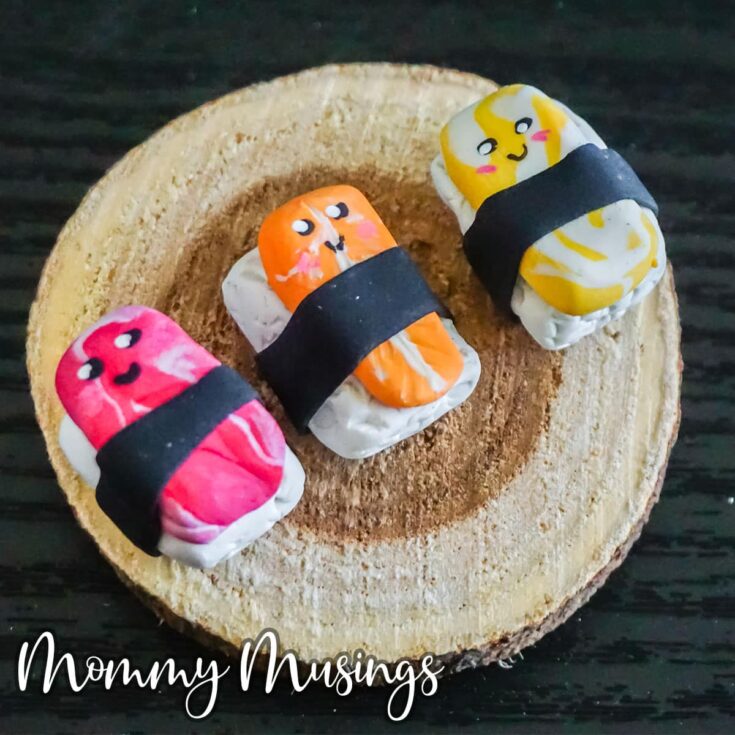
- Using the end of a toothpick, draw on two black dots for eyes and a smile on each sushi top.
- Using the clean end of the toothpick, place the smallest dot of white paint on the black part of the eyes.
- Allow the paint to dry then enjoy!
Isn’t this just the funnest little craft?! If you wanted to turn it into a charm, you’ll just add an eye hook and chain. I personally just love having the figure on my desk.
If you loved this as much as I do, be sure to pin it to your favorite craft board on pinterest so you can find it again fast when you’re ready.
MORE FUN KIDS CRAFTS YOU’LL LOVE
- Easy Kid-Made Crystals
- Edible Finger Paint for Kids
- Adorable Unicorn Planter
- Simple Unicorn Bookmark
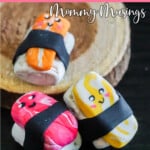
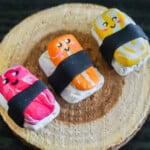
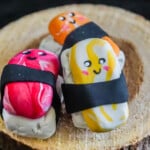
Sushi Charms from Polymer Clay
Crazy easy to make and ridiculously cute, these sushi charms from polymer clay are a great best friend craft.
Materials
- Black Polymer Clay
- White Polymer Clay
- Red Polymer Clay
- Orange Polymer Clay
- Yellow Polymer Clay
- White Acrylic Paint
- Black Acrylic Paint
- Rubbing Alcohol
Tools
- Chopstick or 1/8-inch Dowel
- Oven
- Parchment Paper
- Baking Sheet
- Toothpick
- Paintbrush
Instructions
- Preheat your oven to the temperature noted on your clay packaging. For my clay the baking temperature is 230-degrees F.
- To make the rice portion of each sushi, break off a small portion (about 1/8 inch square) of the white clay.
- Roll this white clay into a nice, neat ball that is very smooth, then mash it into a rectangle with about 1/4-inch width. This should be as rounded and smooth as you can get it.
- Using the chopstick or dowel, gently poke the surface of the white clay rectangle, giving it a texture. Overlap the pokes and texture to get a similar look to a rice ball. Repeat twice more for 3 total rice balls/rectangles. Set aside.
- Make the red meat piece by pinching off one very small piece of the red clay (about ⅛-inch square) then repeating the process of making a rectangle with it that you used for the rice portion.
- To make the white veins in the meat piece, pinch off a very tiny piece of white clay and roll this on your work surface into a very very thin white snake. Cut off small lengths of this snake and pressing them in random locations over different locations on the red clay. Gently press this into the surface of the red clay. Repeat with orange and yellow clay to make 3 total meat variations. Set aside.
- Make the nori (seaweed) wrap by pinching off a piece of black clay (about 1/8-inch square) and pressing it into a wide, flat shape. You want this as thin and flat as you can make it. Once it is super thin (like paper), cut a long strip (about 4 inches long by 1/4-inch wide), trimming all sides to make the edges neat.
- Stack a meat piece on top of a rice piece, then wrap both in a 1 1/2-inch length of the black around the middle. Gently press all layers together in the center and trim excess black clay. Repeat with the other two sets.
- Clean your fingerprints and tiny imperfections from your sushi by gently brushing the clay with a paintbrush dampened in rubbing alcohol. This does not have to be super wet with the alcohol, just a little goes a long way. Take care to brush the white parts first, followed by the darker colors so that no black clay smears on your white clay.
- Bake the clay sushi per the instructions on your clay packaging. Allow to cool completely before handling.
- Using the end of a toothpick, draw on two black dots for eyes and a smile on each sushi top.
- Using the clean end of the toothpick, place the smallest dot of white paint on the black part of the eyes.
- Allow the paint to dry then enjoy!