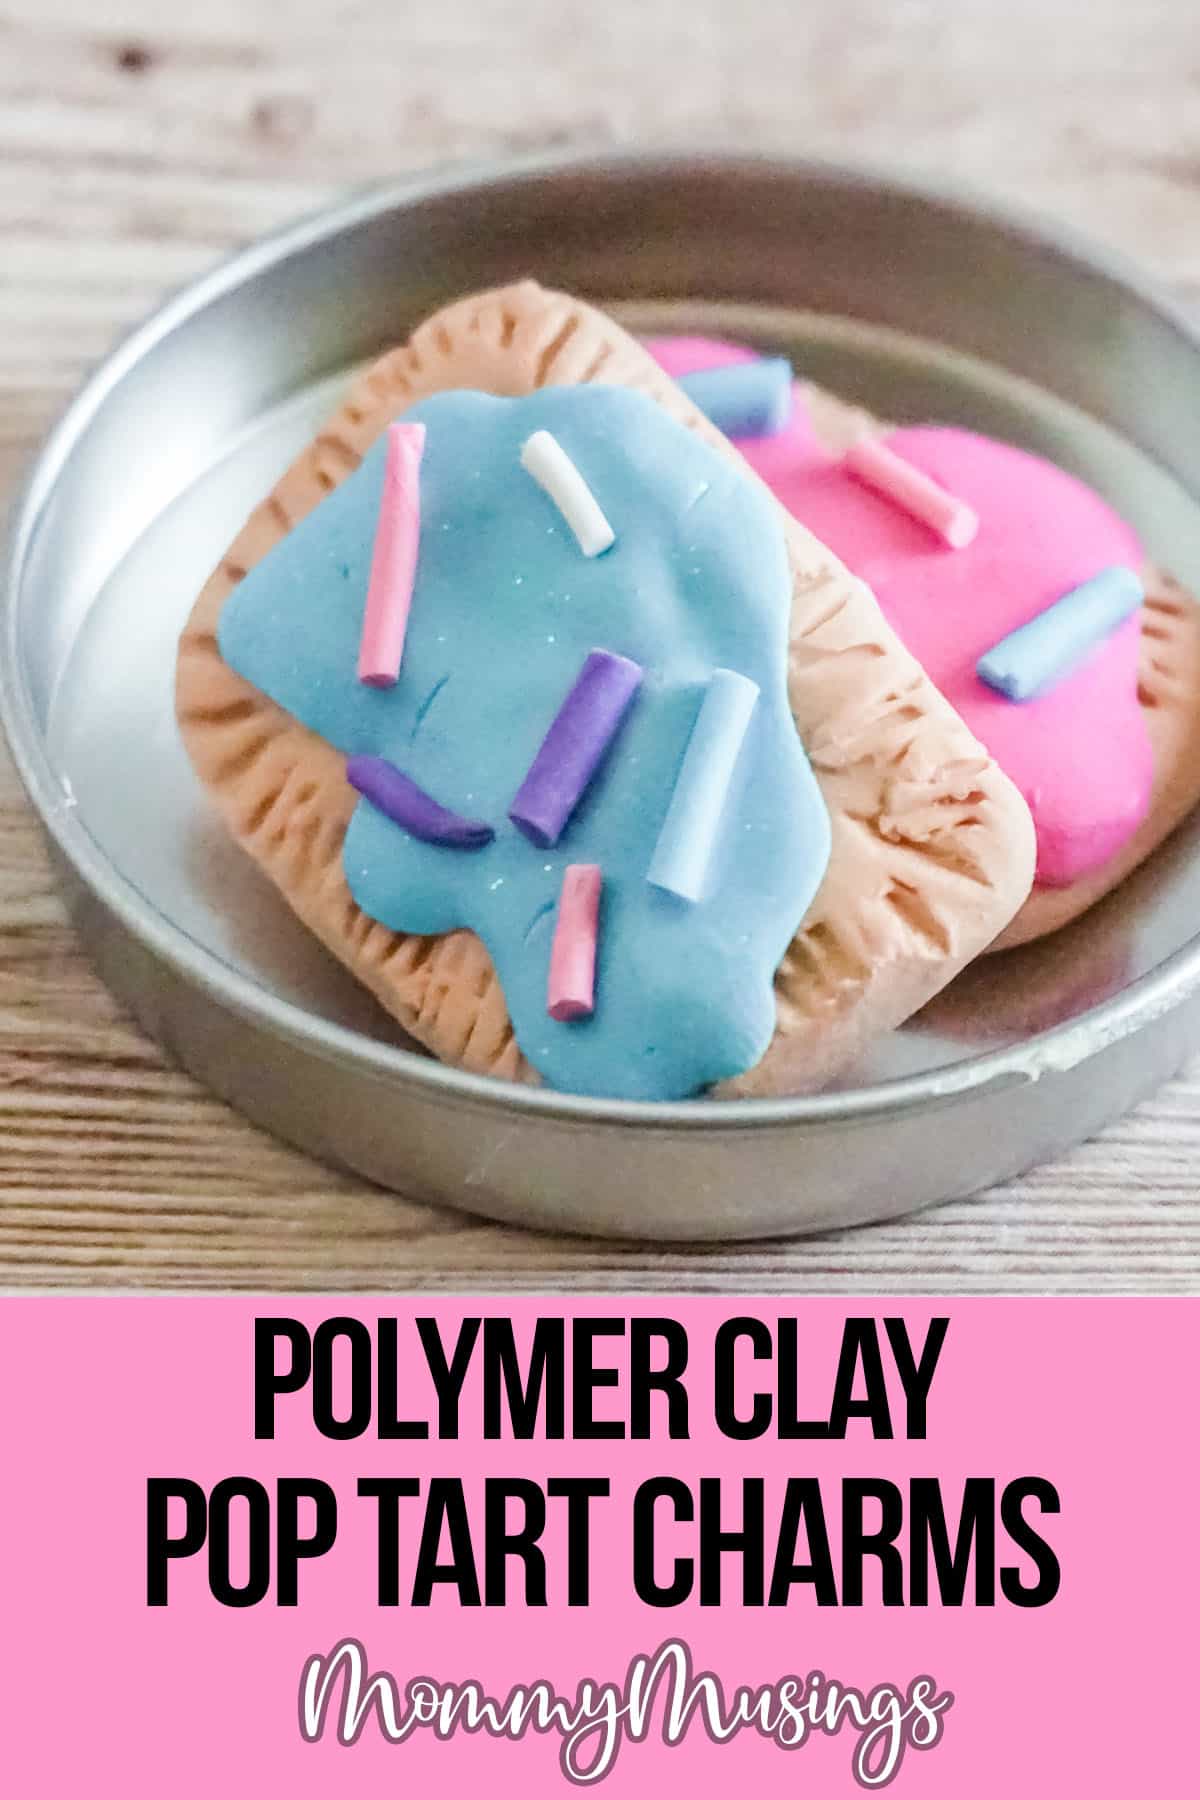
Do your kids love playing with clay and want to make gifts for friends? If so, this easy Pop Tart Friends charm tutorial is perfect for them! These charms are simple to make and can be customized to your kiddo's favorite colors. We'll show you how to create the basic shapes, then add colorful details for a fun look. Let's get started!
Polymer Clay Craft for Kids: Easy Pop Tart Friends Charms
WHAT KIND OF CLAY SHOULD YOU USE TO MAKE CHARMS FOR NECKLACES?
For this project, we recommend using oven-bake clay, which is specifically designed to be hardened in a household oven. Oven-bake clay comes in a wide variety of colors and can be found at most craft stores.
Air-dry clay or foam clay, while fun to use, are more difficult to work with at times (because they dry while you're sculpting) and take a long time to harden (sometimes 24-48 hours). That's why, for kids crafts, I like polymer clay.
WHAT IS POLYMER CLAY?
Polymer clay is a type of oven-bake modeling clay made from polyvinyl chloride (PVC) resin, plasticizer, and colorant. It's soft and pliable when first worked with but can be hardened in a household oven. Once cured, it can be sanded, drilled, and painted like any other type of hard plastic.
DO YOU NEED SPECIAL TOOLS TO WORK WITH POLYMER CLAY?
One of the great things about polymer clay is that it doesn't require any special tools or equipment to work with it. All you need is your hands!
But, equally fun, if your kiddo really gets into making things with polymer clay, you can use any clay-working tools or tools from around the house (ie. toothpicks, chopsticks, paintbrushes, etc.) to work polymer clay.
DO YOU NEED TO TOPCOAT YOUR POLYMER CLAY SCULPTURES?
Nope! But, if you want to give your sculptures a little extra shine or protection, you can use a clear acrylic sealer (available at any craft store). Just make sure to use a sealer designed for polymer clay or you may end up with a sticky surface or color-lifting. Neither of which are fun.
WHAT SUPPLIES DO YOU NEED TO MAKE THIS EASY POLYMER CLAY CRAFT FOR KIDS?
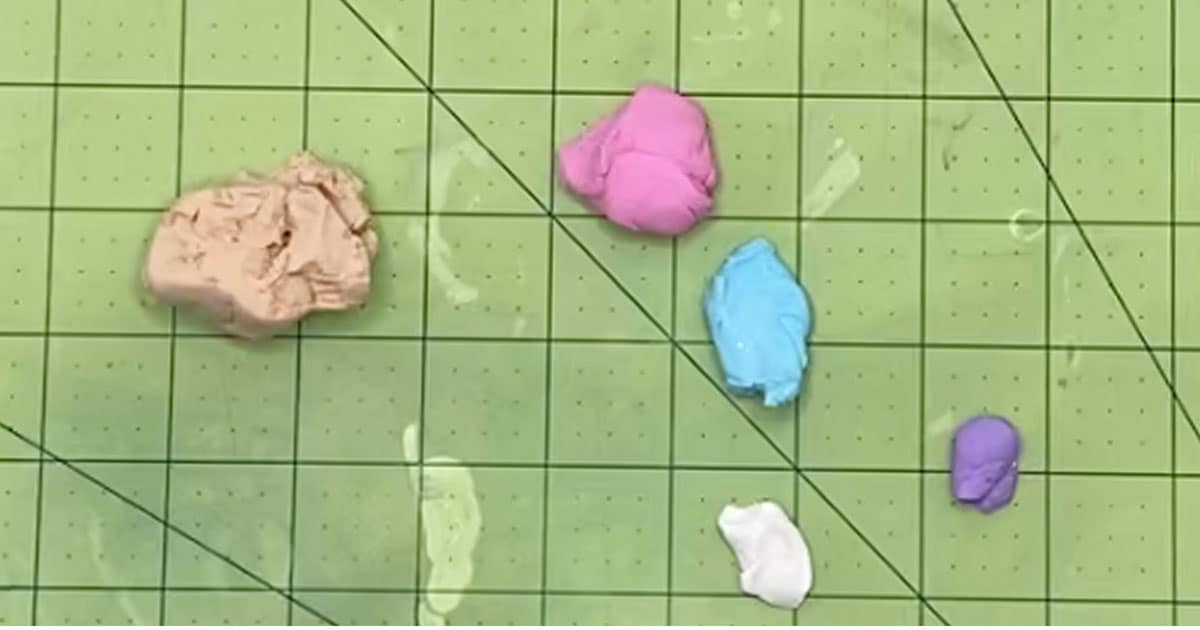
- Light Blue Polymer Clay
- White Polymer Clay
- Pink Polymer Clay
- Beige Polymer Clay
- Purple Polymer Clay
- Rubbing Alcohol
WHAT TOOLS DO YOU NEED TO MAKE THIS EASY POLYMER CLAY POP TART KIDS CRAFT?
- Oven
- Parchment Paper
- Baking Sheet
- Toothpick
- Paintbrush
- Butter Knife, optional
HOW DO YOU MAKE THIS EASY POLYMER CLAY POP TART CRAFT?
- Preheat your oven to the temperature noted on your clay packaging. For my clay the baking temperature is 230-degrees F.
- To make the sprinkles (I like to make them first), roll a very small piece of blue, pink, purple, and white clay into very very small snakes (the smaller the better).
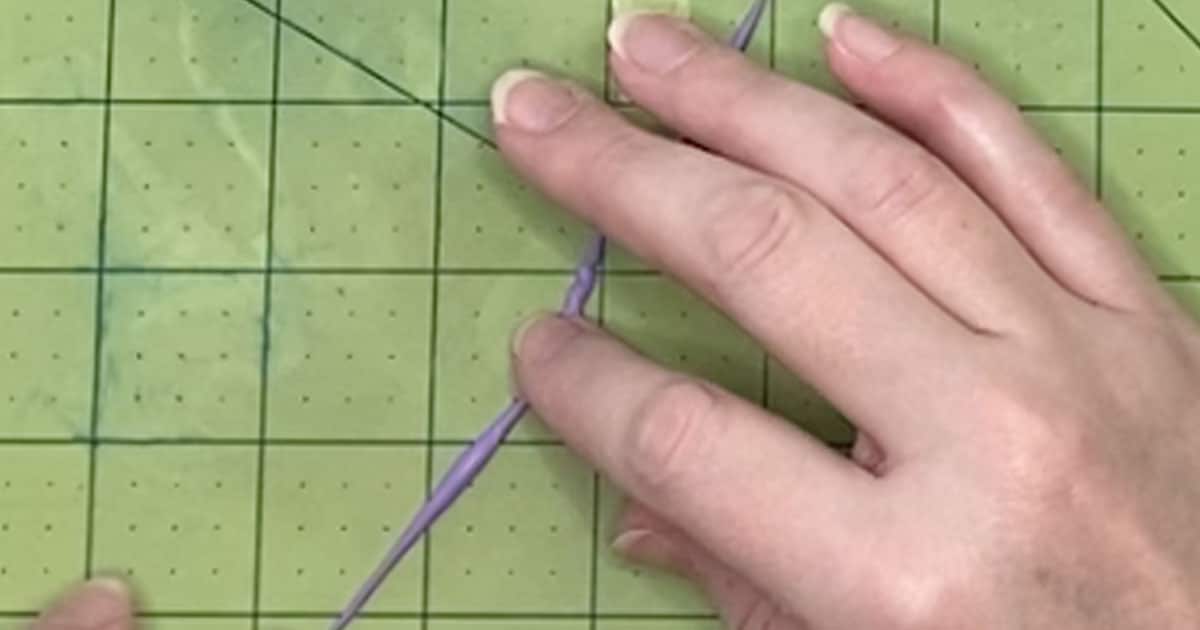
- Very gently transfer the snakes to the baking sheet and bake for no longer than 10 minutes. If you bake them longer, they can burn because they are so small.
- Allow the baked snakes to cool completely, then break them using a butter knife or just your hands, to snap the snakes into short lengths as sprinkles. Set aside.
- To make the base of the pop tarts, break off a small portion (about ½ inch square) of the beige clay.
- Roll this beige clay into a nice, neat ball that is very smooth, then flatten it into a rectangle of about ½ inch by 1 inch. Repeat with a second piece to make a second base.
- Using the end of a toothpick or even your fingernail, go around the edge of the rectangle and make indents to mimic the edge of a pop tart.
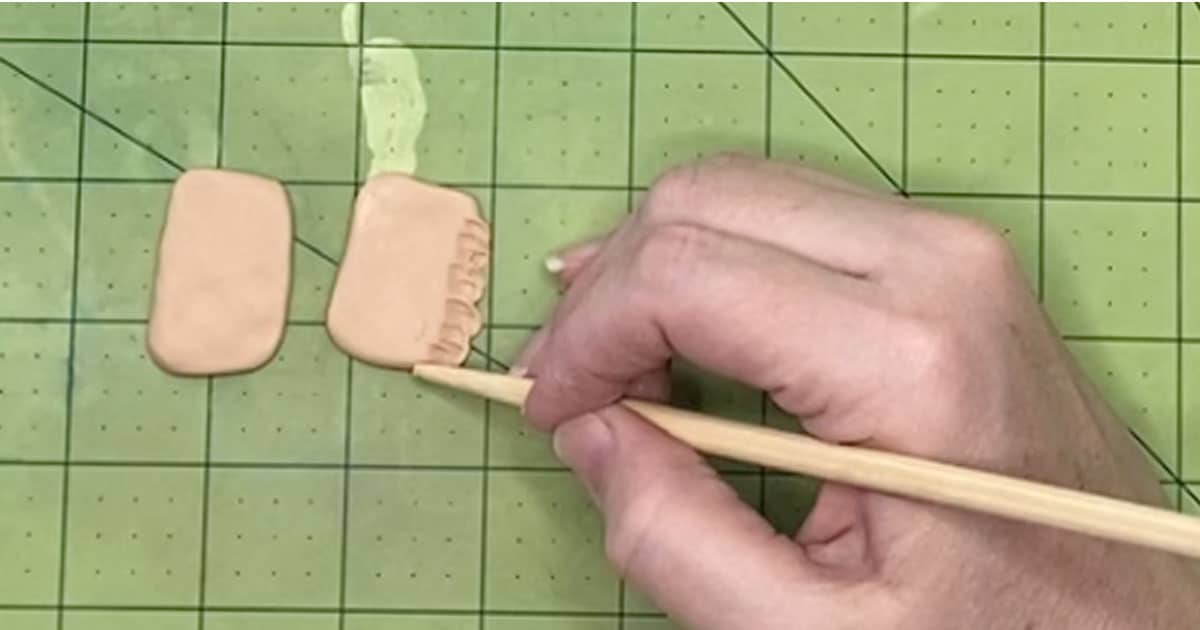
- Round the corners and neaten the rectangle if adding the edging worked it out of shape.
- Make the icing by breaking off your favorite color of clay (about ¼-inch square) and mashing it flat in an oblong shape.
- Place the icing shape on top of the base and press it down firmly.
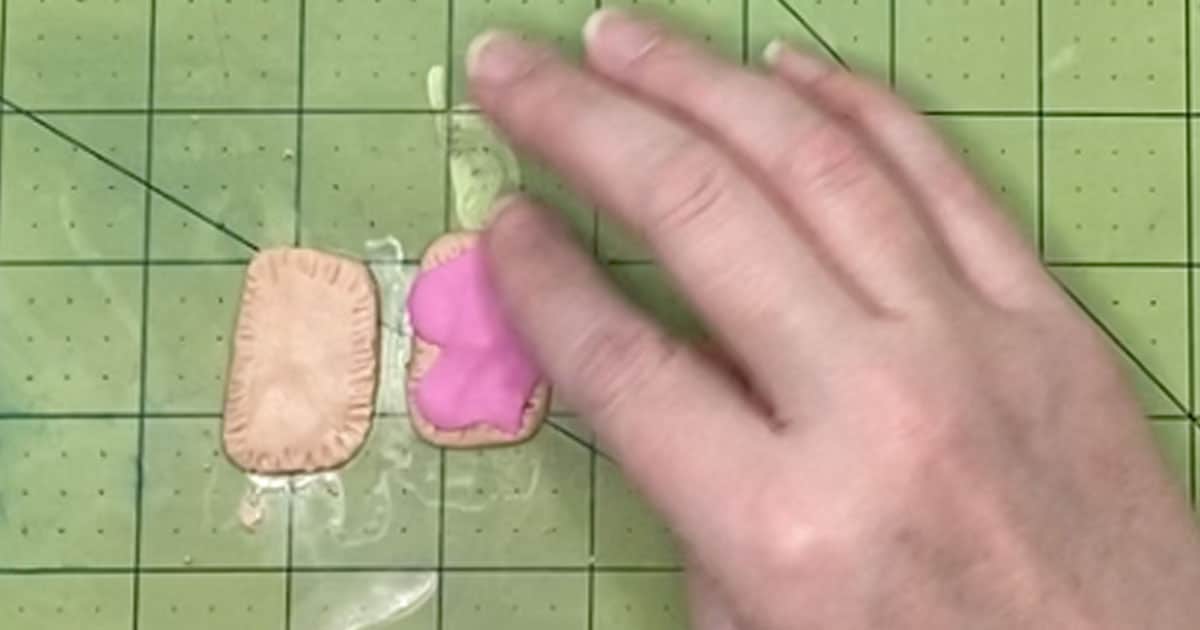
- Add sprinkles in varying colors to the top of the icing, pressing them in firmly.
- Clean your fingerprints and tiny imperfections from your pop tarts by gently brushing the clay with a paintbrush dampened in rubbing alcohol. This does not have to be super wet with the alcohol, just a little goes a long way. Take care to brush the beige parts first, followed by the other colors so that no colorful clay smears on your beige clay.
- Bake the clay pop tarts per the instructions on your clay packaging. Allow to cool completely before handling.
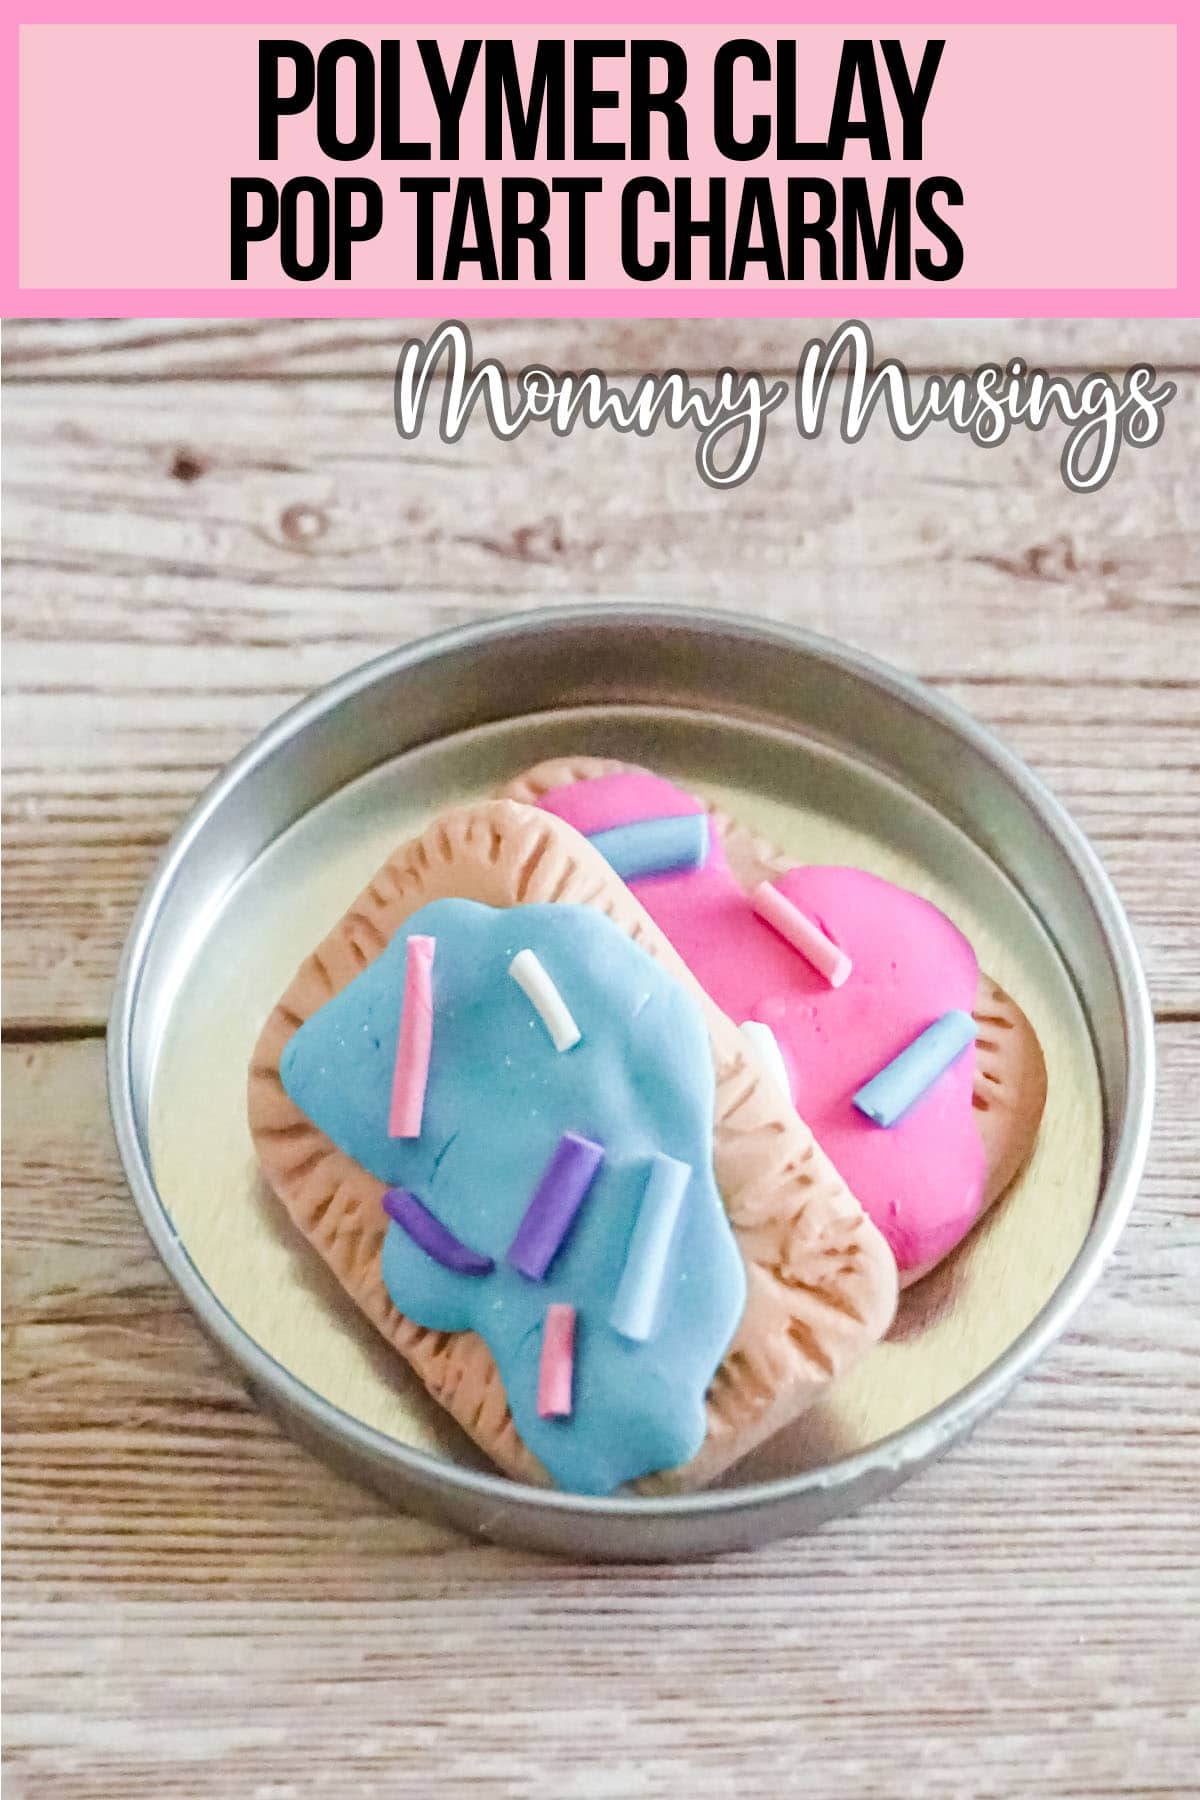
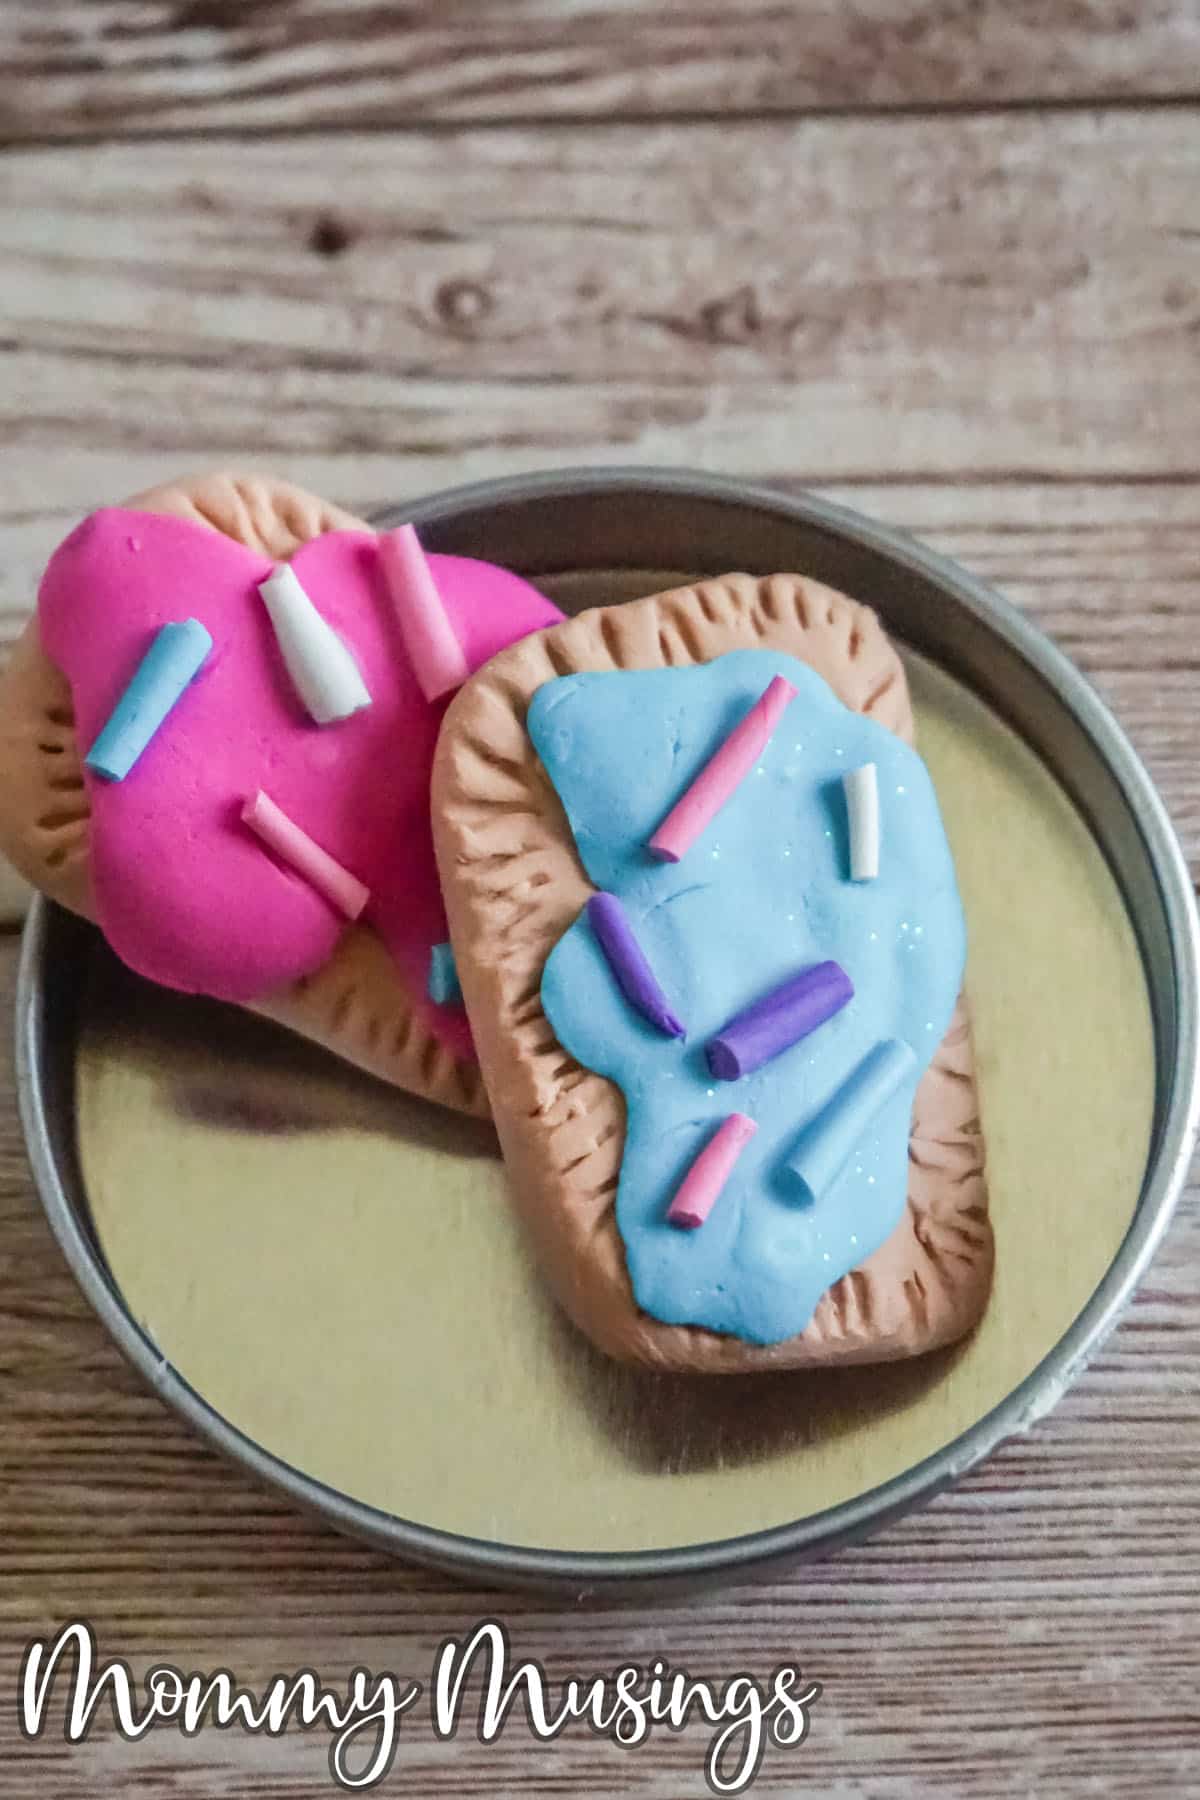
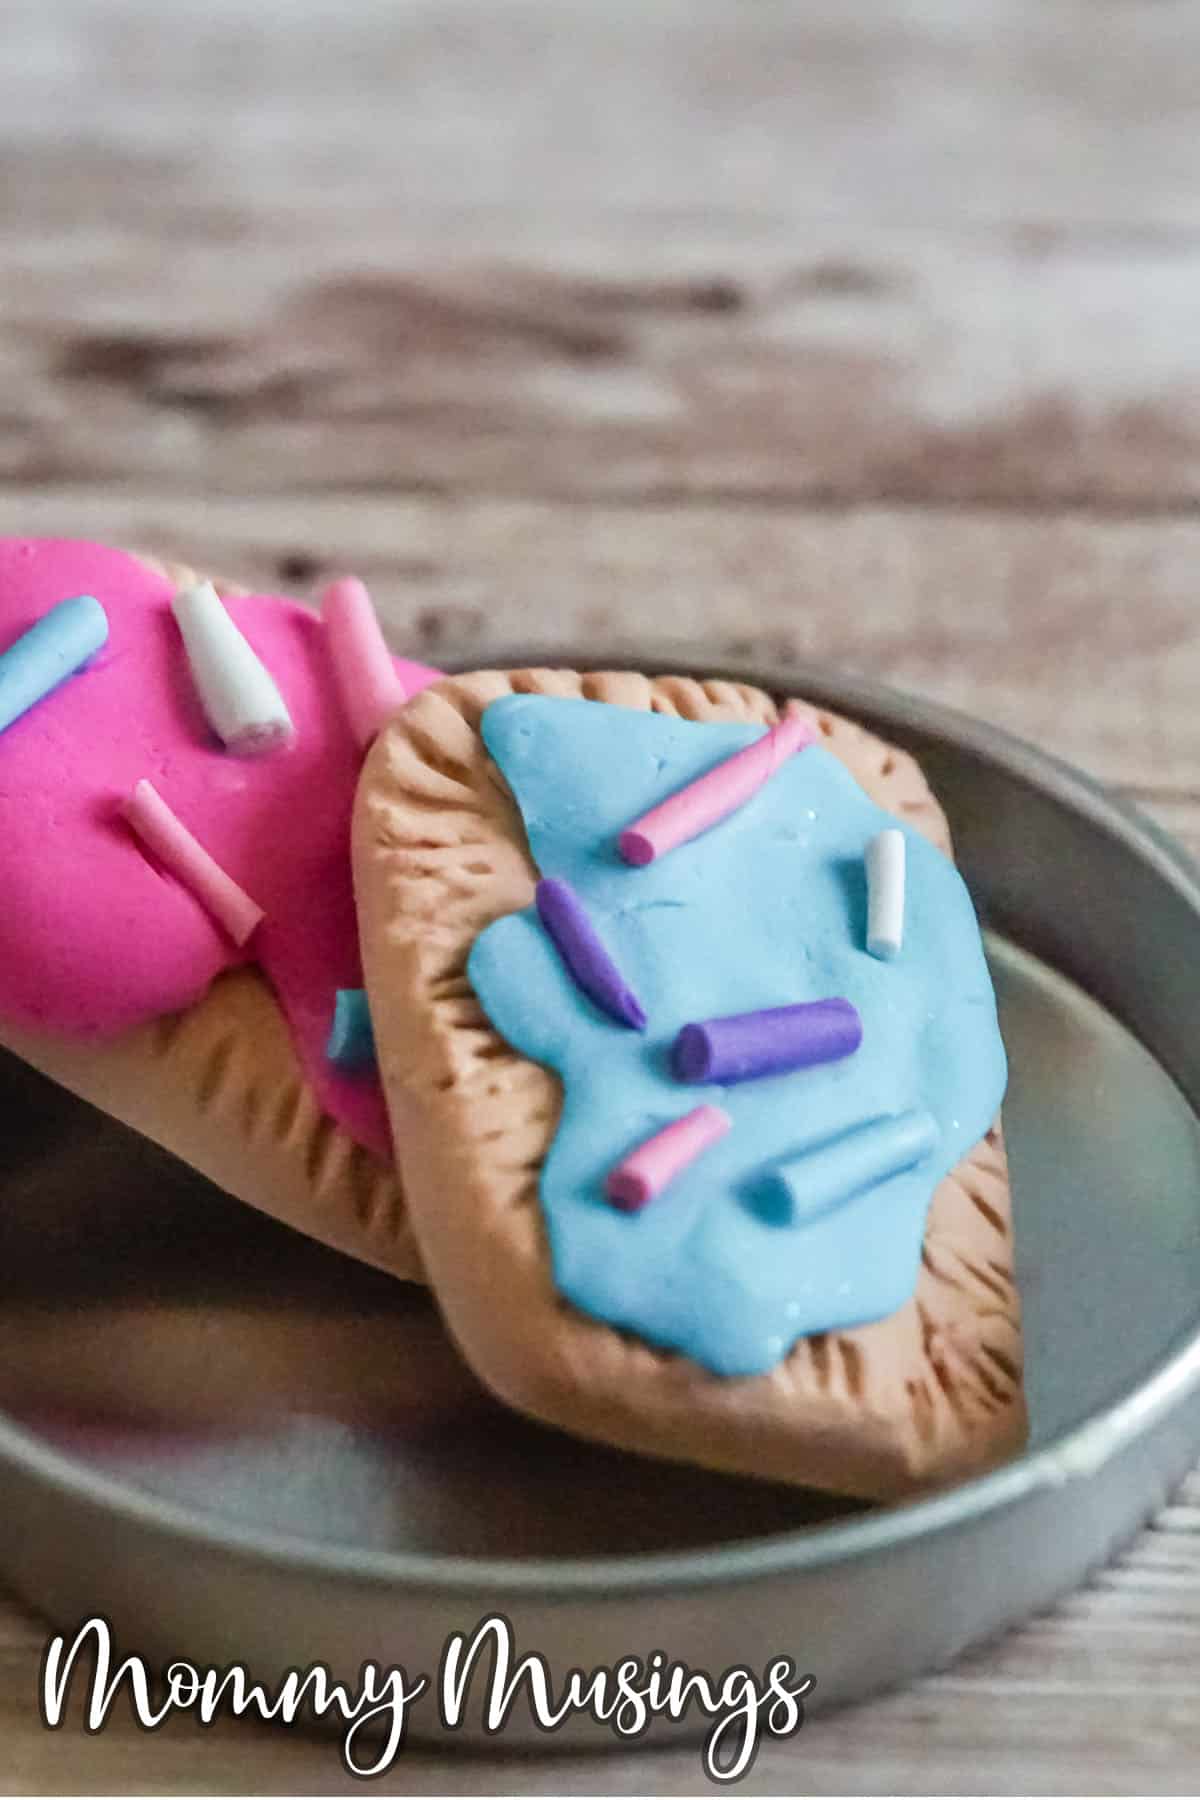
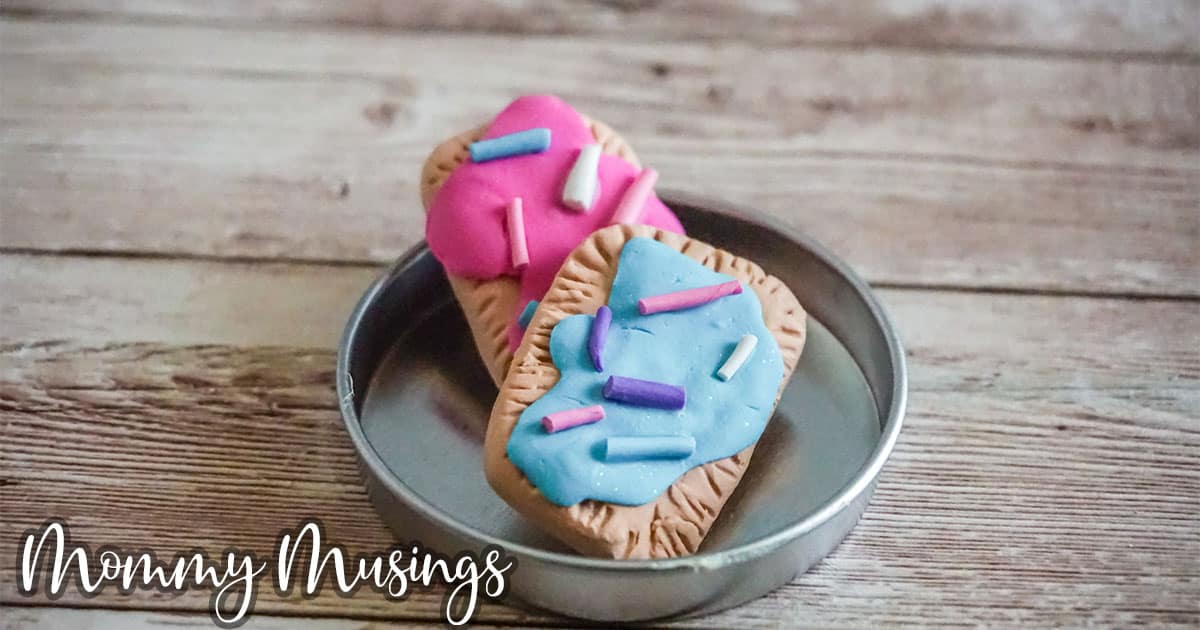
Isn't this just the funnest little craft?! If you wanted to turn it into a charm, you'll just add an eye hook and chain. I personally just love having the figure on my desk.
If you loved this as much as I do, be sure to pin it to your favorite craft board on pinterest so you can find it again fast when you're ready.
MORE FUN KIDS CRAFTS YOU'LL LOVE
- Easy Kid-Made Crystals
- Edible Finger Paint for Kids
- Adorable Unicorn Planter
- Simple Unicorn Bookmark
Pop Tart Friends Charms
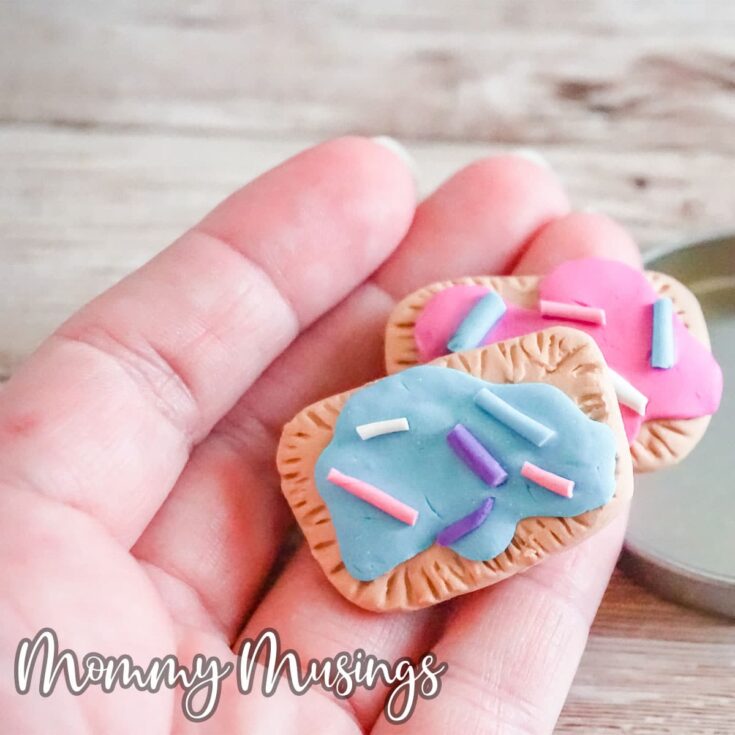
Fast and fun to make, these little pop tart friends charms are a great polymer clay kids craft that they can make in minutes.
Materials
- Light Blue Polymer Clay
- White Polymer Clay
- Pink Polymer Clay
- Beige Polymer Clay
- Purple Polymer Clay
- Rubbing Alcohol
Tools
- Oven
- Parchment Paper
- Baking Sheet
- Toothpick
- Paintbrush
- Butter Knife, optional
Instructions
- Preheat your oven to the temperature noted on your clay packaging. For my clay the baking temperature is 230-degrees F.
- To make the sprinkles (I like to make them first), roll a very small piece of blue, pink, purple, and white clay into very very small snakes (the smaller the better). Very gently transfer the snakes to the baking sheet and bake for no longer than 10 minutes. If you bake them longer, they can burn because they are so small.
- Allow the baked snakes to cool completely, then break them using a butter knife or just your hands, to snap the snakes into short lengths as sprinkles. Set aside.
- To make the base of the pop tarts, break off a small portion (about ½ inch square) of the beige clay.
- Roll this beige clay into a nice, neat ball that is very smooth, then flatten it into a rectangle of about ½ inch by 1 inch. Repeat with a second piece to make a second base.
- Using the end of a toothpick or even your fingernail, go around the edge of the rectangle and make indents to mimic the edge of a pop tart.
- Round the corners and neaten the rectangle if adding the edging worked it out of shape.
- Make the icing by breaking off your favorite color of clay (about ¼-inch square) and mashing it flat in an oblong shape.
- Place the icing shape on top of the base and press it down firmly.
- Add sprinkles in varying colors to the top of the icing, pressing them in firmly.
- Clean your fingerprints and tiny imperfections from your pop tarts by gently brushing the clay with a paintbrush dampened in rubbing alcohol. This does not have to be super wet with the alcohol, just a little goes a long way. Take care to brush the beige parts first, followed by the other colors so that no colorful clay smears on your beige clay.
- Bake the clay pop tarts per the instructions on your clay packaging. Allow to cool completely before handling.



Leave a Reply