If you're like me, you might be looking to craft something extra special to make it feel like the holidays. I'm talking Mickey & Minnie Terra Cotta Bell Ornaments. Just imagine how much fun your kids will have ringing in the holidays with these adorable ornaments!
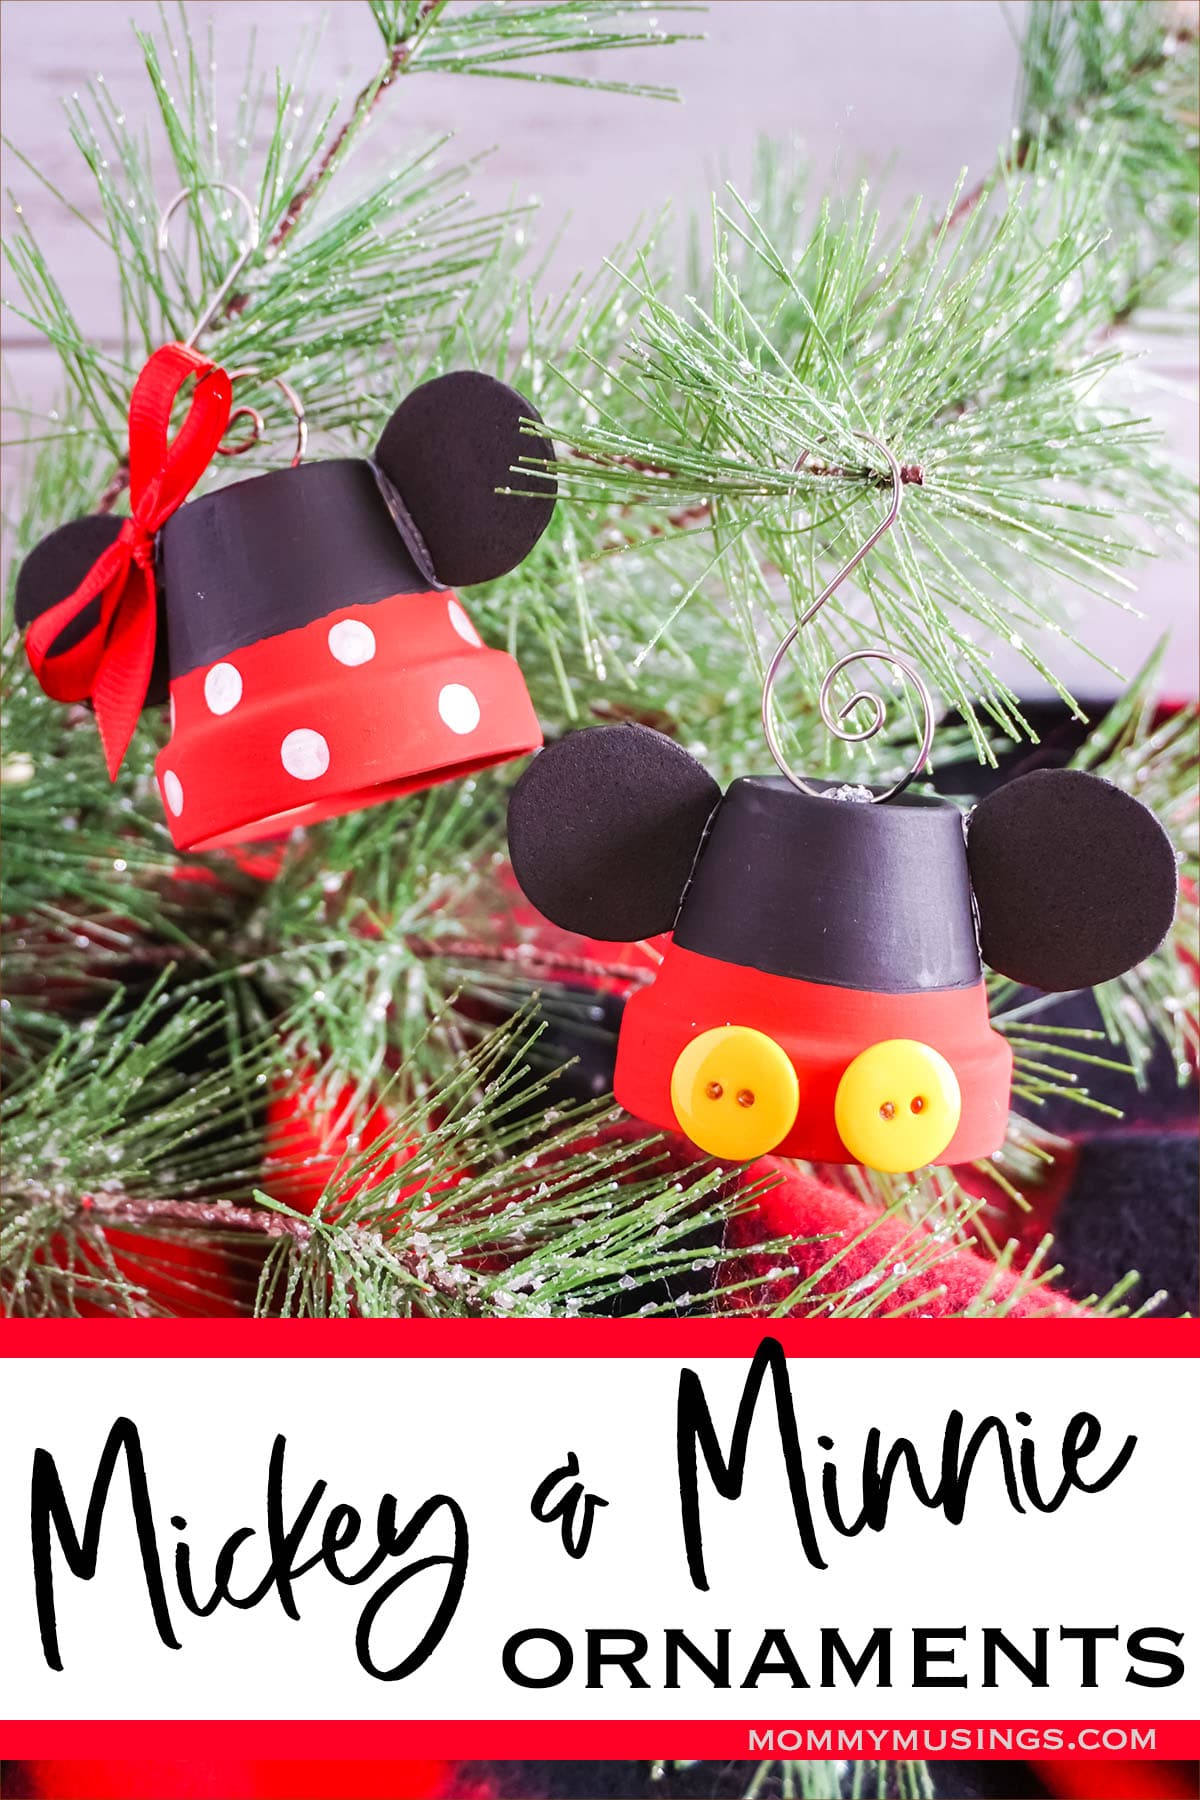
Mickey & Minnie Terra Cotta Bell Ornaments
Do you know what the best part of Christmas is? For me, it's not the presents or even seeing my family. It's decorating our tree and making memories with my kids. This year we're going to make some Mickey & Minnie terra cotta bell ornaments as a little extra something to add to our tree this holiday season!
I'm so excited to show you these Mickey and Minnie terra cotta bell ornaments I made for my daughter's Christmas tree. They were easy to make, and she loved them!
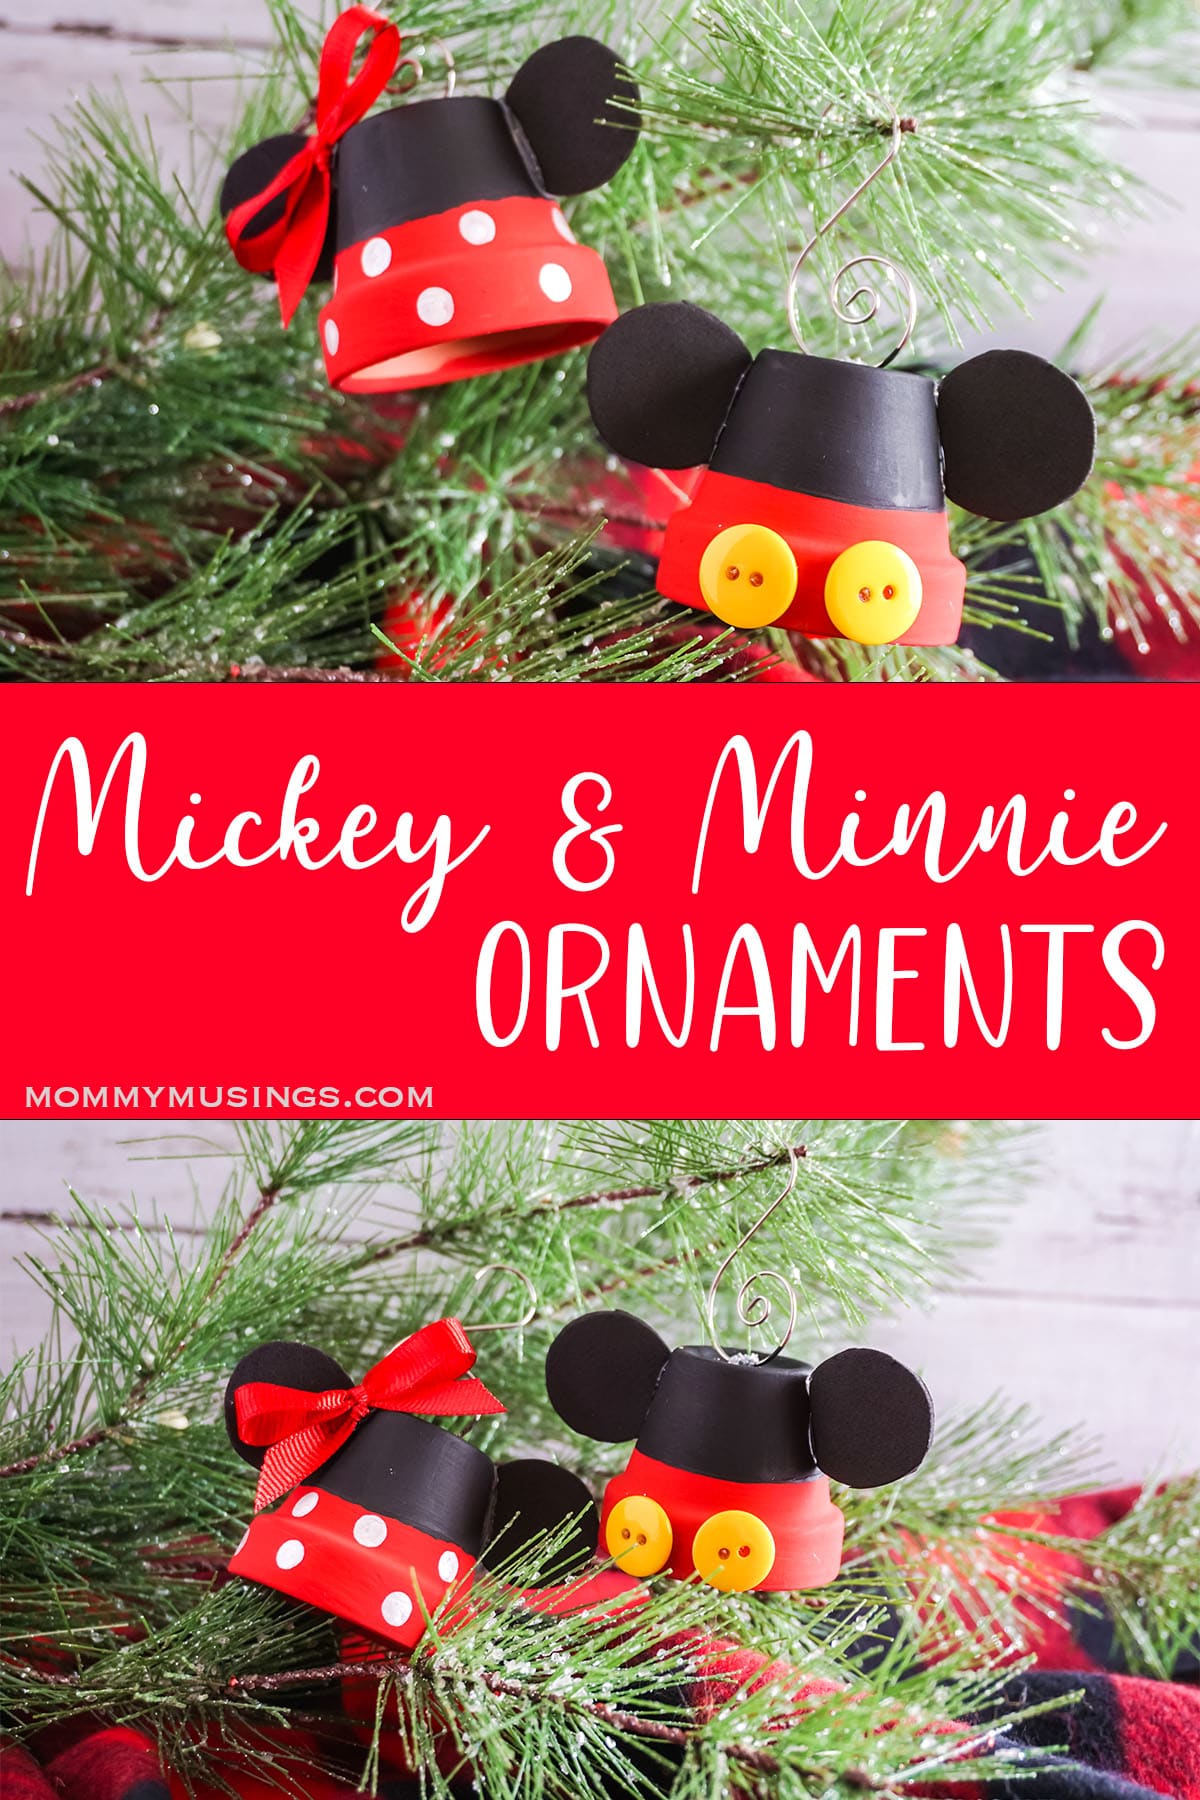
Mickey & Minnie Terra Cotta Bell Ornaments are a great way to celebrate the holiday season. These ornaments are so cute and whimsical, perfect for displaying on your Christmas tree. They feature Mickey Mouse and Minnie Mouse in their traditional black and red outfits, with a built-in bell!
Let's get crafty!

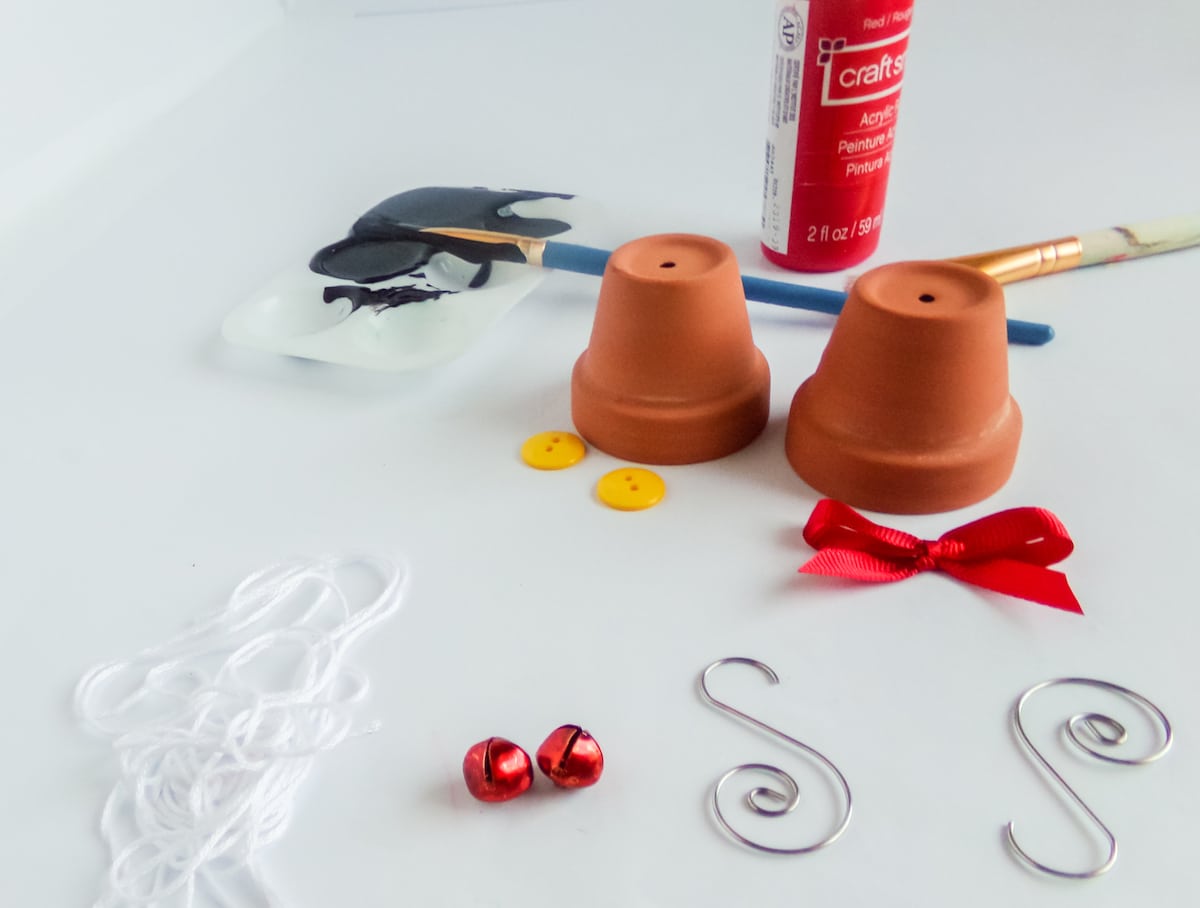
What You Need to Make Mickey & Minnie Terra Cotta Bell Ornaments
- 2 Mini Bells
- 2 - 1-inch Terra Cotta Pots
- 2 - ½ inch Yellow Buttons
- Red Acrylic Paint
- White Acrylic Paint
- Black Acrylic Paint
- ¼-inch Red Ribbon
- 2 Wire Ornament Hangers
- Black Craft Foam
- Small amount of embroidery thread
- Scissors
- Paintbrush
- Pencil
- Painter’s Tape
How to Make Mickey & Minnie Terra Cotta Bell Ornaments
- Start by making your bow for the Minnie ornament by tying your red ribbon into a small bow about 1 inch across. Set aside.
- Use the bottom of your bottle of acrylic paint as a guide or a ¾ inch circle to draw 4 circles on your black craft foam with the pencil. Cut out the four circles and set aside.
- Tape off the bottom half of your pots with painter’s tape.
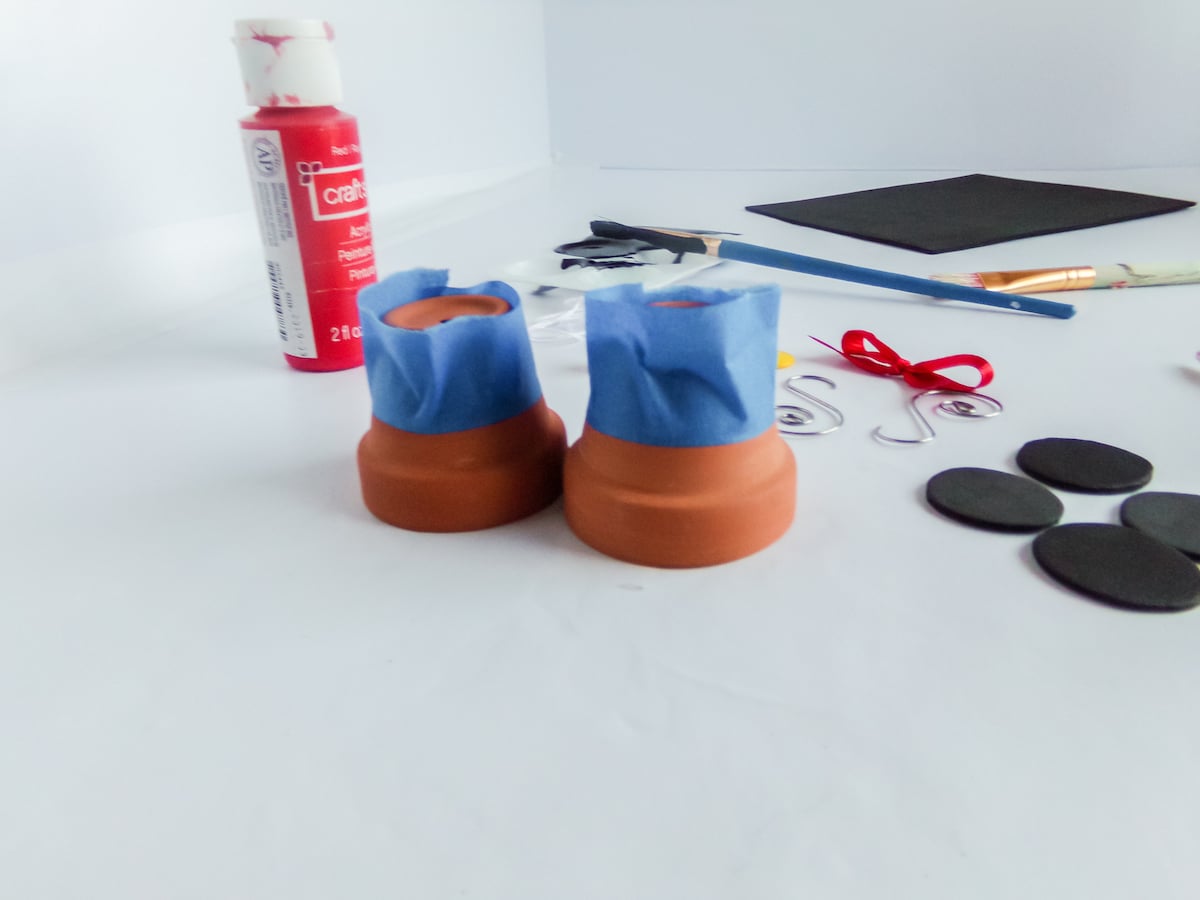
- Thread a bell onto a small amount of string then thread the ends through the center of the pot, through the hole in the bottom of the pot. Tie the ends of the thread onto the ornament hanger. Hot glue the string in place on the inside of the pot. Repeat with the second pot.
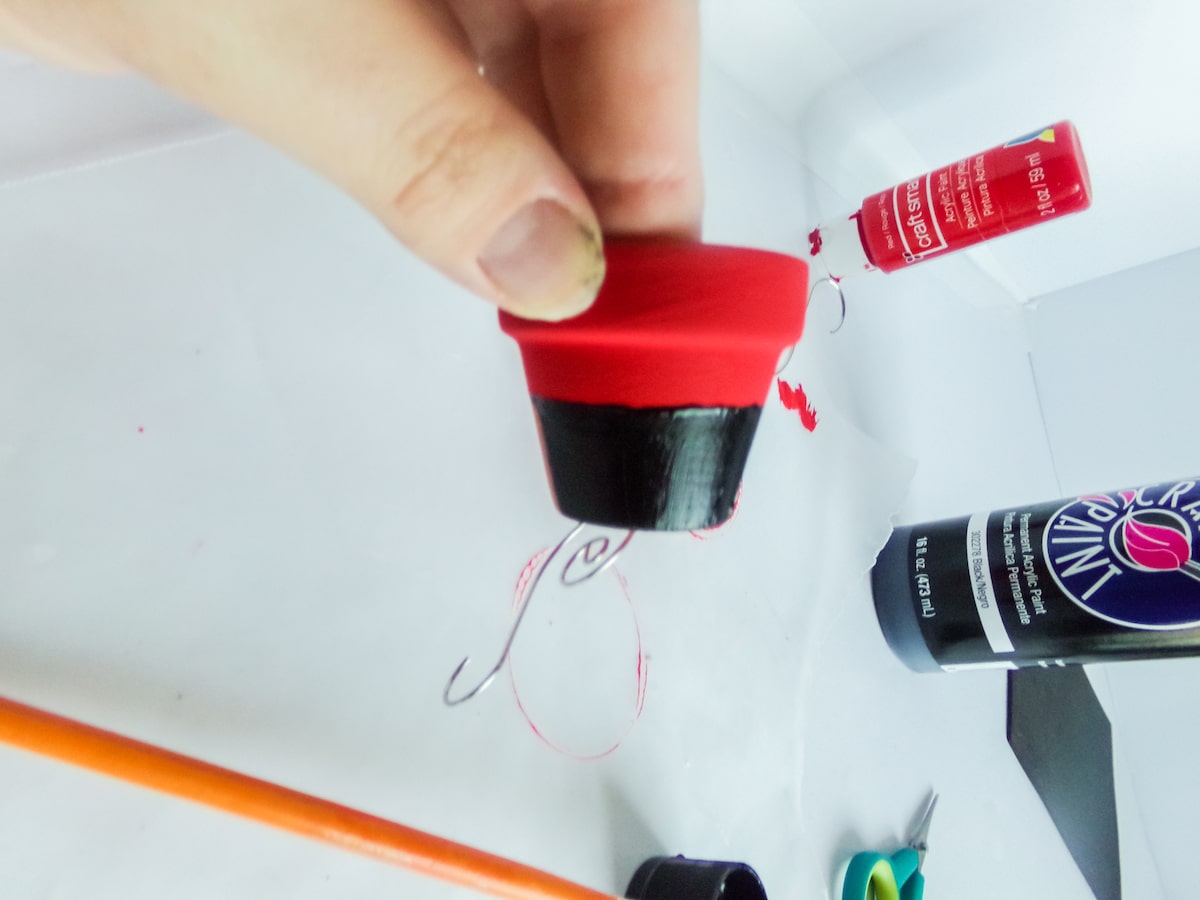
- Paint the non-taped end of each pot red. Allow the paint to dry completely.
- Remove the tape then paint the remaining portion of two pots black. Allow the paint to dry completely.
- Cut off about ⅛-inch of each of the black craft foam circles on one side, making a flat place.
- Hot glue one of the black craft foam ear shapes to each side of each painted pot in the black painted portion of the pot.
- Hot glue the two yellow buttons to the front side of one of the pots, side by side, in the red painted portion of the pot.
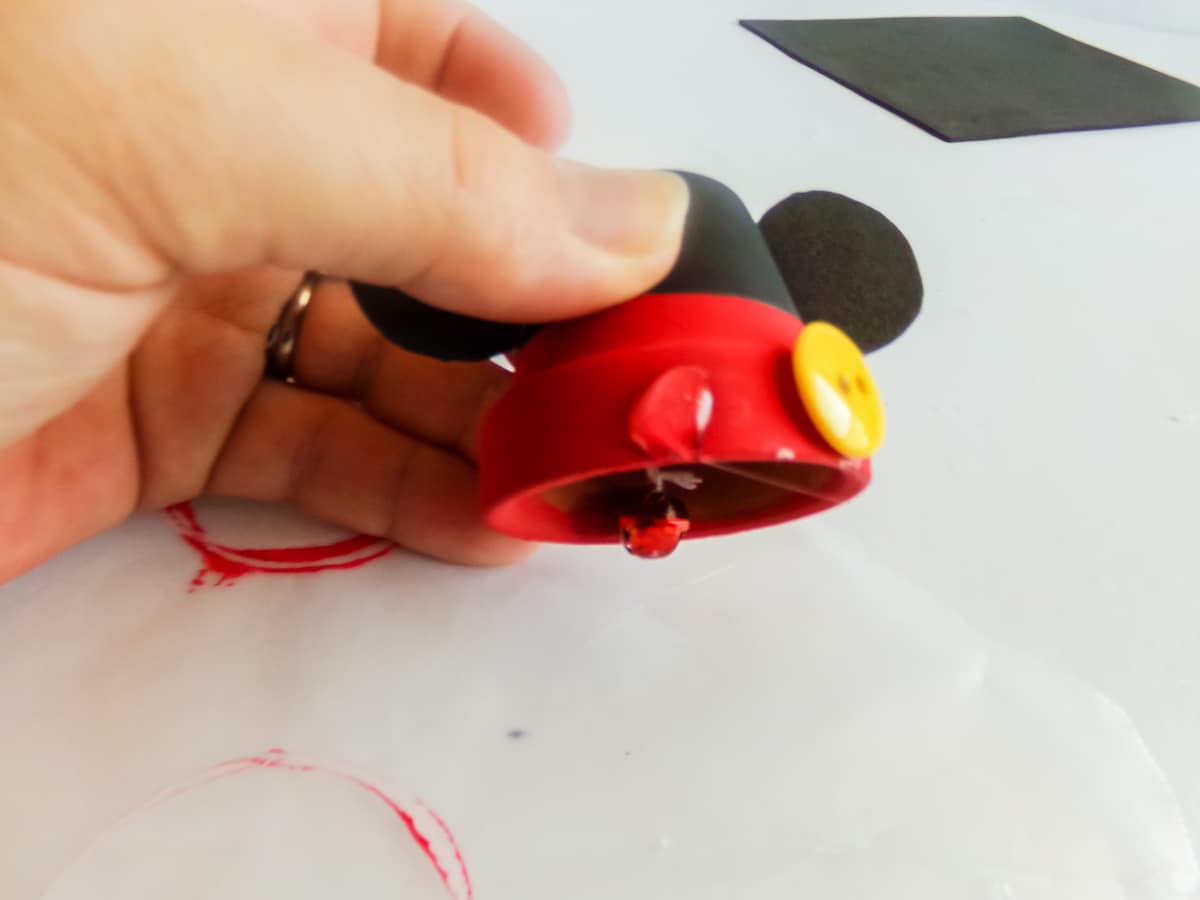
- Using the end of your paintbrush, make polka dots with white paint on the remaining pot in the red painted portion of the pot. Allow this paint to dry completely.
- Hot glue the bow onto the front of the white polka dotted pot. Hang from the tree!
More Holiday Crafts You'll Love
Mickey & Minnie Terra Cotta Bell Ornaments
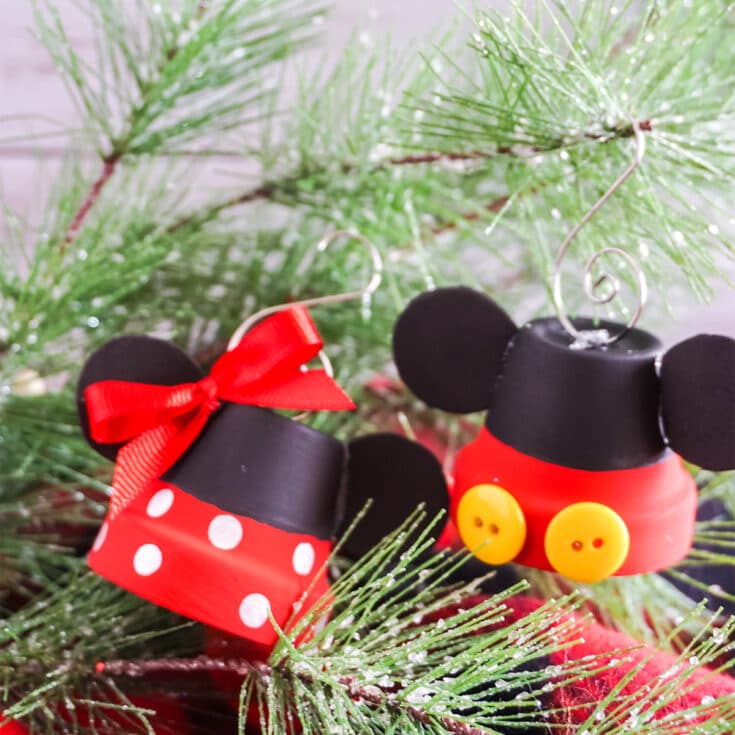
Fun and fast to make, this easy DIY set of Mickey & Minnie Terra Cotta Bell Ornaments are an adorable addition to any Christmas tree!
Materials
- 2 Mini Bells
- 2 - 1-inch Terra Cotta Pots
- 2 - ½ inch Yellow Buttons
- Red Acrylic Paint
- White Acrylic Paint
- Black Acrylic Paint
- ¼-inch Red Ribbon
- 2 Wire Ornament Hangers
- Black Craft Foam
- Small amount of embroidery thread
Tools
- Scissors
- Paintbrush
- Pencil
- Painter’s Tape
Instructions
- Start by making your bow for the Minnie ornament by tying your red ribbon into a small bow about 1 inch across. Set aside.
- Use the bottom of your bottle of acrylic paint as a guide or a ¾ inch circle to draw 4 circles on your black craft foam with the pencil. Cut out the four circles and set aside.
- Tape off the bottom half of your pots with painter’s tape.
- Thread a bell onto a small amount of string then thread the ends through the center of the pot, through the hole in the bottom of the pot. Tie the ends of the thread onto the ornament hanger. Hot glue the string in place on the inside of the pot. Repeat with the second pot.
- Paint the non-taped end of each pot red. Allow the paint to dry completely.
- Remove the tape then paint the remaining portion of two pots black. Allow the paint to dry completely.
- Cut off about ⅛-inch of each of the black craft foam circles on one side, making a flat place.
- Hot glue one of the black craft foam ear shapes to each side of each painted pot in the black painted portion of the pot.
- Hot glue the two yellow buttons to the front side of one of the pots, side by side, in the red painted portion of the pot.
- Using the end of your paintbrush, make polka dots with white paint on the remaining pot in the red painted portion of the pot. Allow this paint to dry completely.
- Hot glue the bow onto the front of the white polka dotted pot. Hang from the tree!
Recommended Products
As an Amazon Associate and member of other affiliate programs, I earn from qualifying purchases.





Leave a Reply