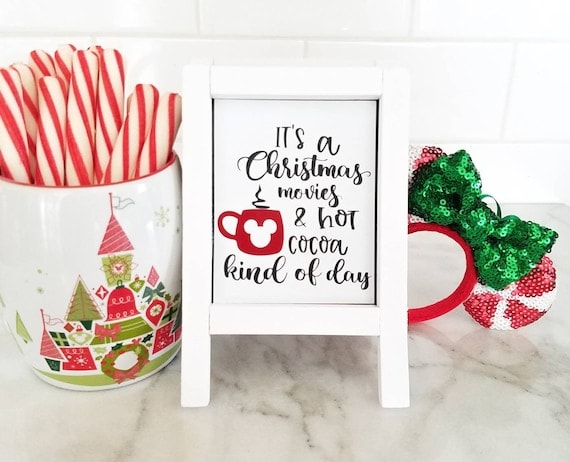

If you’re looking for an easy Mickey Mouse Christmas centerpiece, then this Mickey Silhouette Buffalo Check Centerpiece or Mantle Decor make with Cricut or Silhouette is perfect! This fun and festive mickey decoration will make your home feel like Christmas.
This Mickey Mouse silhouette centerpiece is so adorable and fun! You can use it for mickey mouse Christmas decor, fall decor or any other time of the year – just by swapping out some elements. It’s a great way to add some personality to your mantel, table, or desk. All you need are some materials and some creative fun!

Mickey Silhouette Buffalo Check Centerpiece or Mantle Decor
I absolutely love Mickey Mouse, and I just had to share this amazing Mickey Cricut craft with you! It is so easy to make too. You can have this adorable centerpiece for your mantle in less than 20 minutes, and it would be a great way to add some Mickey magic into your home on Christmas morning.

What You Need to Make This Mickey Silhouette Buffalo Check Centerpiece or Mantle Decor
- Mickey Silhouette Cut File
- Buffalo Check Vinyl (I used Heat Transfer Vinyl because that’s what I had on hand)
- 1 12×12 Sheet Chipboard
- Floral Wire
- Buffalo Check Poinsettia or other Faux Flower Element
- Two Large Faux Pine Boughs
- Mickey Silhouette Cut File
- Floral Tape
- Cricut EasyPress or Easy Press Mini (that’s what I used)
- Cricut Maker
- Deep Cut Blade
- Masking Tape
- Strong Grip Mat
- Light Grip Mat
- 1 Sheet Parchment Paper
- Wire Cutters
- Hot Glue Gun & Glue

How to Make This Mickey Silhouette Buffalo Check Centerpiece or Mantle Decor
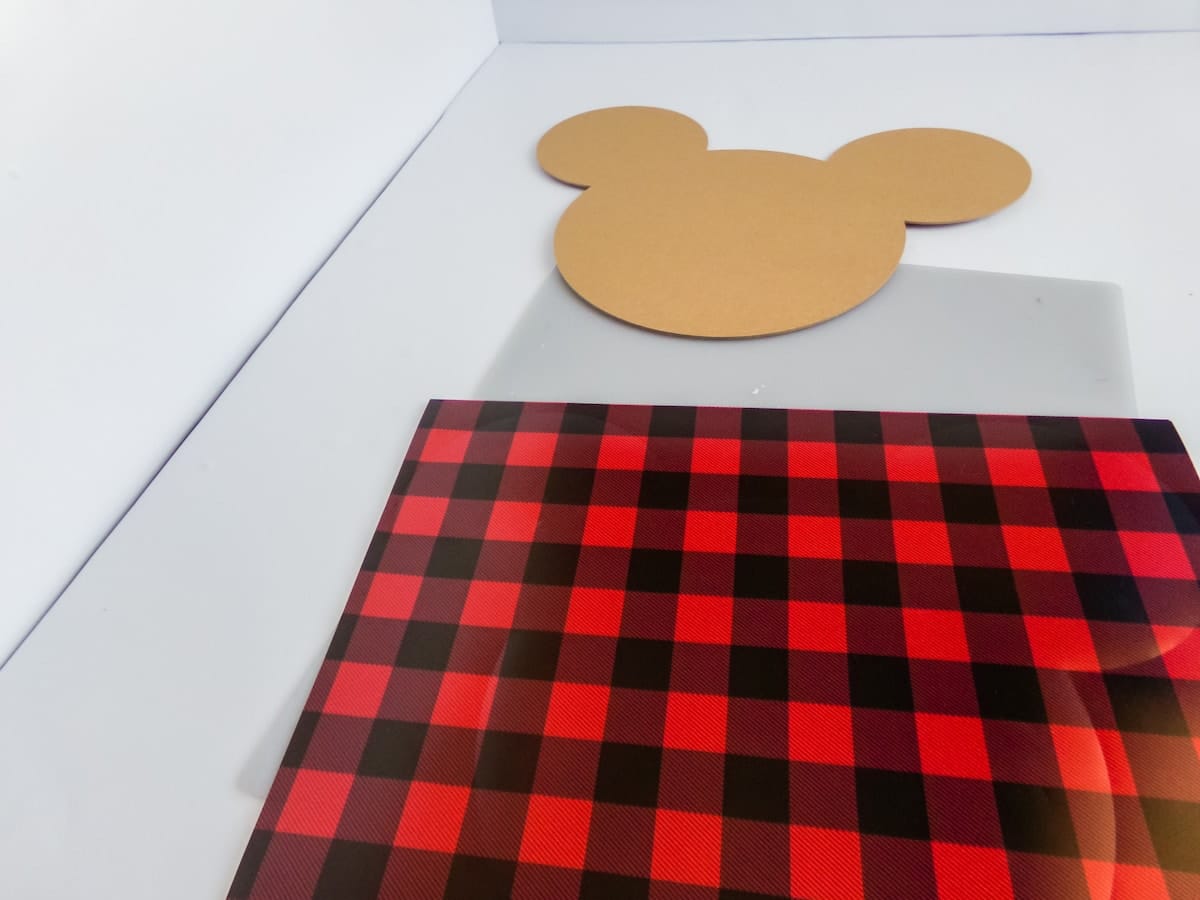
- Download the Mickey silhouette cut file and upload it to Cricut Design Space. Follow the prompts to cut the shape from the buffalo check vinyl AND from the chipboard. I recommend that you use the strong grip mat and tape the corners down to cut the chipboard while using the light grip mat for the vinyl.

- Weed the unnecessary portions of vinyl from the vinyl design and discard. Place the design on the chipboard Mickey silhouette and, using the heat press, affix the vinyl to the chipboard. Allow the chipboard to cool completely (about 1-2 minutes) before removing the plastic protectant sheet.
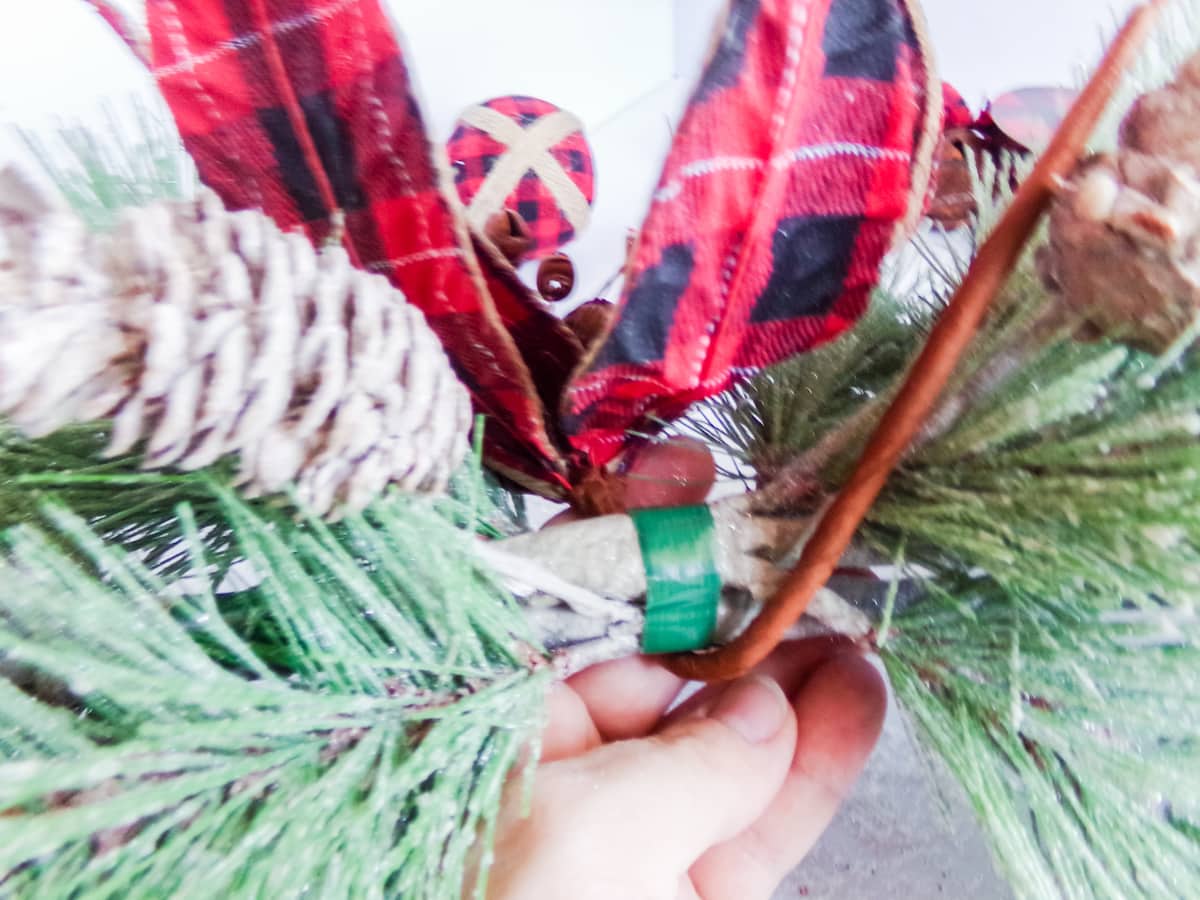
- Place the two large faux pine boughs end-to-end with the ends overlapping. Use the floral tape to secure them together.
- Use the buffalo check poinsettia pick to cover the join of the two pine boughs and secure the poinsettia in place.
- Flip the Mickey silhouette element face-down and hot glue two pieces of floral wire about 6 inches long each to the back of the silhouette, about 1 inch from the bottom.
- Slip the Mickey silhouette between the poinsettia and the pine boughs and use the floral wires affixed to the silhouette to attach the silhouette to the pine boughs. Secure with hot glue if desired. Place on the mantel or add a hanger to the pine boughs to hang on the door!

And that’s all! Seriously – you can have this fun Mickey Cricut craft made in just a few mintues with minimal supplies!

More Holiday Crafts You’ll Love
Mickey Silhouette Buffalo Check Centerpiece or Mantle Decor

Fast and fun to make, you can have this Mickey silhouette buffalo check centerpiece made in just a few minutes using your Cricut or Silhouette cutting machine!
Materials
- Mickey Silhouette Cut File
- Buffalo Check Vinyl (I used Heat Transfer Vinyl because that’s what I had on hand)
- 1 12x12 Sheet Chipboard
- Floral Wire
- Buffalo Check Poinsettia or other Faux Flower Element
- Two Large Faux Pine Boughs
- Mickey Silhouette Cut File
- Floral Tape
Tools
- Cricut EasyPress or Easy Press Mini (that’s what I used)
- Cricut Maker
- Deep Cut Blade
- Masking Tape
- Strong Grip Mat
- Light Grip Mat
- 1 Sheet Parchment Paper
- Wire Cutters
- Hot Glue Gun & Glue
Instructions
- Download the Mickey silhouette cut file and upload it to Cricut Design Space. Follow the prompts to cut the shape from the buffalo check vinyl AND from the chipboard. I recommend that you use the strong grip mat and tape the corners down to cut the chipboard while using the light grip mat for the vinyl.
- Weed the unnecessary portions of vinyl from the vinyl design and discard. Place the design on the chipboard Mickey silhouette and, using the heat press, affix the vinyl to the chipboard. Allow the chipboard to cool completely (about 1-2 minutes) before removing the plastic protectant sheet.
- Place the two large faux pine boughs end-to-end with the ends overlapping. Use the floral tape to secure them together.
- Use the buffalo check poinsettia pick to cover the join of the two pine boughs and secure the poinsettia in place.
- Flip the Mickey silhouette element face-down and hot glue two pieces of floral wire about 6 inches long each to the back of the silhouette, about 1 inch from the bottom.
- Slip the Mickey silhouette between the poinsettia and the pine boughs and use the floral wires affixed to the silhouette to attach the silhouette to the pine boughs. Secure with hot glue if desired. Place on the mantel or add a hanger to the pine boughs to hang on the door!
Recommended Products
As an Amazon Associate and member of other affiliate programs, I earn from qualifying purchases.