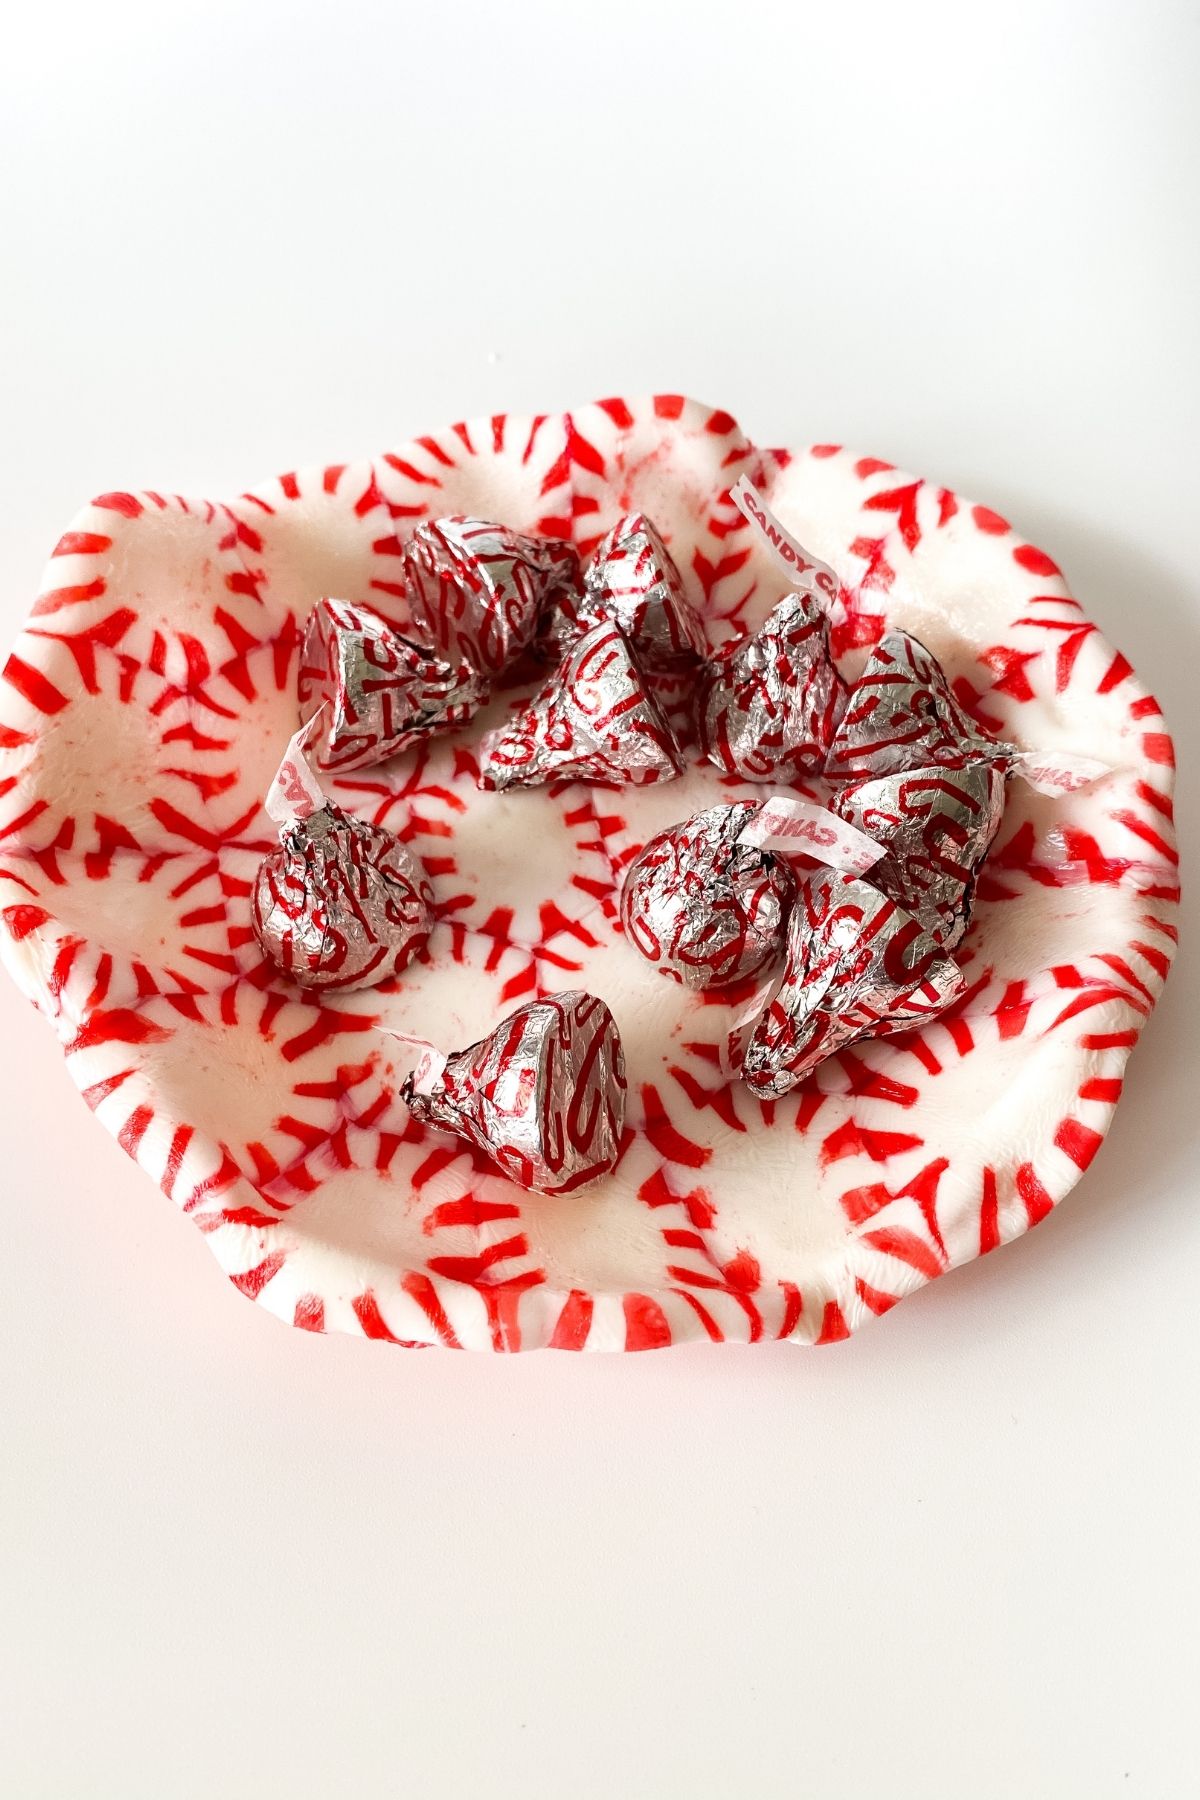
What a splendid idea! These DIY peppermint candy bowls are ideal to use as a serving dish or as part of a gift. Fill them with candy, treats, and goodies and place on tables to add fun to your holiday decor. This easy tutorial is a fun project to make with the kids and add to your holiday routine this year.
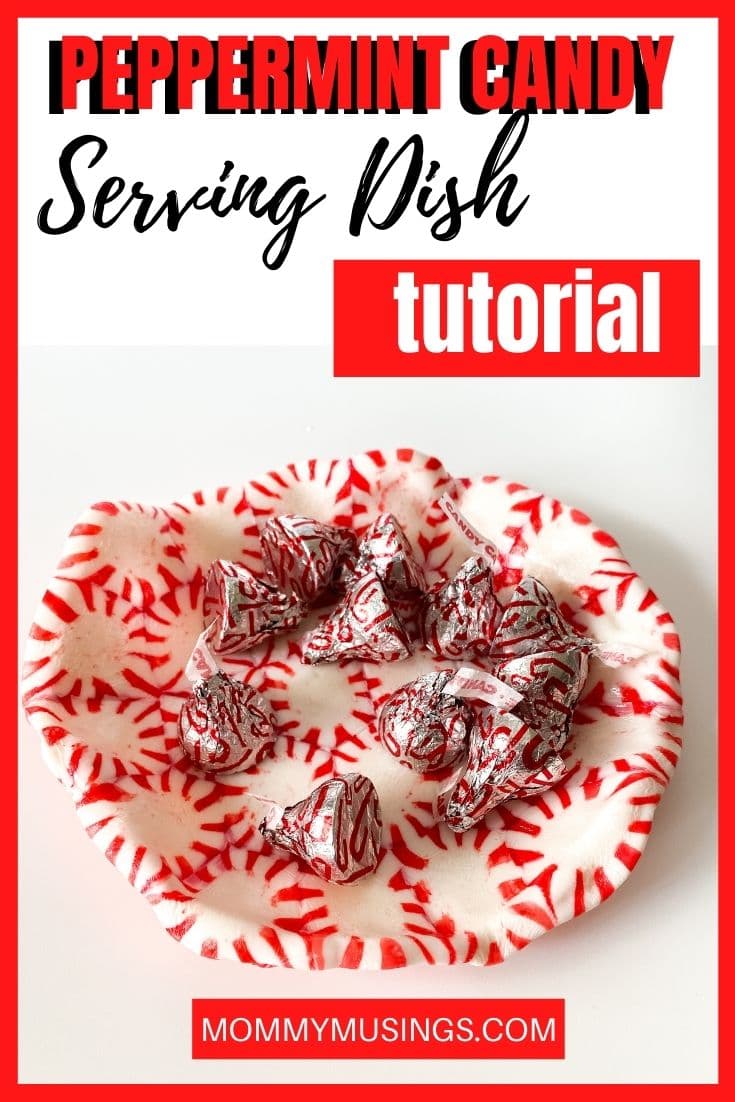
Peppermint Candy Serving Dish
Peppermints aren't just for the holidays. I have them on hand year round, but this project is appealing for Christmas. Since it matches the common red and white theme of the holidays, it's a perfect inexpensive little idea to add to your routine. I like using these as candy dishes on tables and entry ways, but you can also use them for other fun parts of your holiday gifting routine.
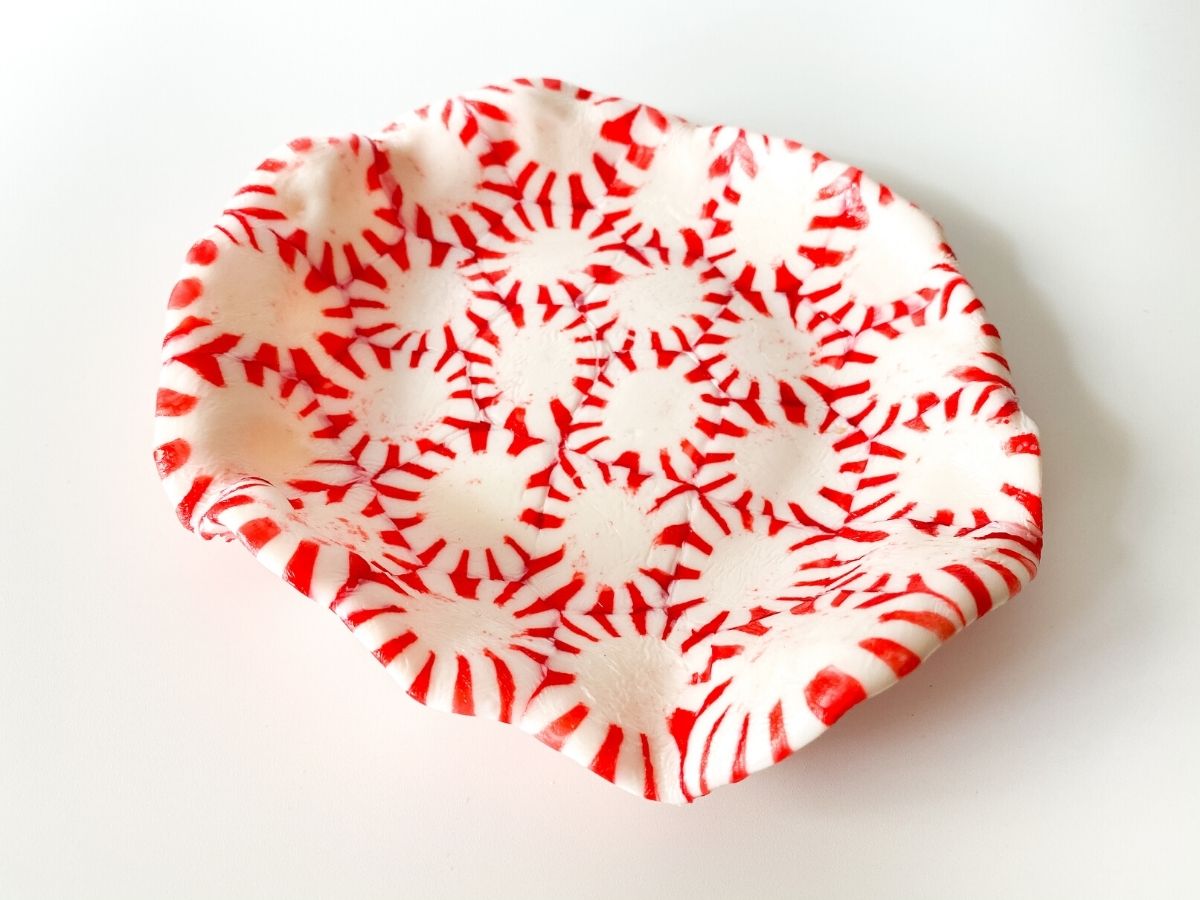
What Can I Use This For?
It's pretty obvious that this is a bowl for holding things, but what all can it hold? Well, the possibilities for this are endless, but below are some fun ideas I would use these dishes for in our holiday routine.
- Fill with candy and place on an entry way or as part of a dessert buffet.
- Use as a base for a hot cocoa bomb to wrap and gift. This would look great underneath the Mickey Hot Cocoa Bombs shared recently.
- Fill several of these with different flavors of hot cocoa and place on a hot cocoa charcuterie board for a fun serving option.
- Use them to serve peppermint or chocolate ice cream.
- Place a solid white, green, red, silver, or gold candle in the bowl and use as an inexpensive candle holder.
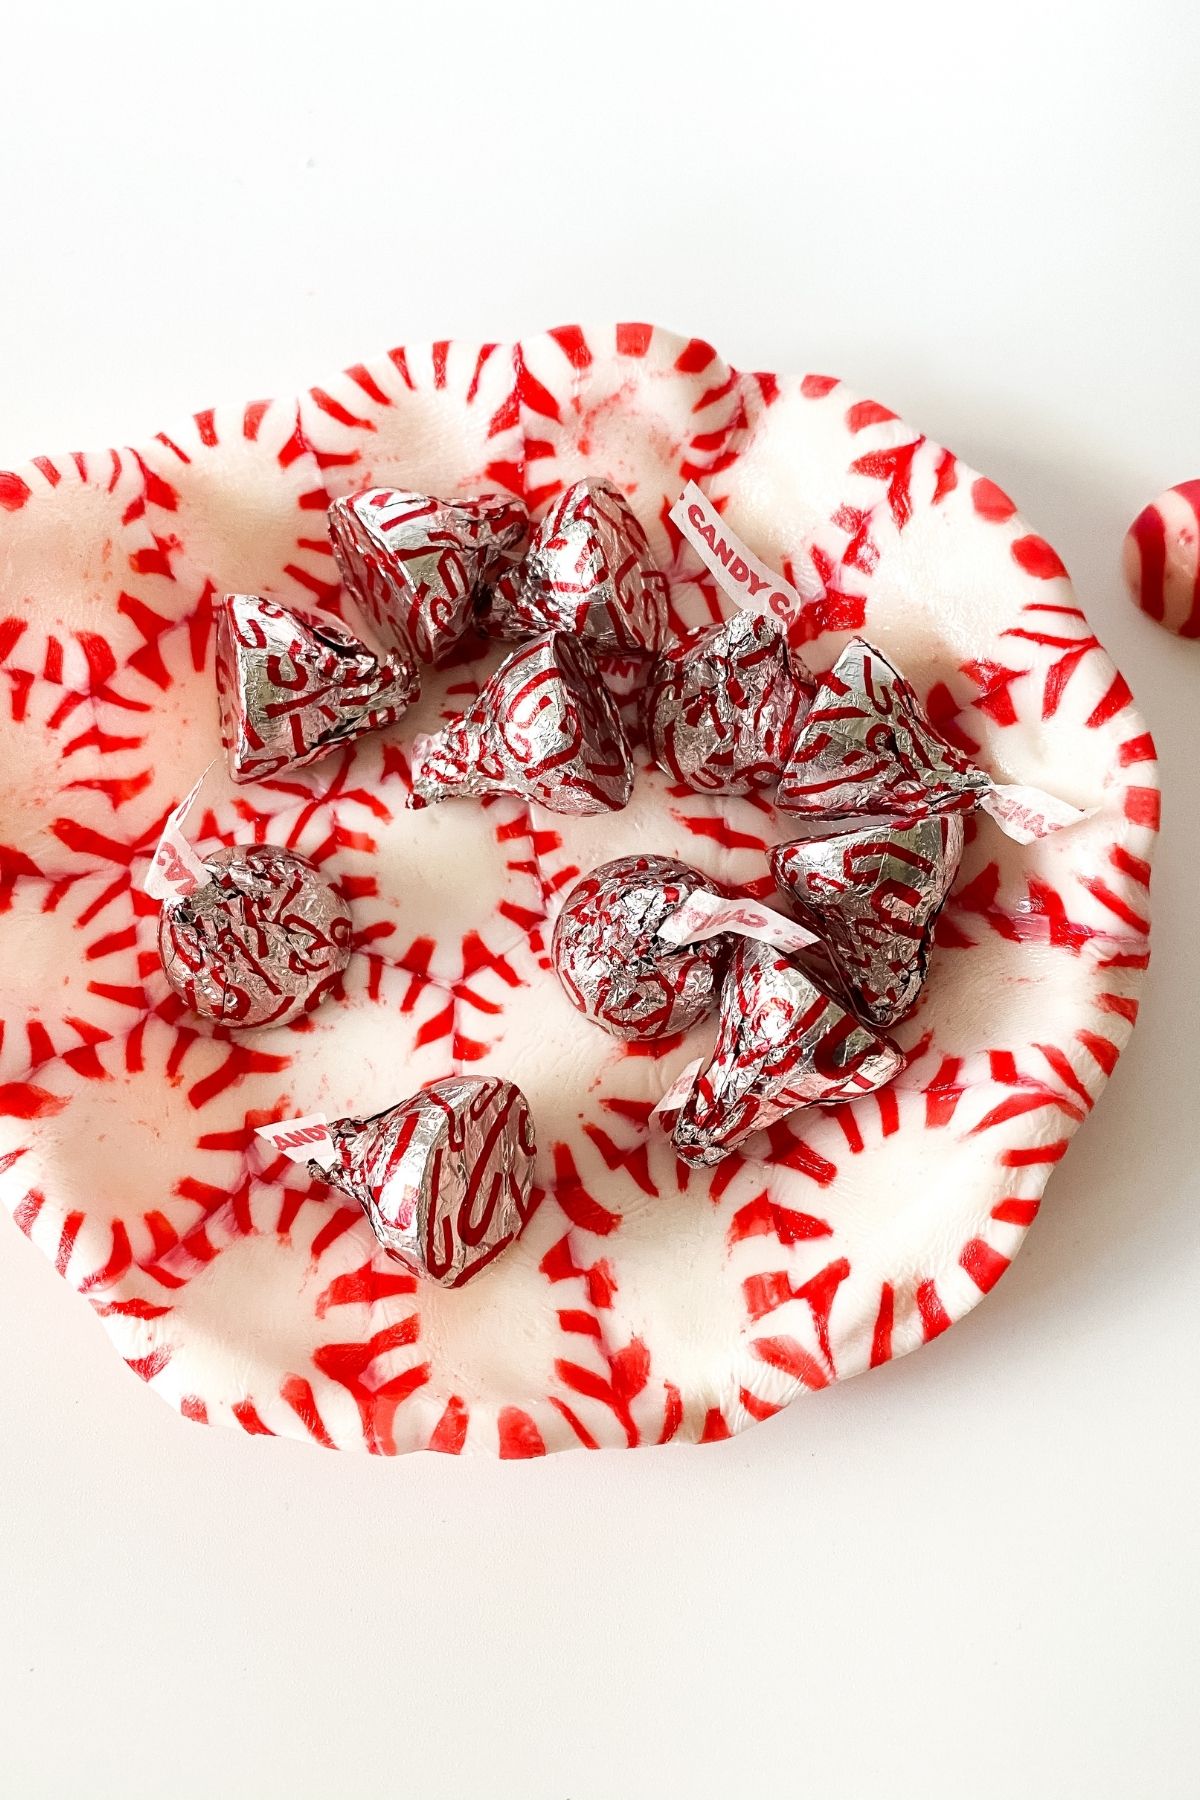
Can I Do This With Other Hard Candies?
You can do this same process with almost any hard candy. So, feel free to make these bowls using spearmint candy, cinnamon discs, or even fun items like Lifesavers candy or Jolly Ranchers. You can mix and match colors and create unique candy bowls to use for any holiday or event.
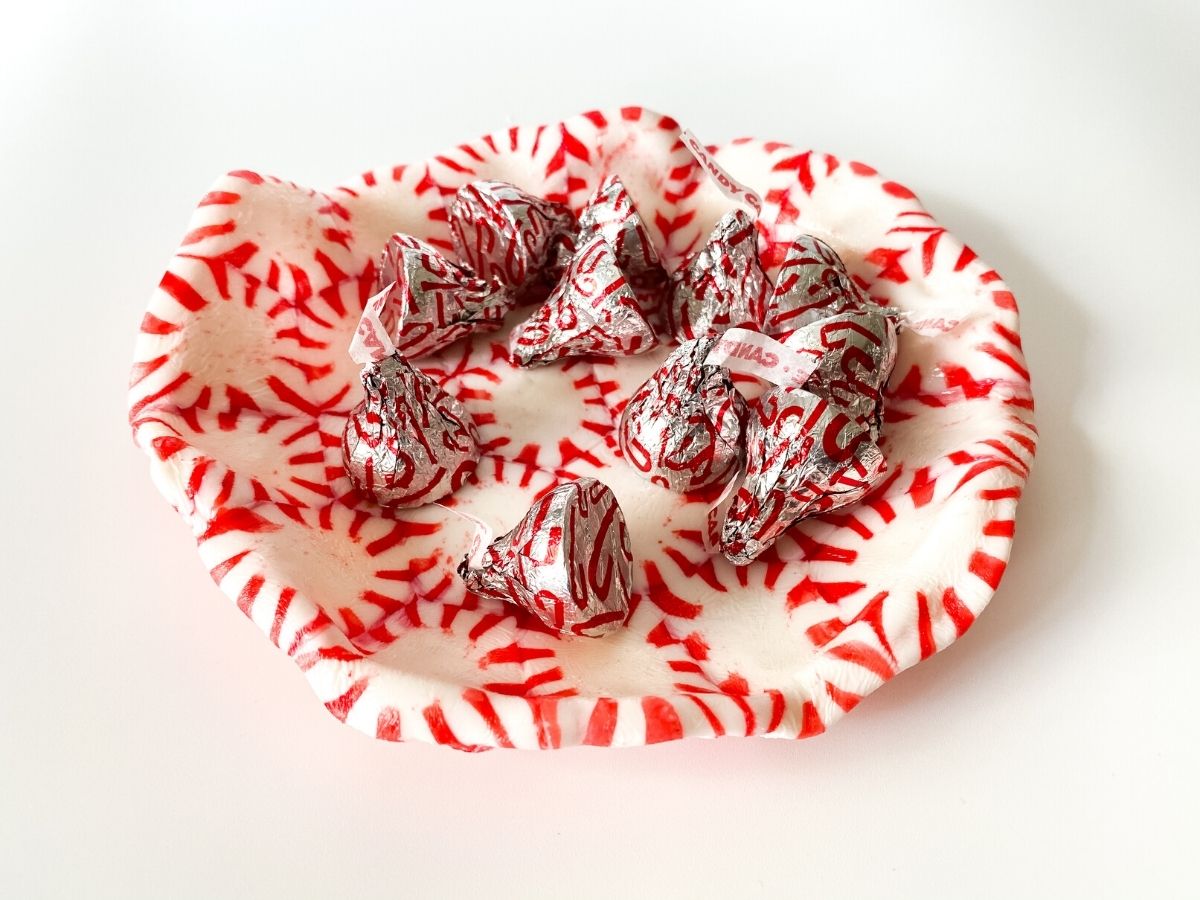
How Long is This Good For?
Since you won't be eating this after you make and use it as a bowl, it's not as important to keep a strict timeline for use. I have seen these coated with shellac or a sealant and kept for a few years. So, they are good for a long time depending upon how or if you seal them. You should also keep in mind that even though these candies are melted together, they are still fairly fragile and can break easily.
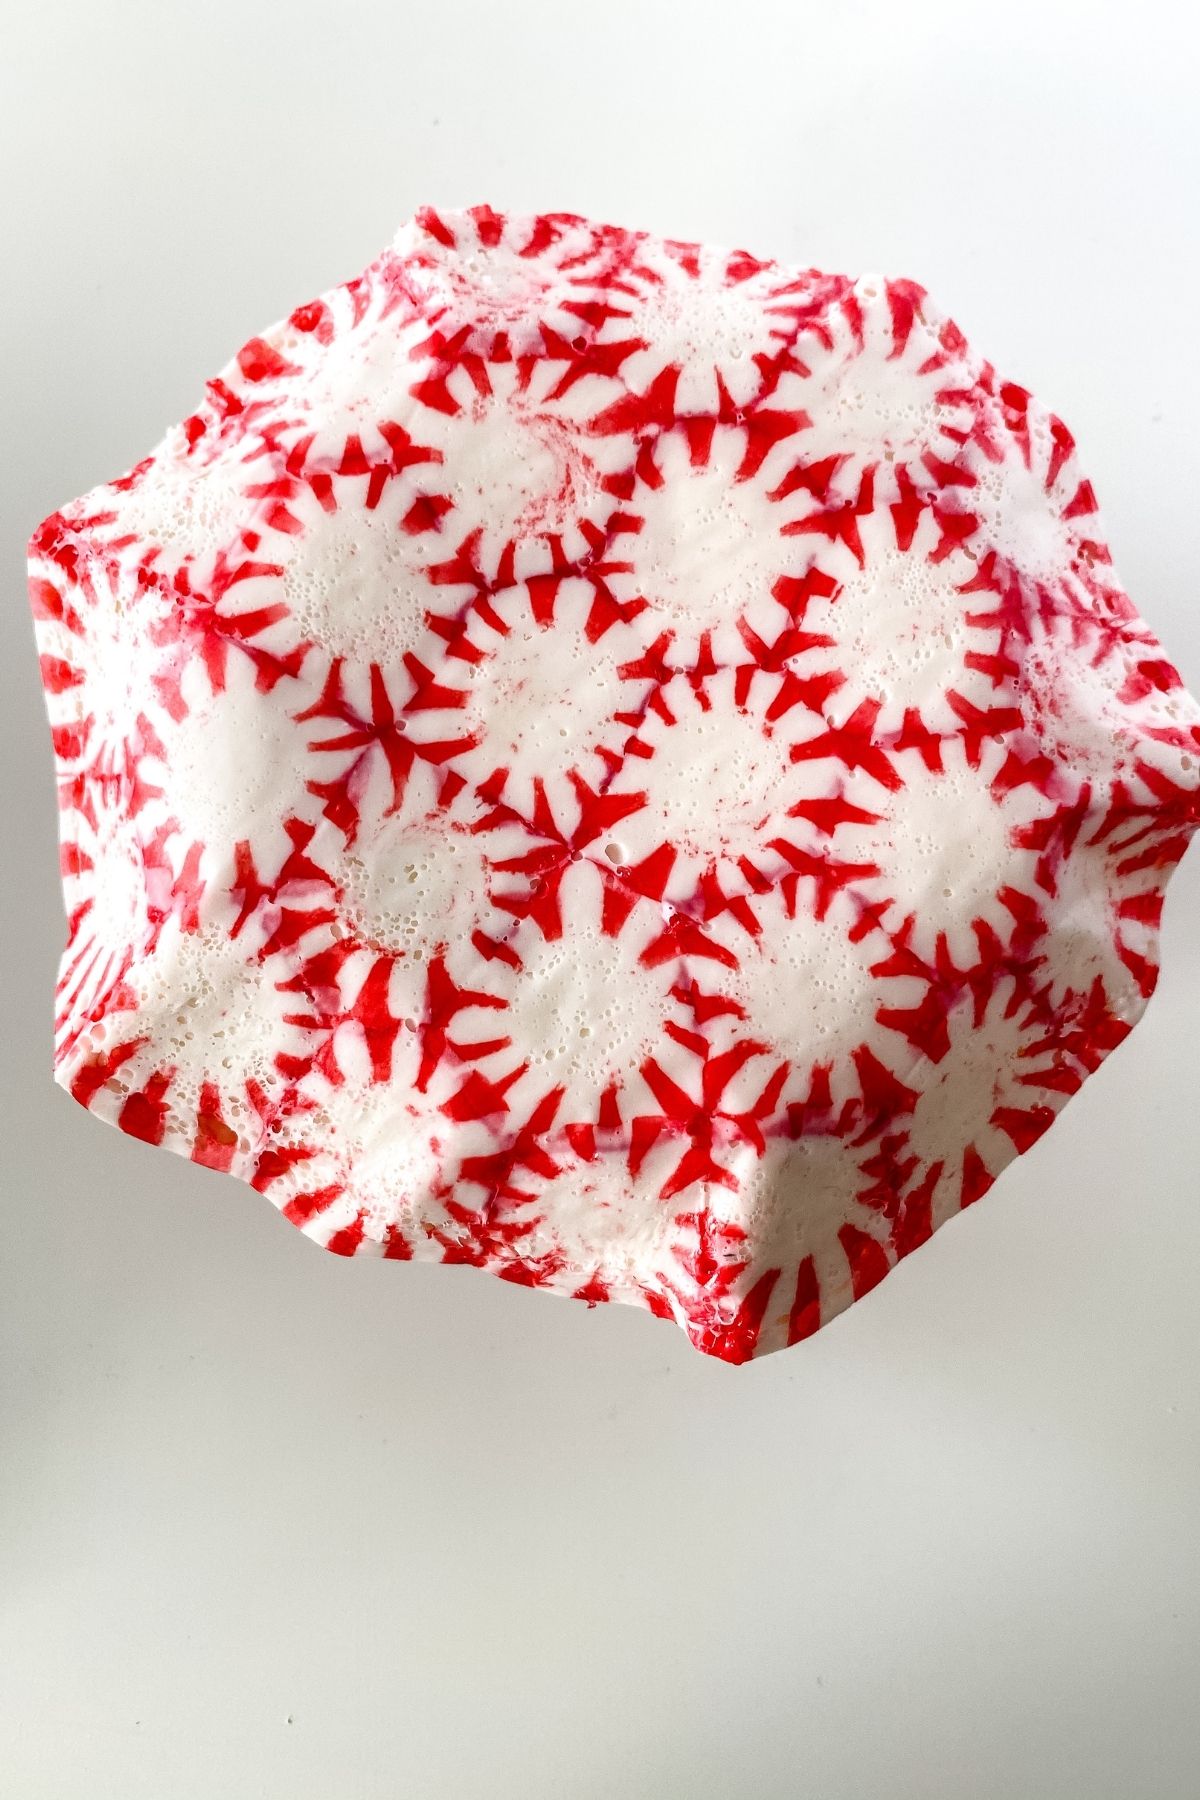
Supplies
- Peppermint candy
- Parchment paper
- Glass bowl
- Baking sheet
How to Make a DIY Peppermint Candy Serving Dish
Preheat the oven to 350°F and line a baking sheet with parchment paper.
Unwrap the peppermint candies and begin placing them onto the center of the parchment paper creating a circle.
Start with one candy in the middle and then place candies in a circle so they are touching each other for 2-3 rows or until as large as you wish. This one was made using 25 candy pieces. You'll want to measure ahead of time against the bowl you are using and may need to adjust how many candies are used.
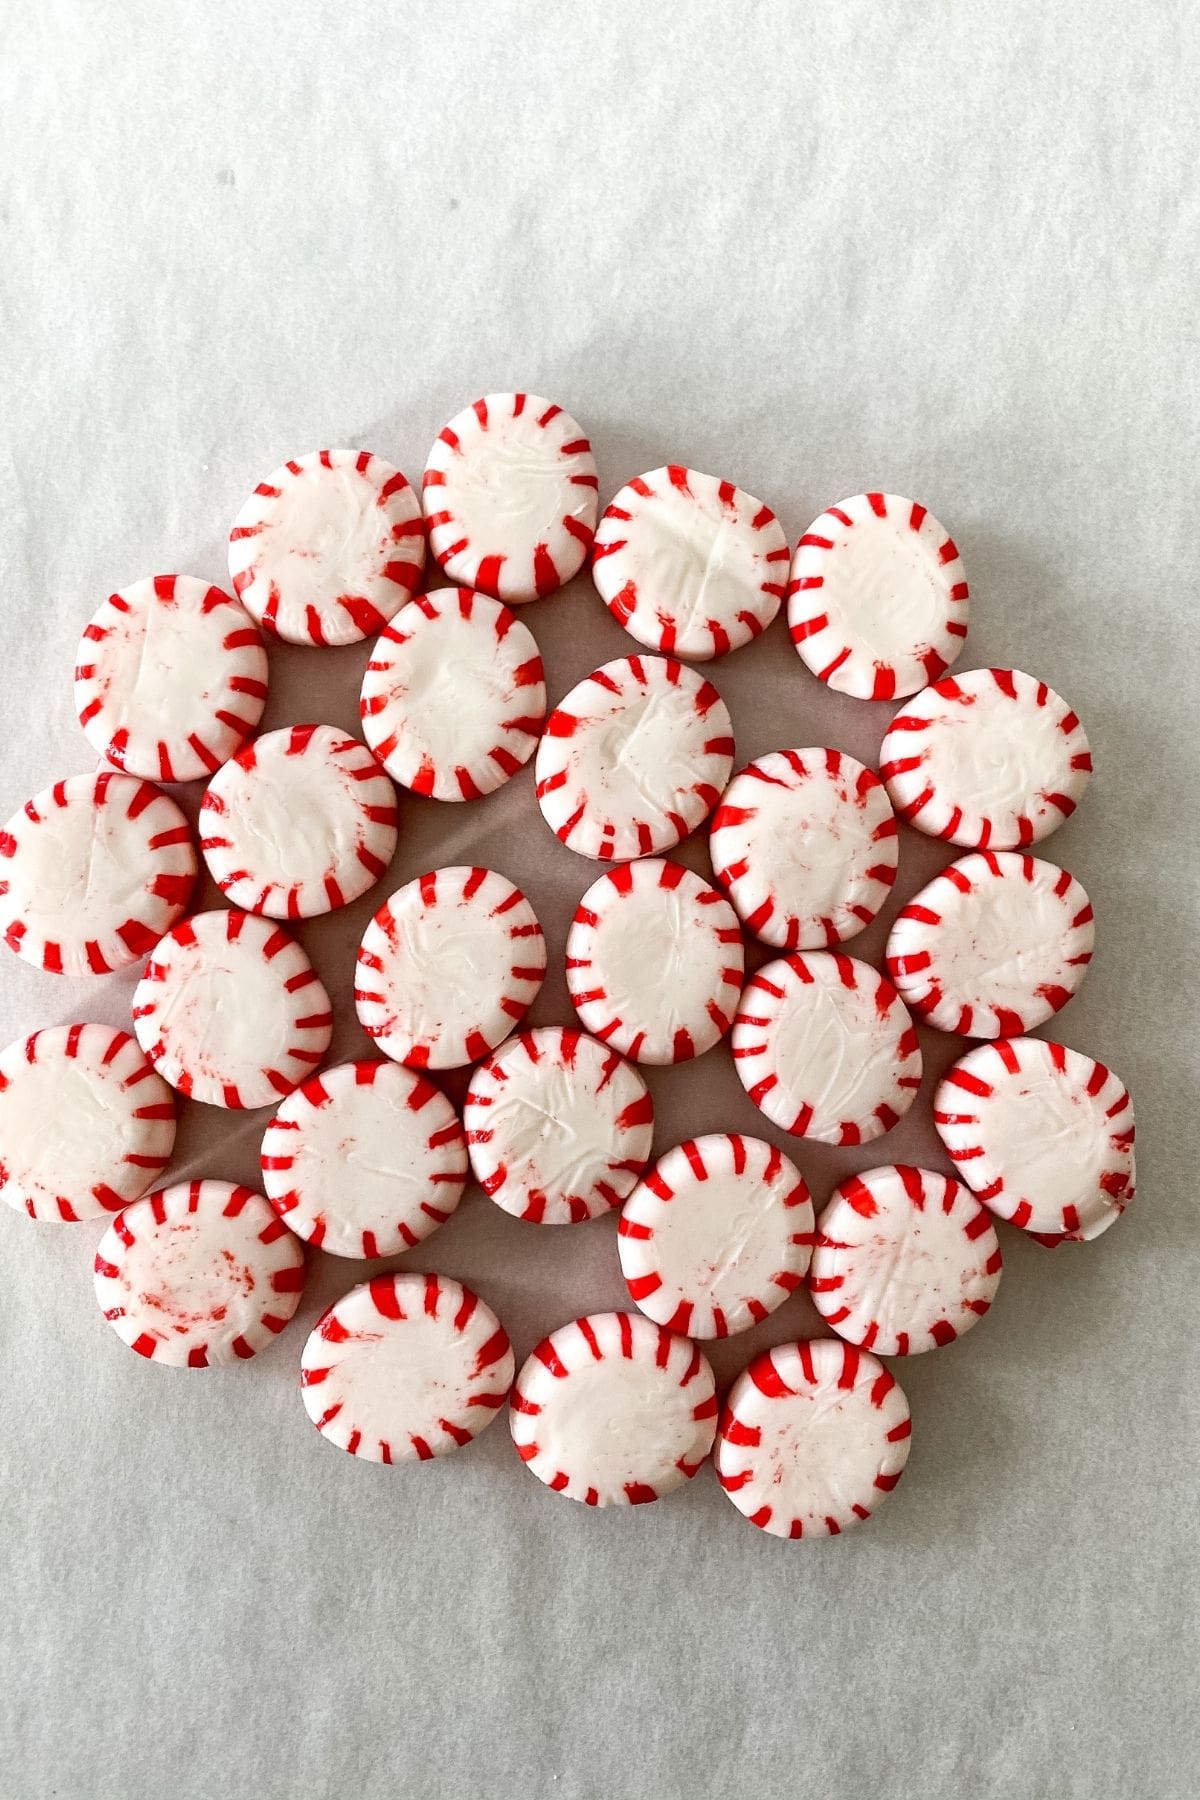
Carefully place the baking sheet into the oven making sure they stay together in the circle.
Bake for 8 minutes then check to see if the candy is melted. You want it to melt, but not begin to bubble. This takes between 8-12 minutes depending upon your oven.
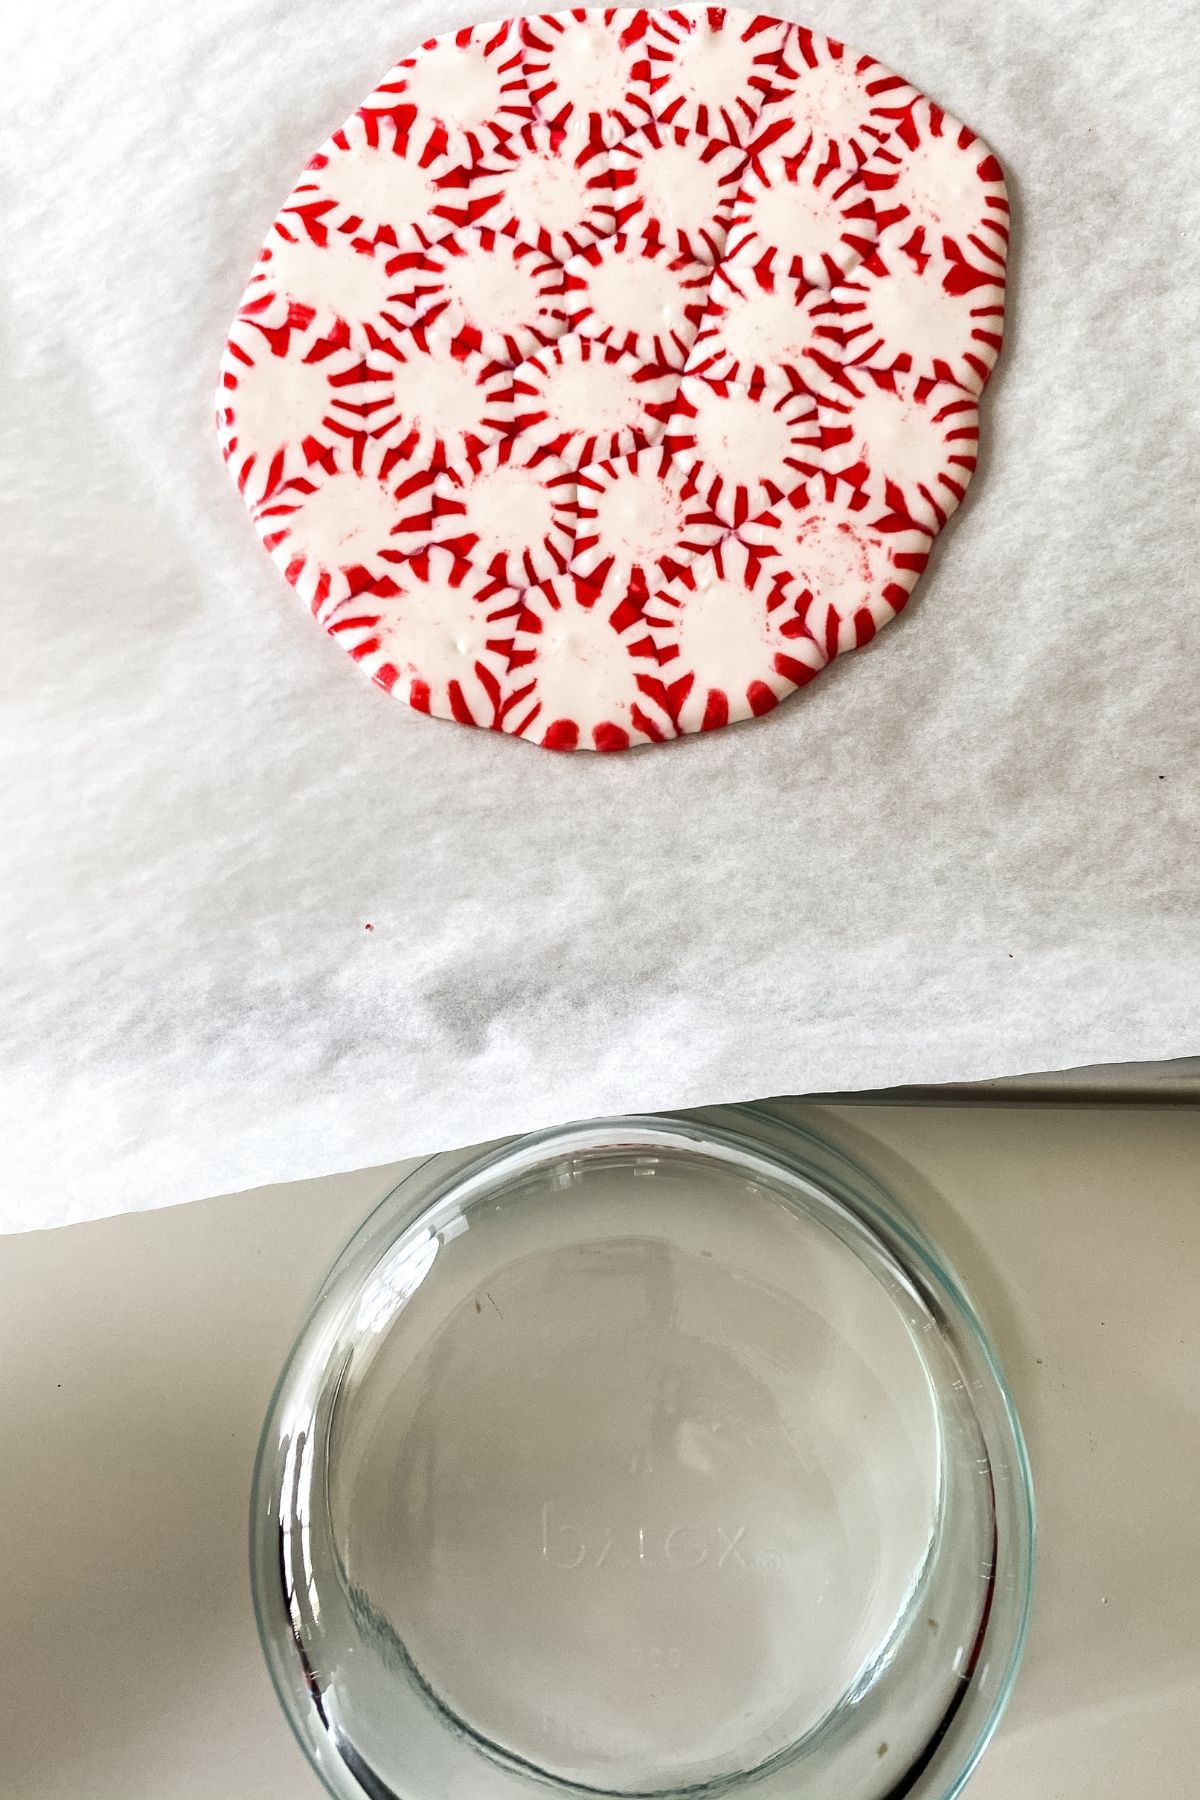
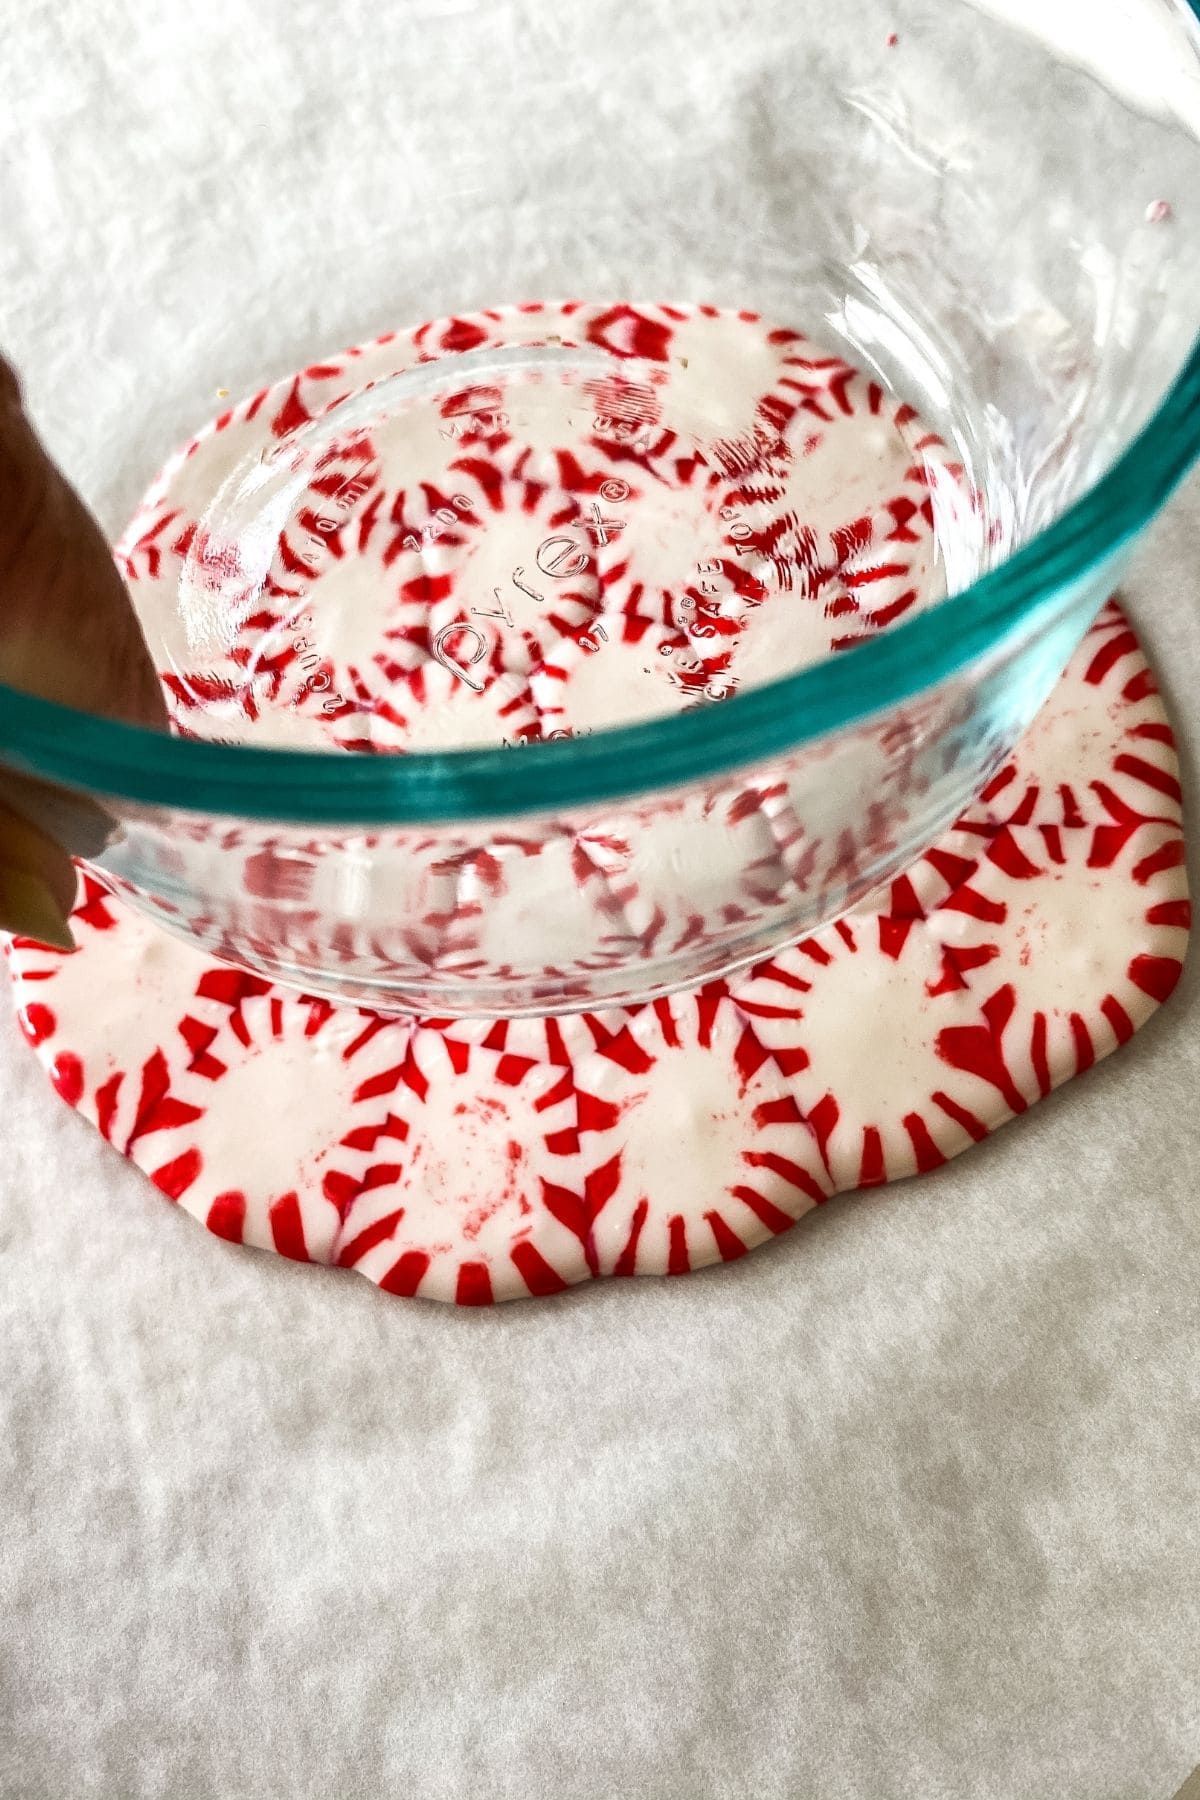
Remove from the oven and gently pick up the parchment paper holding the melted candy then lay it over the upside down bowl making sure the candy presses down on the sides to form the bowl shape.
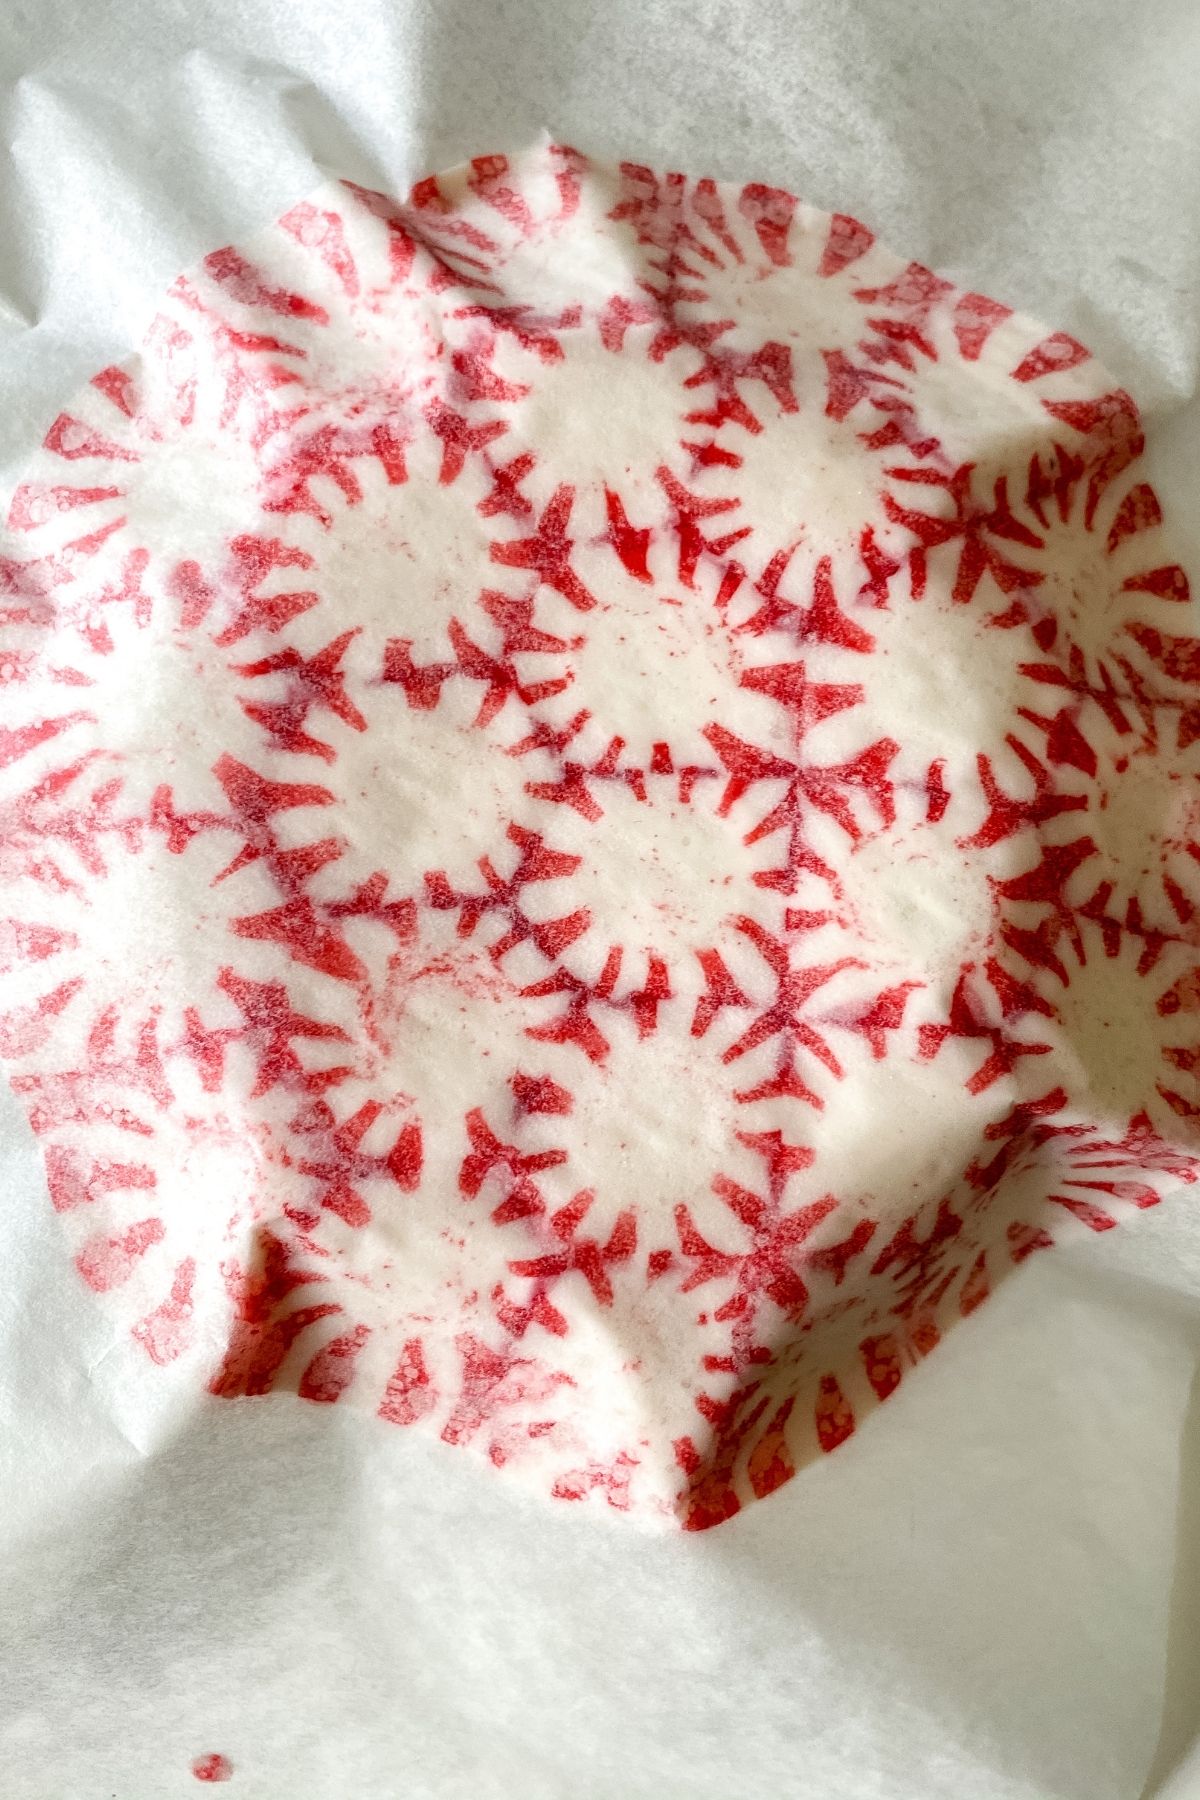
Allow this to cool for 15-20 minutes.
Remove the parchment paper and use as desired.
More Fun Holiday Projects
Looking for more holiday treat ideas? Check out some of these fun ways we've celebrated this year!
- Hot Cocoa Unicorn Horns Gift Idea
- Easy Farm Truck Garland in a Jar Git Idea
- Fun Burlap Reindeer Banner and Gift or Storage Jar
- Moose Tracks Cookie Mix in a Jar
DIY Peppermint Candy Bowls or Serving Dish
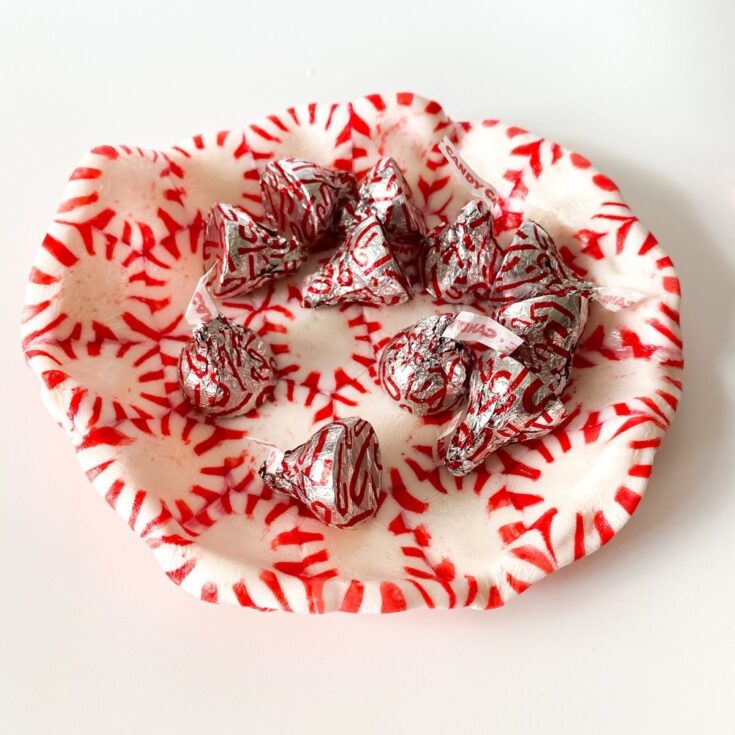
Follow this easy tutorial to create your own peppermint candy bowl or serving dish that is perfect for candy at Christmas!
Materials
- 25 peppermint candies, unwrapped
Tools
- Glass bowl
- Parchment paper
- Baking sheet
Instructions
- Preheat the oven to 350°F and line a baking sheet with parchment paper.
- Unwrap the peppermint candies and begin placing them onto the center of the parchment paper creating a circle.
- Start with one candy in the middle and then place candies in a circle so they are touching each other for 2-3 rows or until as large as you wish. This one was made using 25 candy pieces. You'll want to measure ahead of time against the bowl you are using and may need to adjust how many candies are used.

- Carefully place the baking sheet into the oven making sure they stay together in the circle.
- Bake for 8 minutes then check to see if the candy is melted. You want it to melt, but not begin to bubble. This takes between 8-12 minutes depending upon your oven.
- Remove from the oven and gently pick up the parchment paper holding the melted candy then lay it over the upside down bowl making sure the candy presses down on the sides to form the bowl shape.
- Allow this to cool for 15-20 minutes.
- Remove the parchment paper and use as desired.

Notes
Make in a variety of sizes for different uses at your holiday parties.
Recommended Products
As an Amazon Associate and member of other affiliate programs, I earn from qualifying purchases.
-
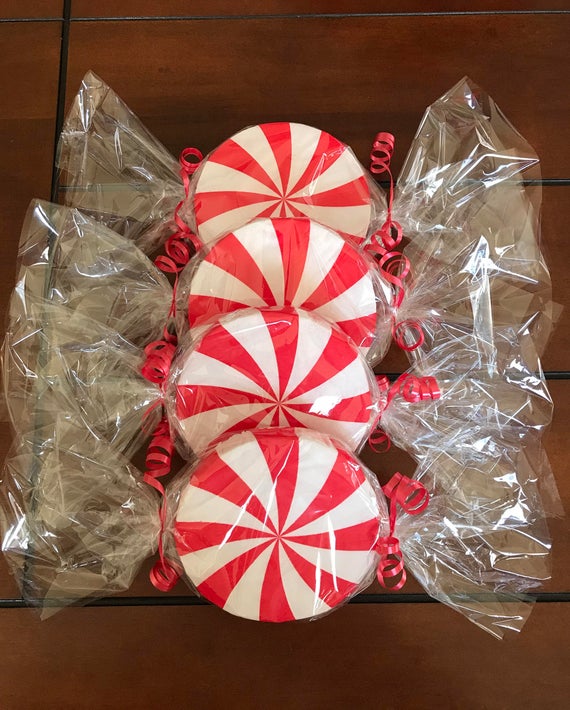 Peppermint Candy set of 4. | Etsy
 -
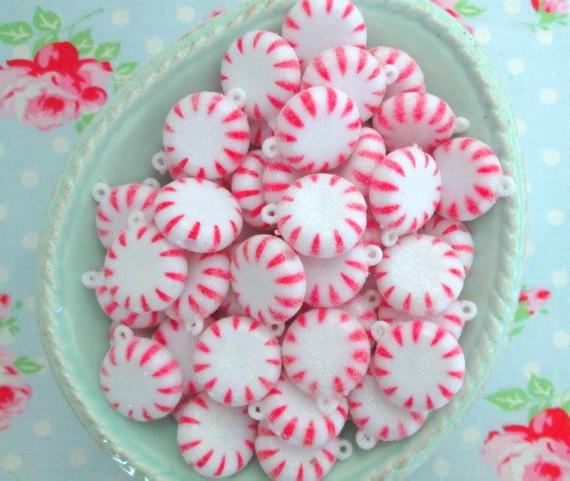 Glittered Peppermint Embellishments ¾ inch Set of 4 | Etsy
 -
 Red Peppermint Fake Polymer Clay Dessert Candy Slice | Etsy
 -
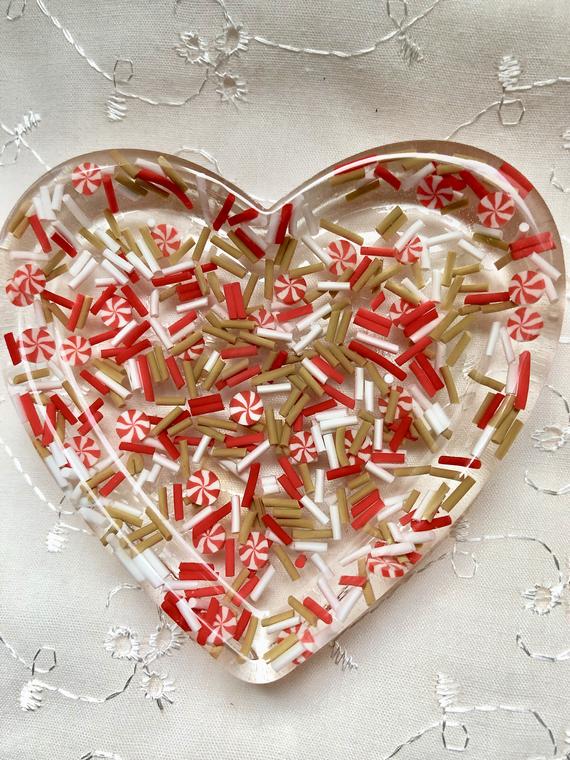 Christmas Peppermint Candy Gingerbread Trinket Jewelry Resin | Etsy
 -
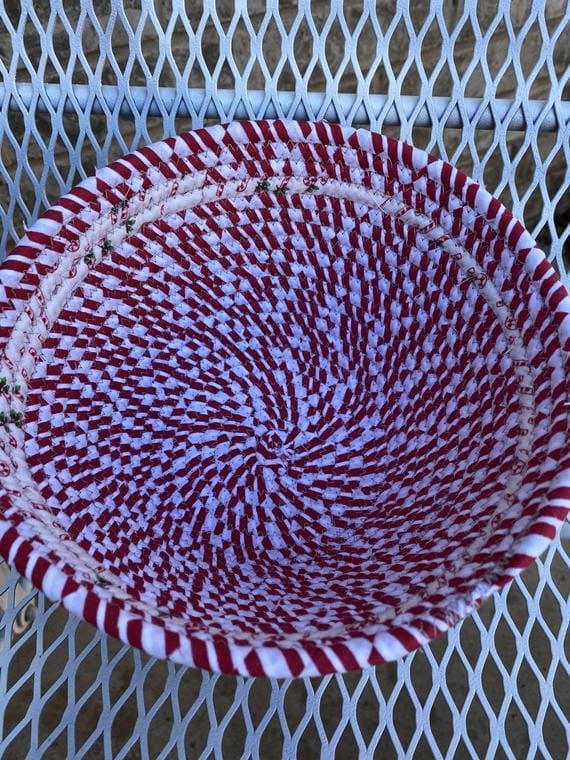 Candy Stripes Bowl | Etsy
 -
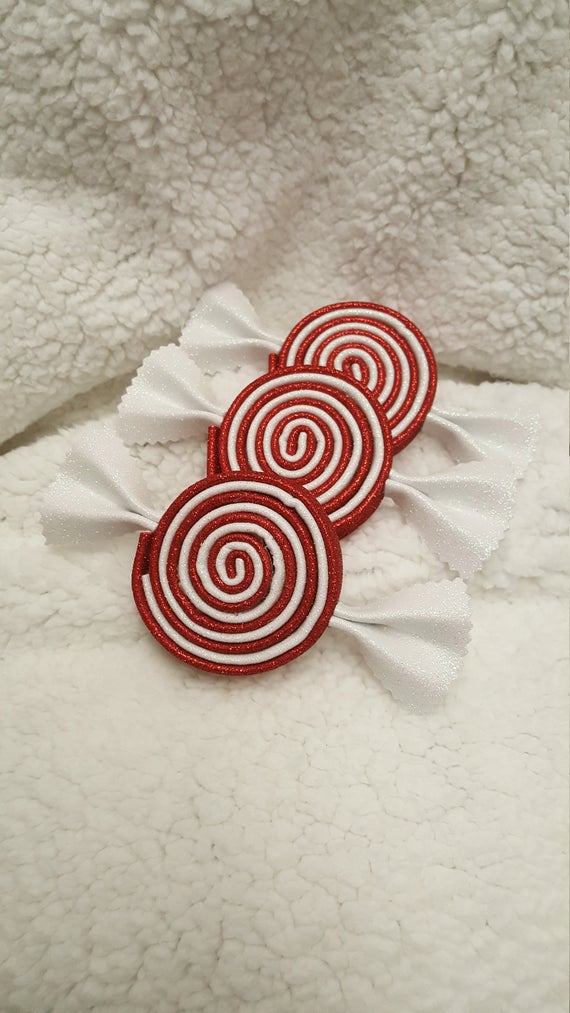 Christmas Peppermint Swirl Glitter Foam Candy Candy Cane | Etsy






Leave a Reply