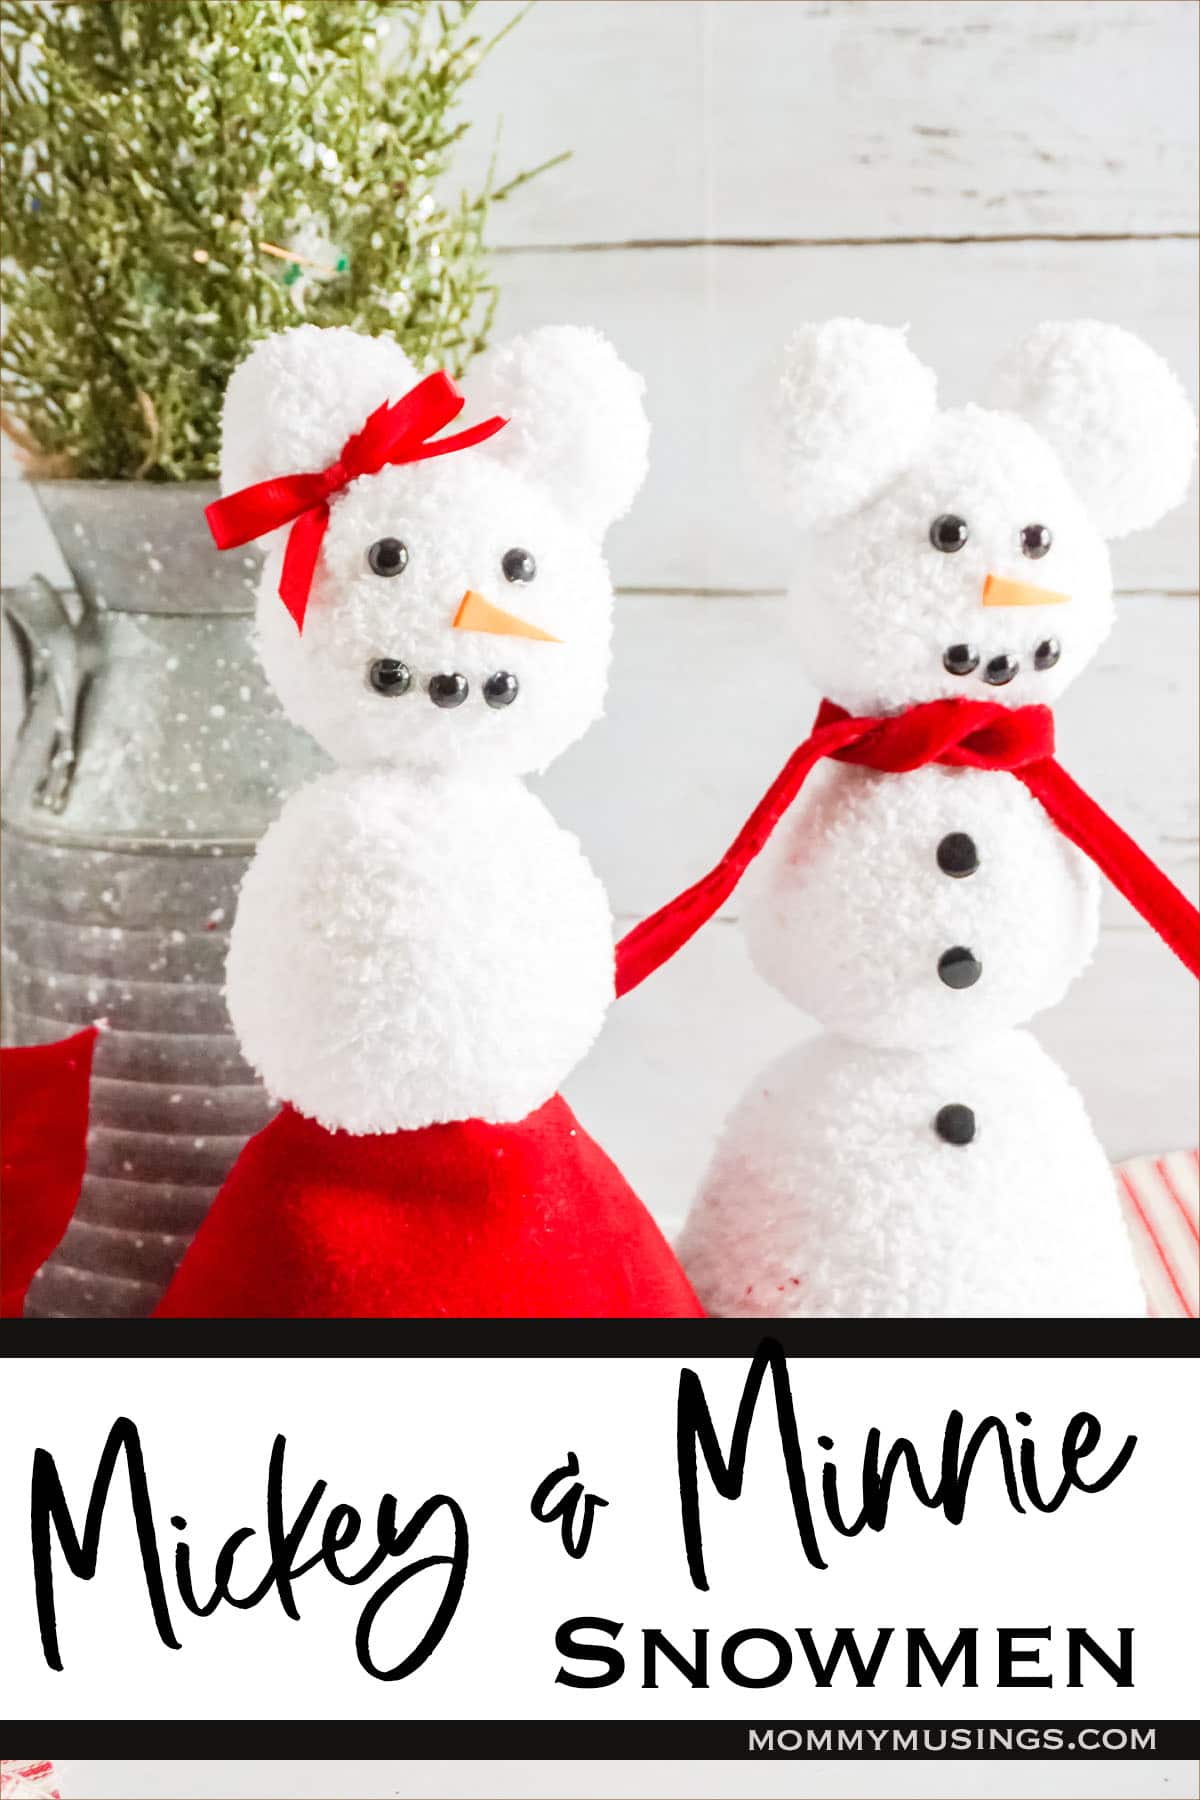
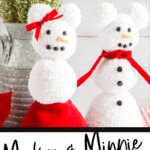
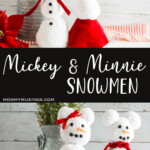
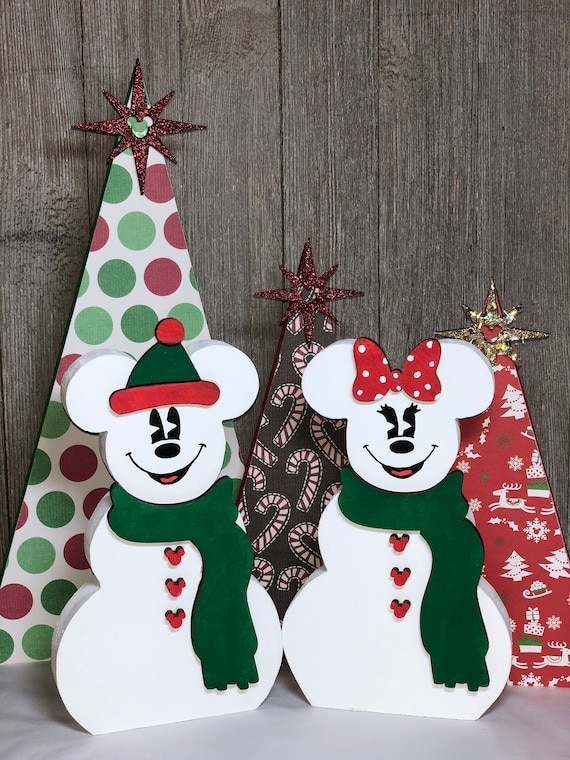
Fast and fun, this easy Mickey & Minnie snowman craft make s great Disney winter DIY craft that anyone can make.
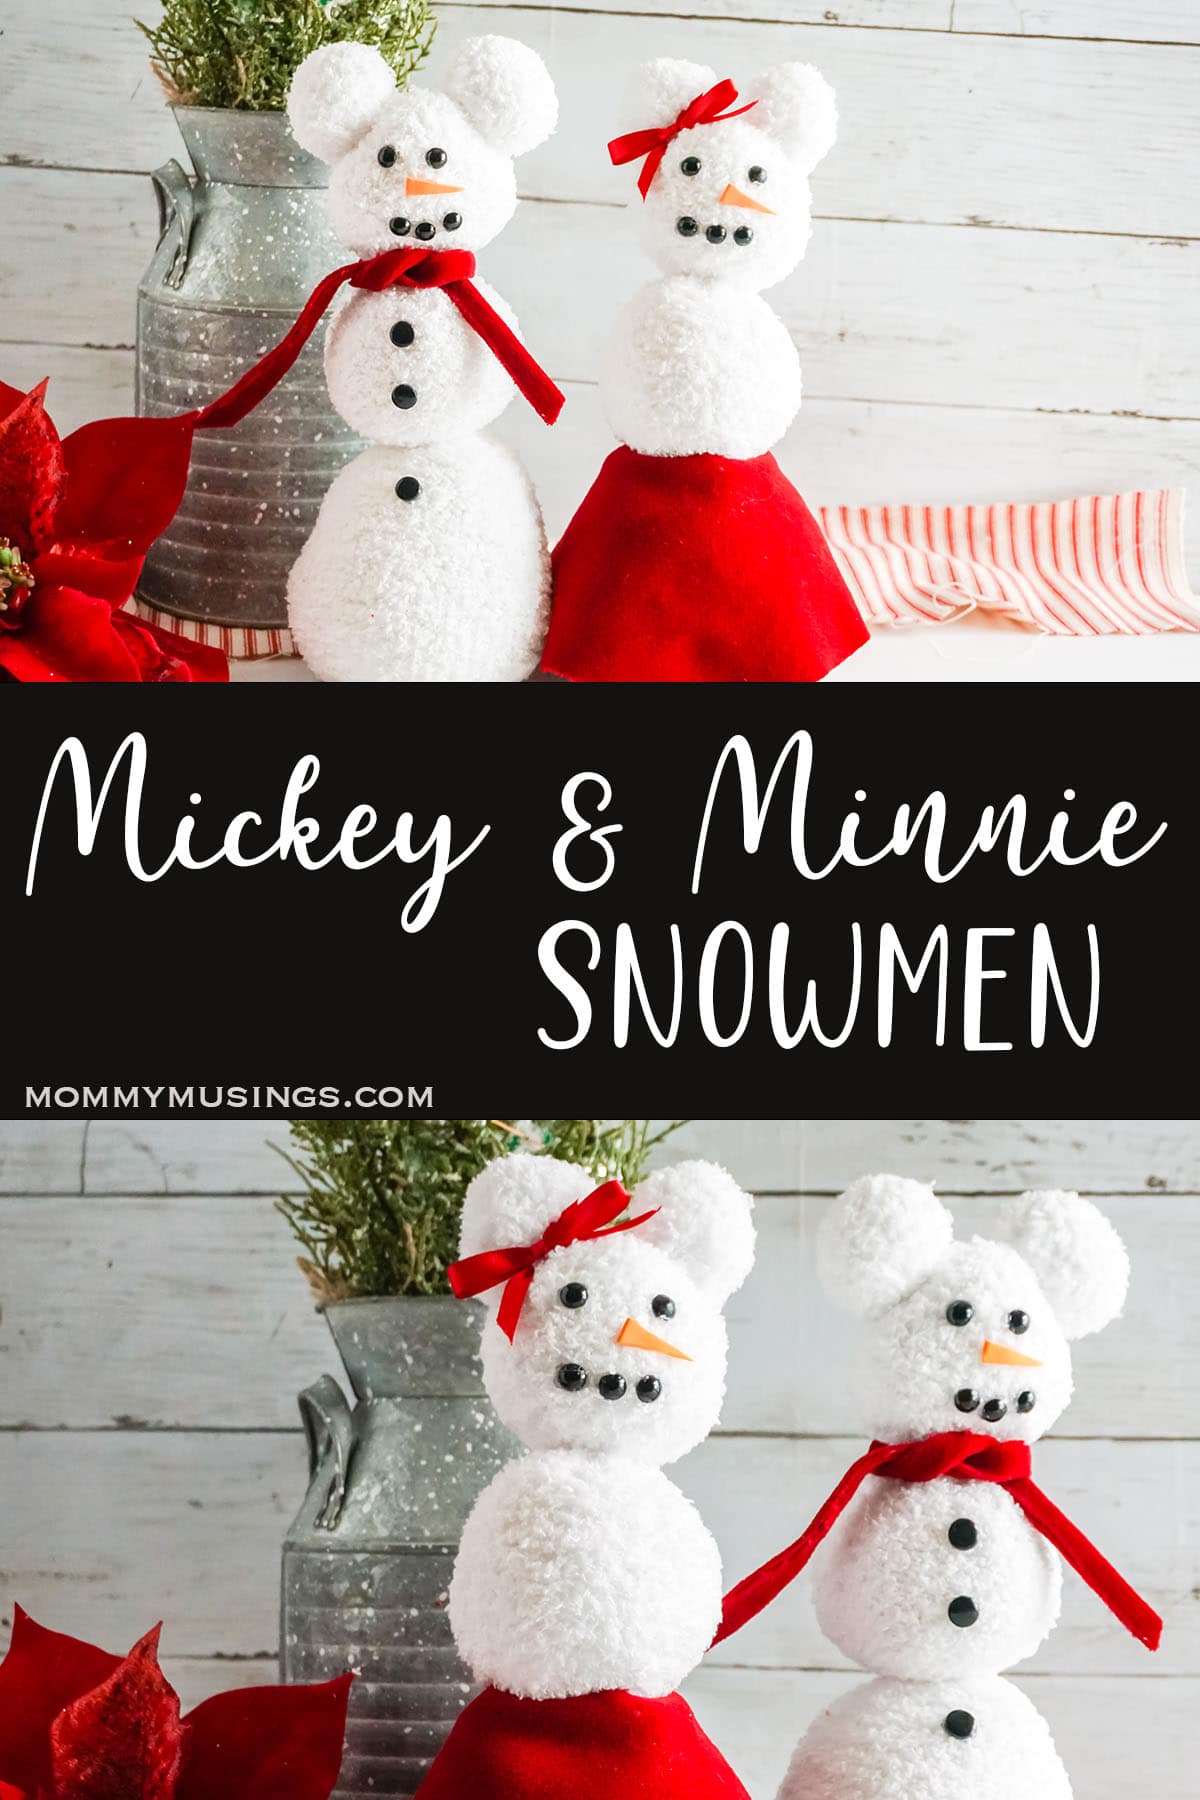
Mickey Mouse and Minnie Mouse are the perfect characters for this festive snowman craft. You can make them together with your kids or by yourself in a little bit of time, to display with your farmhouse decor for the holidays!
The best part is that this particular set of Mickey and Minnie Snowmen are made from socks! Seriously, just socks and some stuffing and you can make this little snowman set in minutes!
Let's walk through how to make this DIY Mickey snowman set for a great decoration or as an awesome Disney gift idea!
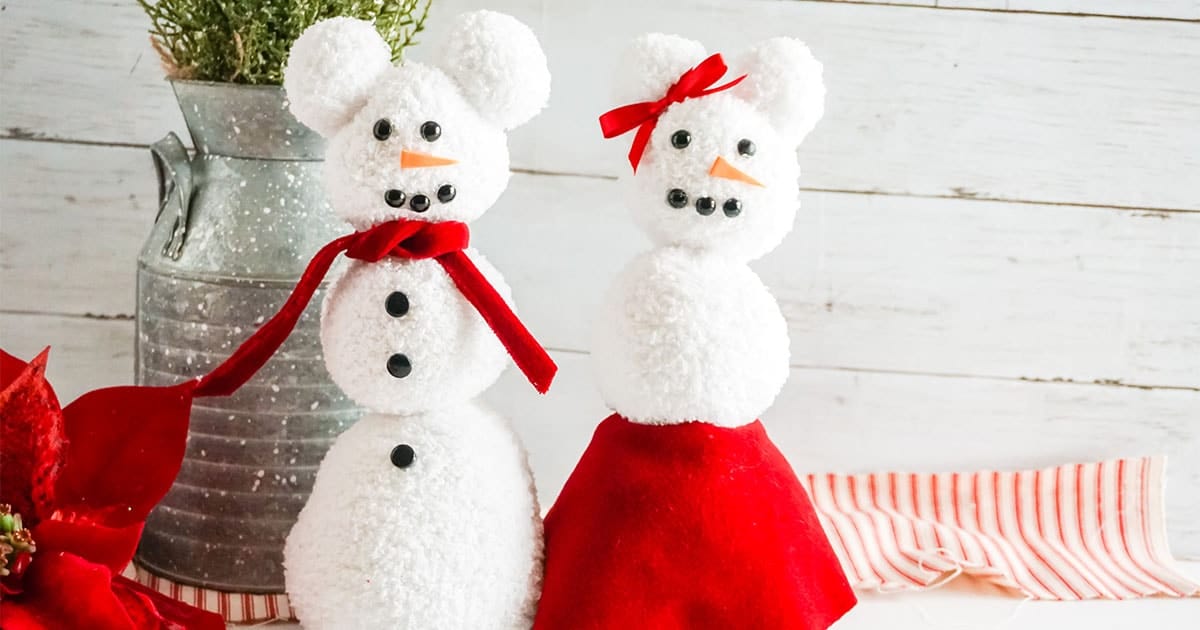
Easy Mickey & Minnie Snowman Craft for Disney Winter DIY Fun
Love Disney winter DIY fun? Mickey and Minnie are the perfect snowman design for this season. You can make them with just a few supplies, some patience, and of course lots of love! Let's get started!
What You Need to Make a Mickey & Minnie Snowman Craft
- Two White Fluffy Socks
- ¼-inch Red Ribbon
- ⅛ yd Red Velvet
- ½-inch Red and White Polka Dot Ribbon, optional
- Small Amount of Polyfill
- 2 Bamboo Skewers
- 4 tiny Neon Green Pom Poms, optional
- 2 small Neon Green Pom Pom, optional
- White Embroidery Thread
- 4 Rubber Bands
- 13 small Black Beads
- Scraps Orange Craft Foam
- Hot Glue Gun & Glue
- Scissors
- Fabric Pencil
- Ruler
How to Make This Mickey & Minnie Snowman Craft
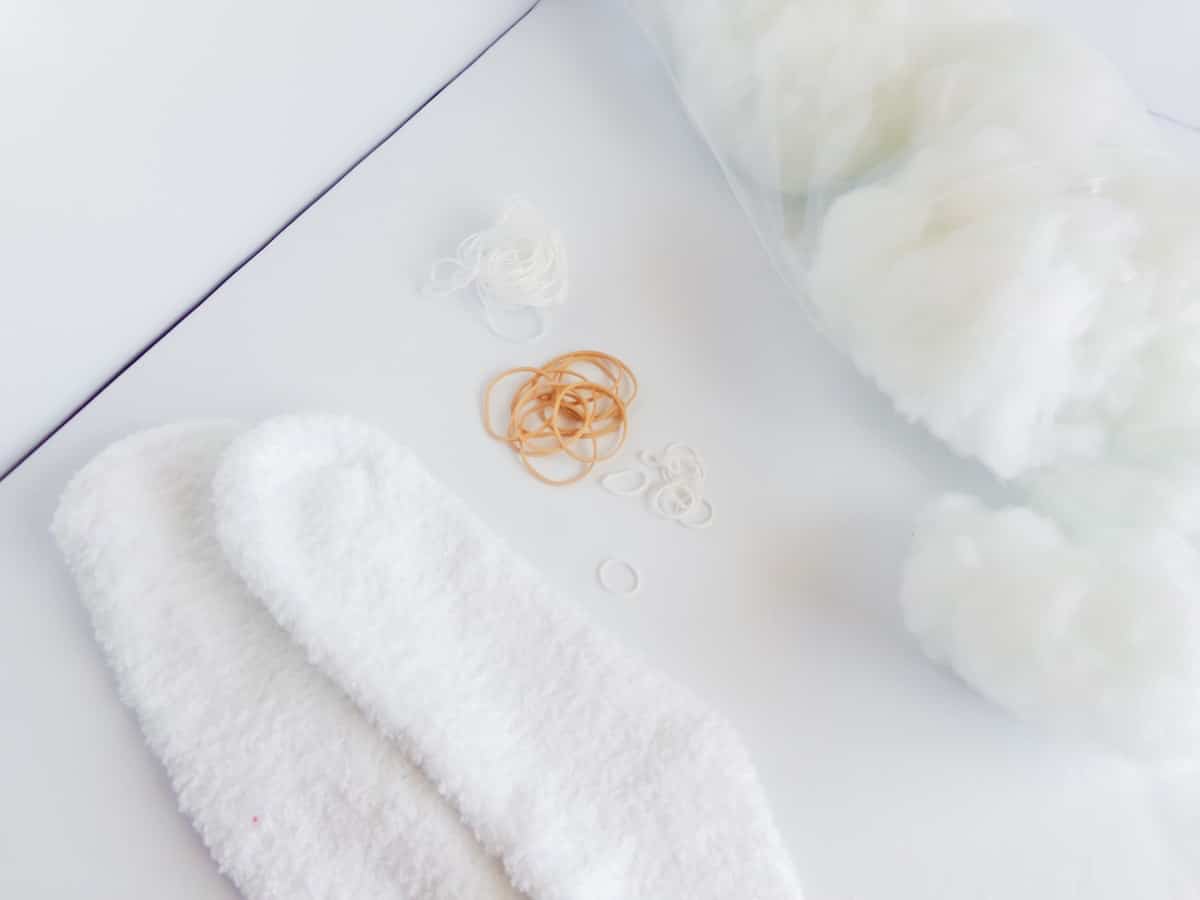
- Working with one sock at a time, fill the sock full, but not packed, with the polyfill. Using the rubber bands, section off the sock into fairly equal ⅓ sections.
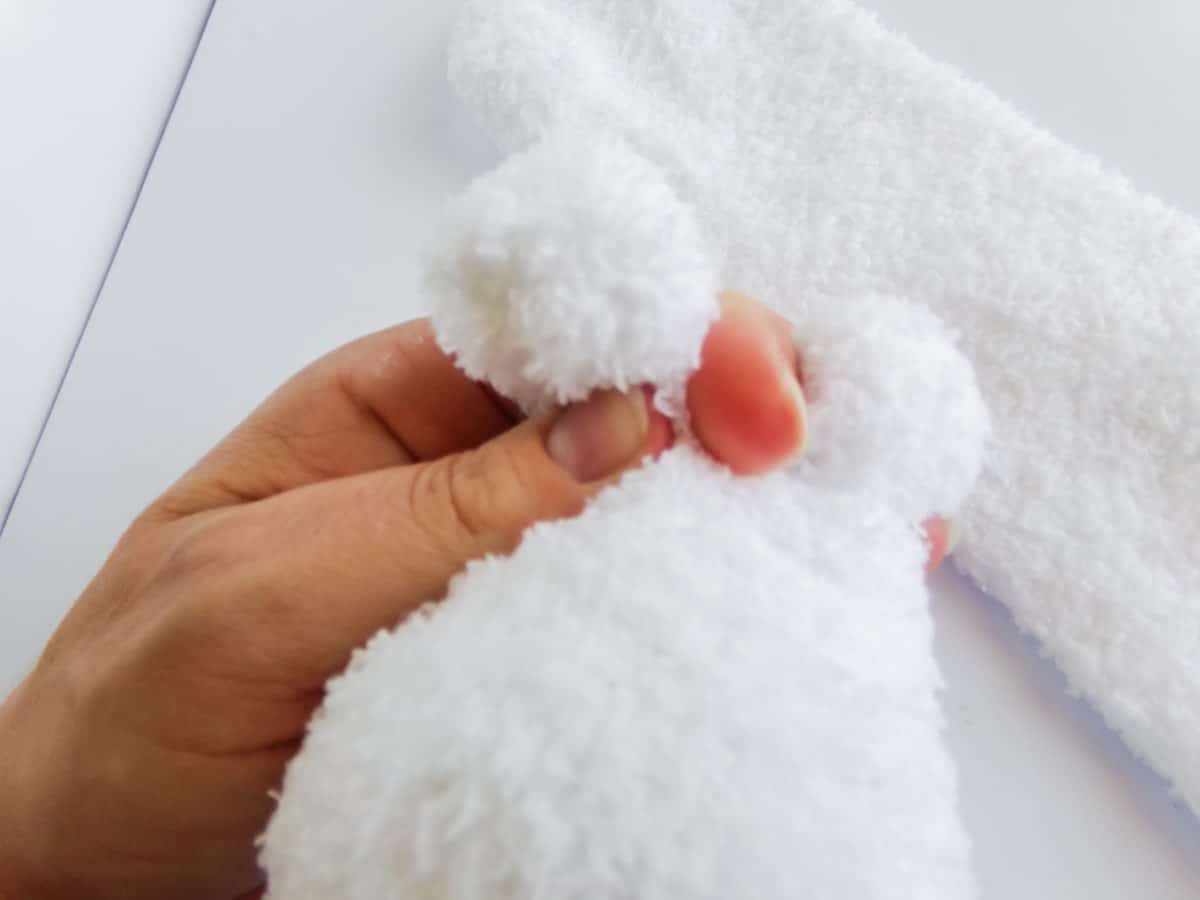
- Pull up an about ½ inch ball of sock and stuffing on each side of the toe end of the sock and, with the embroidery thread, tie a thread around the base of the pull-up and tie tightly to make the ears.
- Slide a bamboo skewer through the center of the sock, trimming it to be even with the opening of the snowman.
- Tug the edges of the opening of the sock toward the skewer and hot glue it in place, closing the bottom up.
- Make a tiny bow with the red ribbon and hot glue it in place in front of one ear, designating that snowman as Minnie (and thus a snowwoman).
- Cut a ½ inch wide section of red velvet about 8 inches long. Fold this rectangle in half longways and hot glue in place. Wrap this around the non-bow-adorned snowman just under the head and hot glue in place to make a scarf. You can repeat this for the second snowman (Minnie) or you can use the red with white polka dots ribbon to make a scarf. If you want to add baubles to the ends of the scarves, you can use the neon green pom poms to make a teeny tiny mickey shape. I ultimately decided that the scarf wasn’t the look I was going for on Minnie.
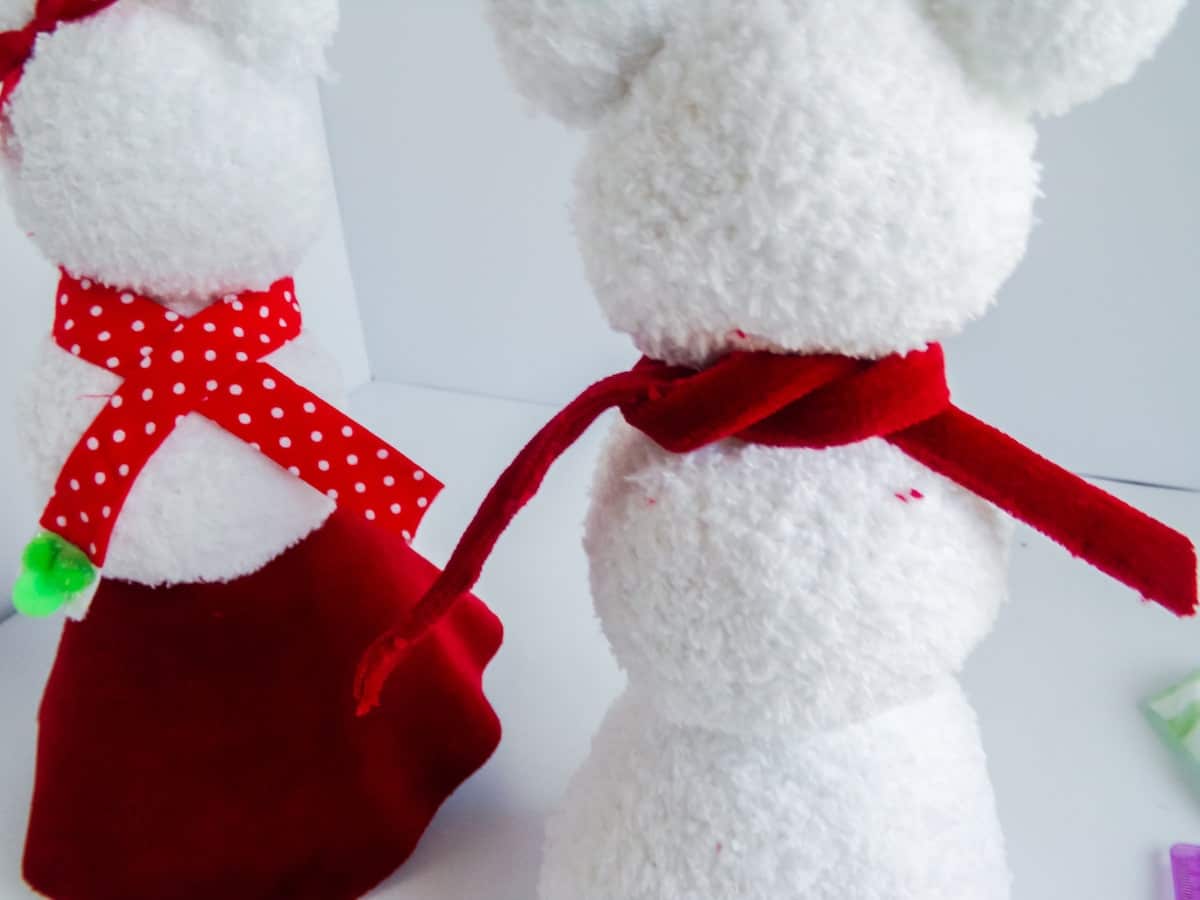
- Make a skirt for the Minnie snowwoman by folding your velvet in half, then drawing a 5-inch diameter quarter circle, with one end on the fold line. Then draw a parallel 3-inch diameter quarter circle on the fold line about 3 inches away. Then square off the end not on the fold line, about 5-inches from the fold line.
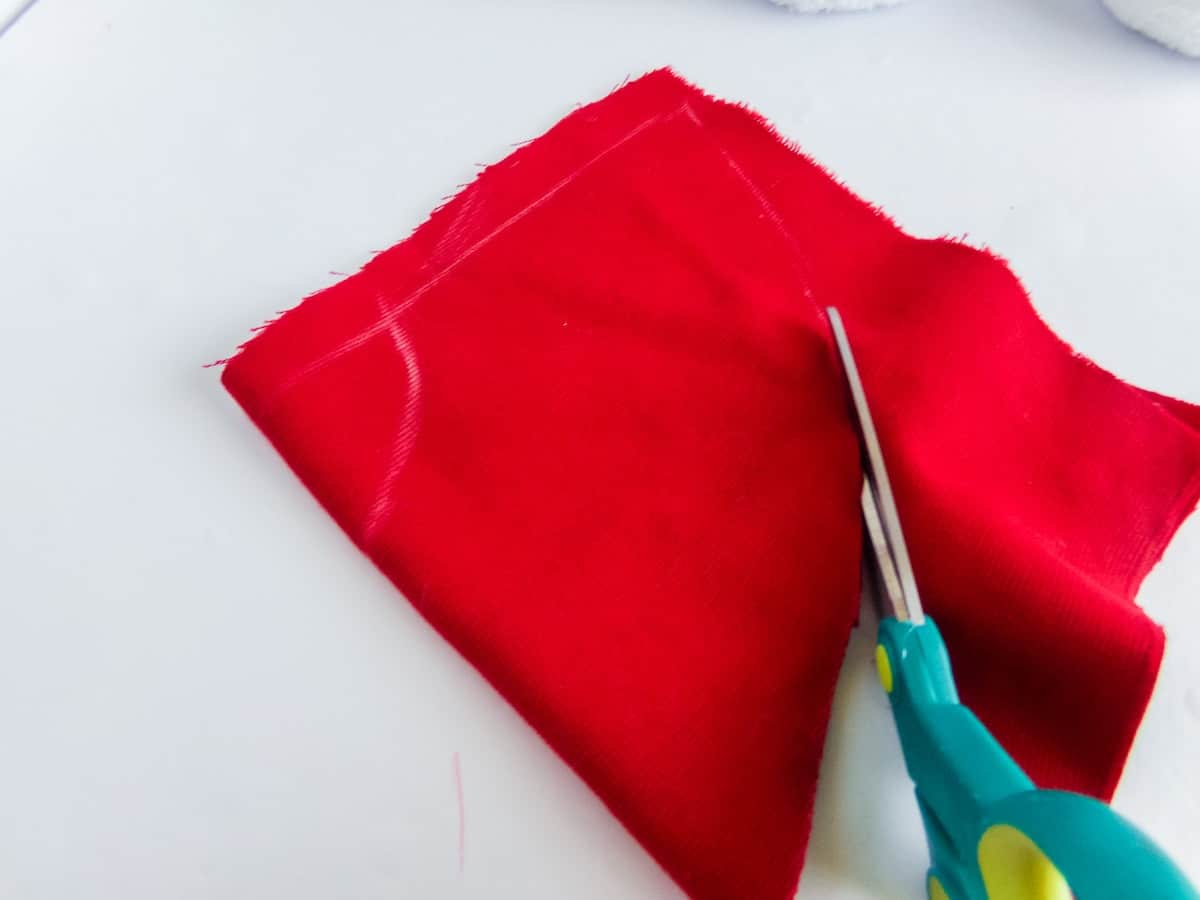
- Cut this rounded rectangle shape out then hem the edges, as necessary.
- Wrap this shape around the top of the middle and bottom balls of the Minnie sock snowwoman and hot glue in place along the back.
- Cut thin tiny triangles from the orange craft foam and hot glue the triangle to the center of the head pointing off to one side.
- Add two small black beads to each face above the carrot nose, 3 beads under the nose for a smile and 3 beads down the front of the Mickey gnome for buttons. Then display and enjoy!
More Disney Winter DIY Ideas You'll Love
- The Ultimate List of Disney Pumpkin Carving Ideas
- Mickey Reindeer Grapevine Wreath
- Buffalo Check Mickey Wreath for Christmas
Mickey and Minnie Snowman Craft
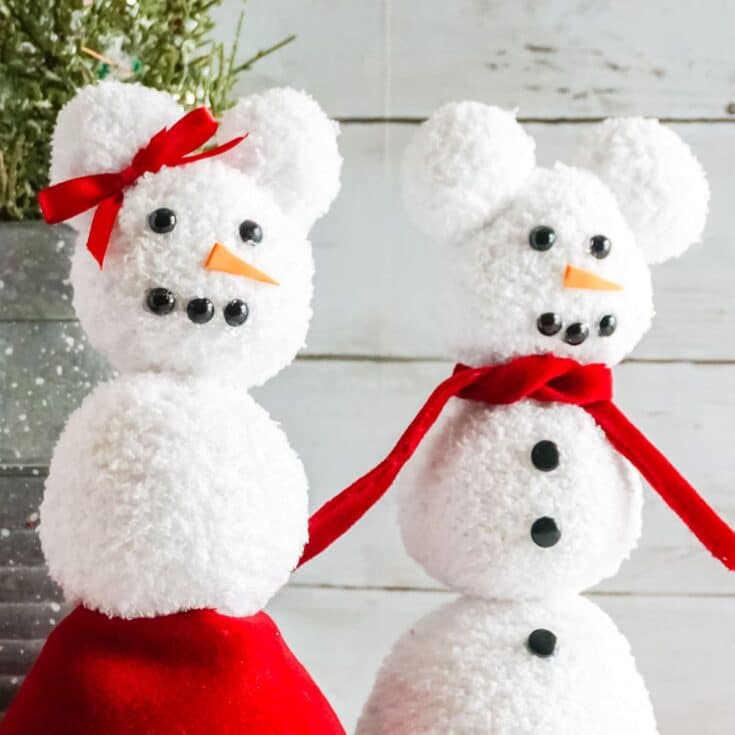
Fun and easy to make, this set of Mickey and Minnie Snowman Craft can be made in just a few minutes with just a couple of socks and some patience!
Materials
- Two White Fluffy Socks
- ¼-inch Red Ribbon
- ⅛ yd Red Velvet
- ½-inch Red and White Polka Dot Ribbon, optional
- Small Amount of Polyfill
- 2 Bamboo Skewers
- 4 tiny Neon Green Pom Poms, optional
- 2 small Neon Green Pom Pom, optional
- White Embroidery Thread
- 4 Rubber Bands
- 13 small Black Beads
- Scraps Orange Craft Foam
Tools
- Hot Glue Gun & Glue
- Scissors
- Fabric Pencil
- Ruler
Instructions
- Working with one sock at a time, fill the sock full, but not packed, with the polyfill. Using the rubber bands, section off the sock into fairly equal ⅓ sections.
- Pull up an about ½ inch ball of sock and stuffing on each side of the toe end of the sock and, with the embroidery thread, tie a thread around the base of the pull-up and tie tightly,
- Slide a bamboo skewer through the center of the sock, trimming it to be even with the opening of the snowman.
- Tug the edges of the opening of the sock toward the skewer and hot glue it in place, closing the bottom up.
- Make a tiny bow with the red ribbon and hot glue it in place in front of one ear, designating that snowman as Minnie (and thus a snowwoman).
- Cut a ½ inch wide section of red velvet about 8 inches long. Fold this rectangle in half longways and hot glue in place. Wrap this around the non-bow-adorned snowman just under the head and hot glue in place to make a scarf. You can repeat this for the second snowman (Minnie) or you can use the red with white polka dots ribbon to make a scarf. If you want to add baubles to the ends of the scarves, you can use the neon green pom poms to make a teeny tiny mickey shape. I ultimately decided that the scarf wasn’t the look I was going for on Minnie.
- Make a skirt for the Minnie snowwoman by folding your velvet in half, then drawing a 5-inch diameter quarter circle, with one end on the fold line. Then draw a parallel 3-inch diameter quarter circle on the fold line about 3 inches away. Then square off the end not on the fold line, about 5-inches from the fold line.
- Cut this rounded rectangle shape out then hem the edges, as necessary.
- Wrap this shape around the top of the middle and bottom balls of the Minnie sock snowwoman and hot glue in place along the back.
- Cut thin tiny triangles from the orange craft foam and hot glue the triangle to the center of the head pointing off to one side.
- Add two small black beads to each face above the carrot nose, 3 beads under the nose for a smile and 3 beads down the front of the Mickey gnome for buttons. Then display and enjoy!
Recommended Products
As an Amazon Associate and member of other affiliate programs, I earn from qualifying purchases.


Leave a Reply