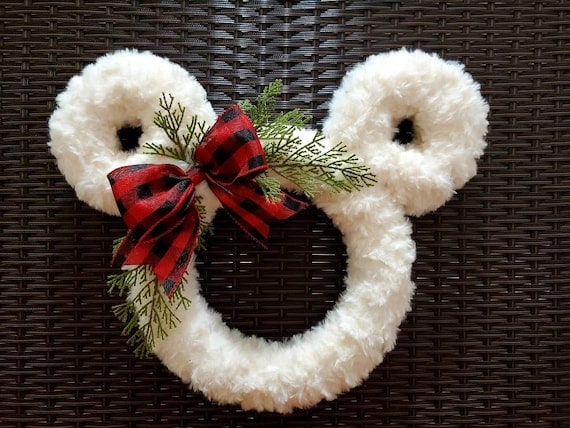

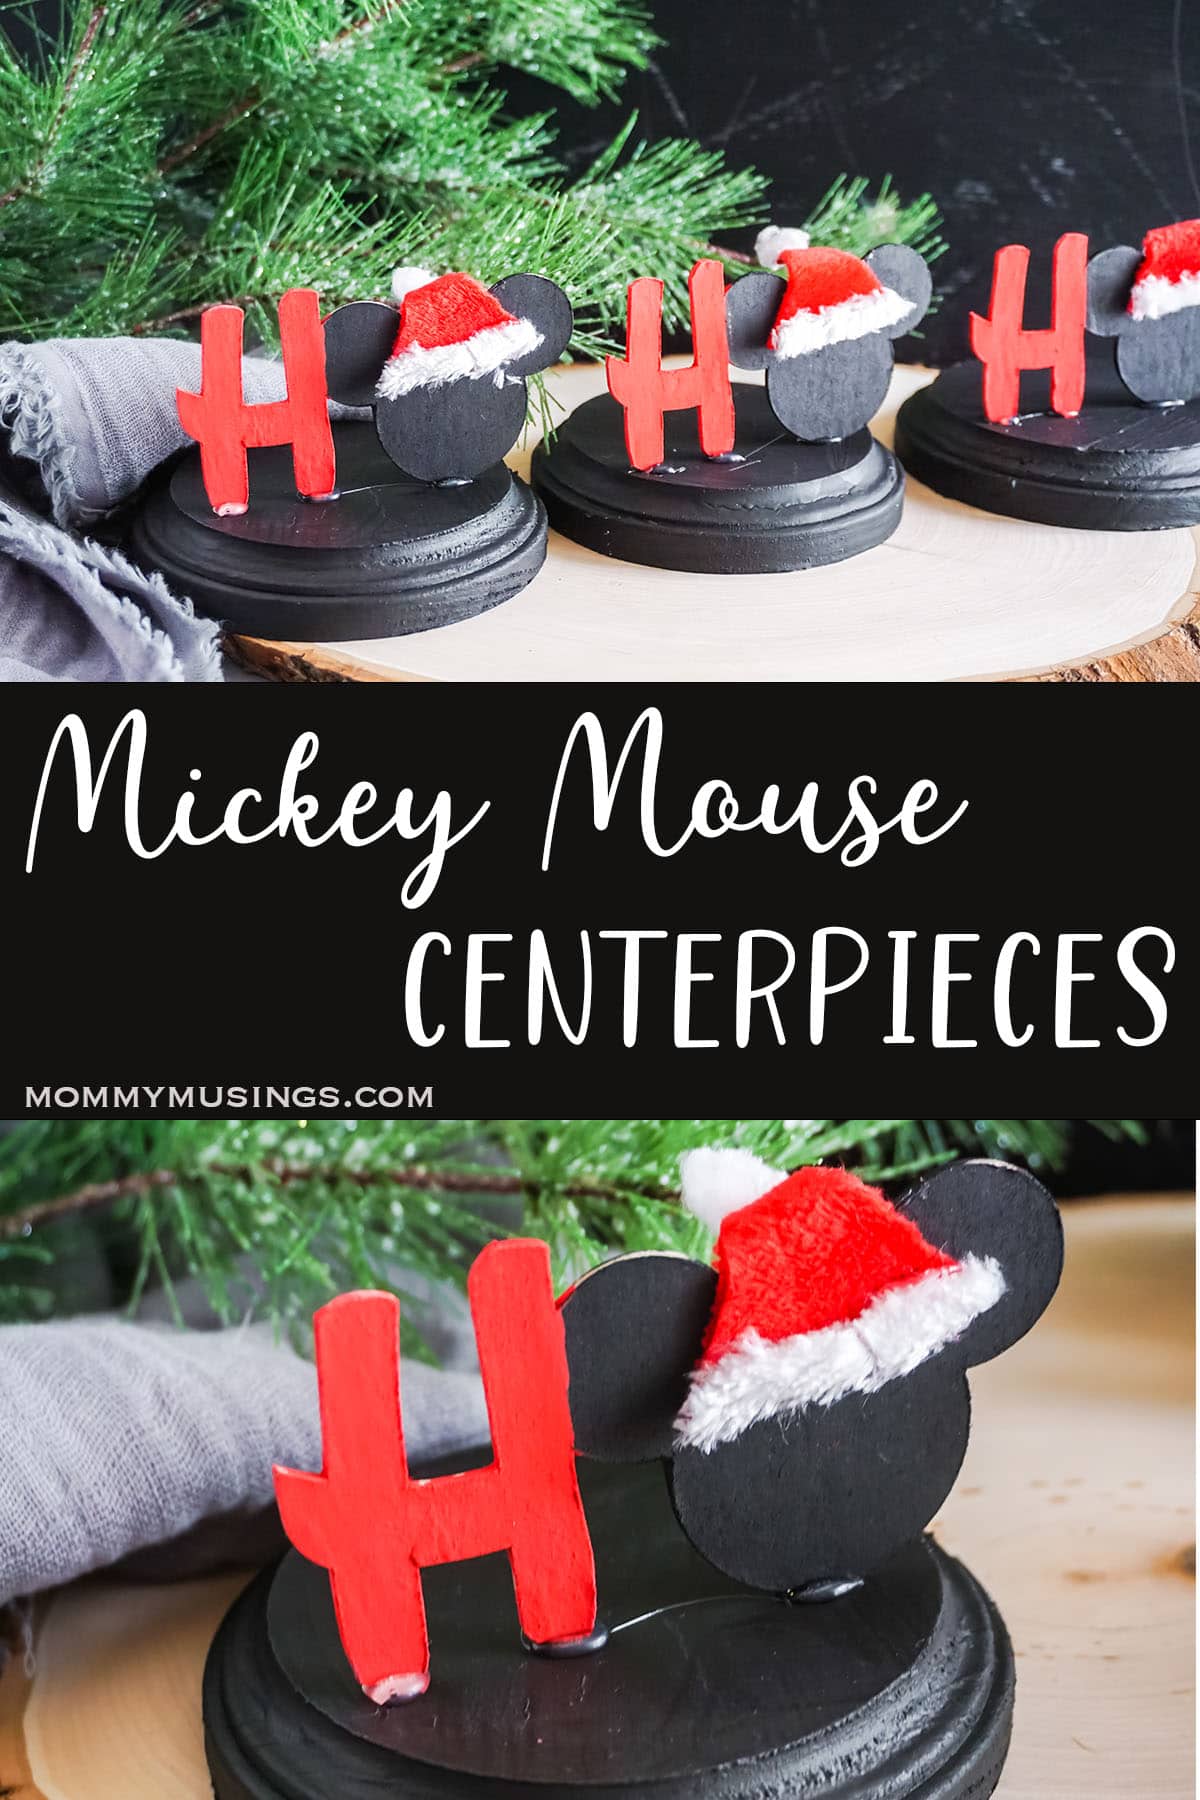
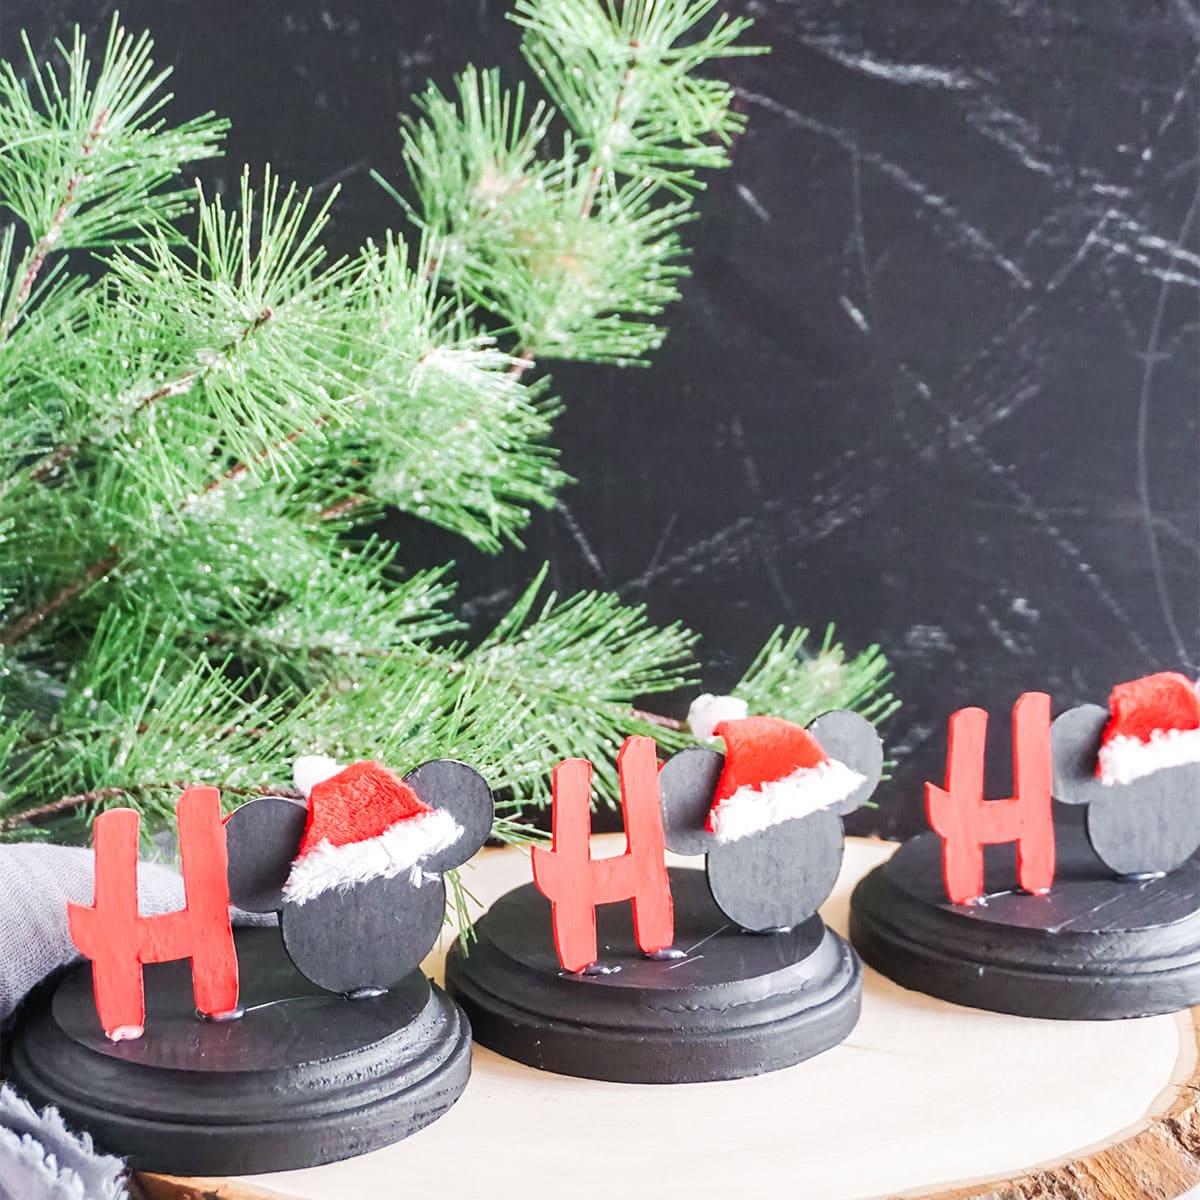
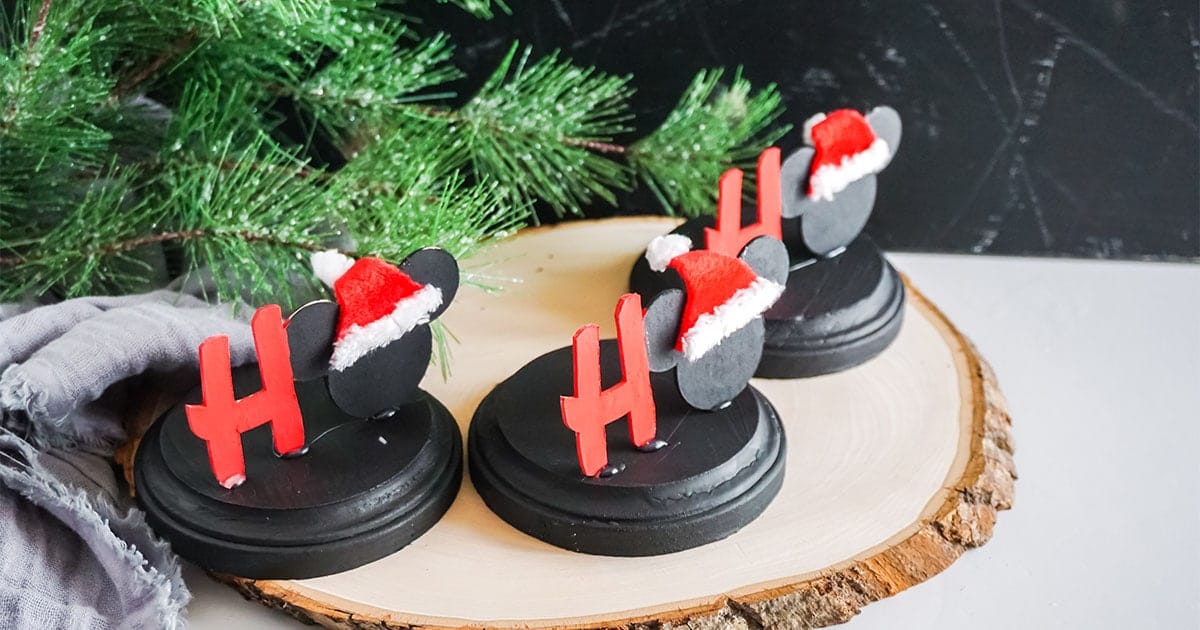
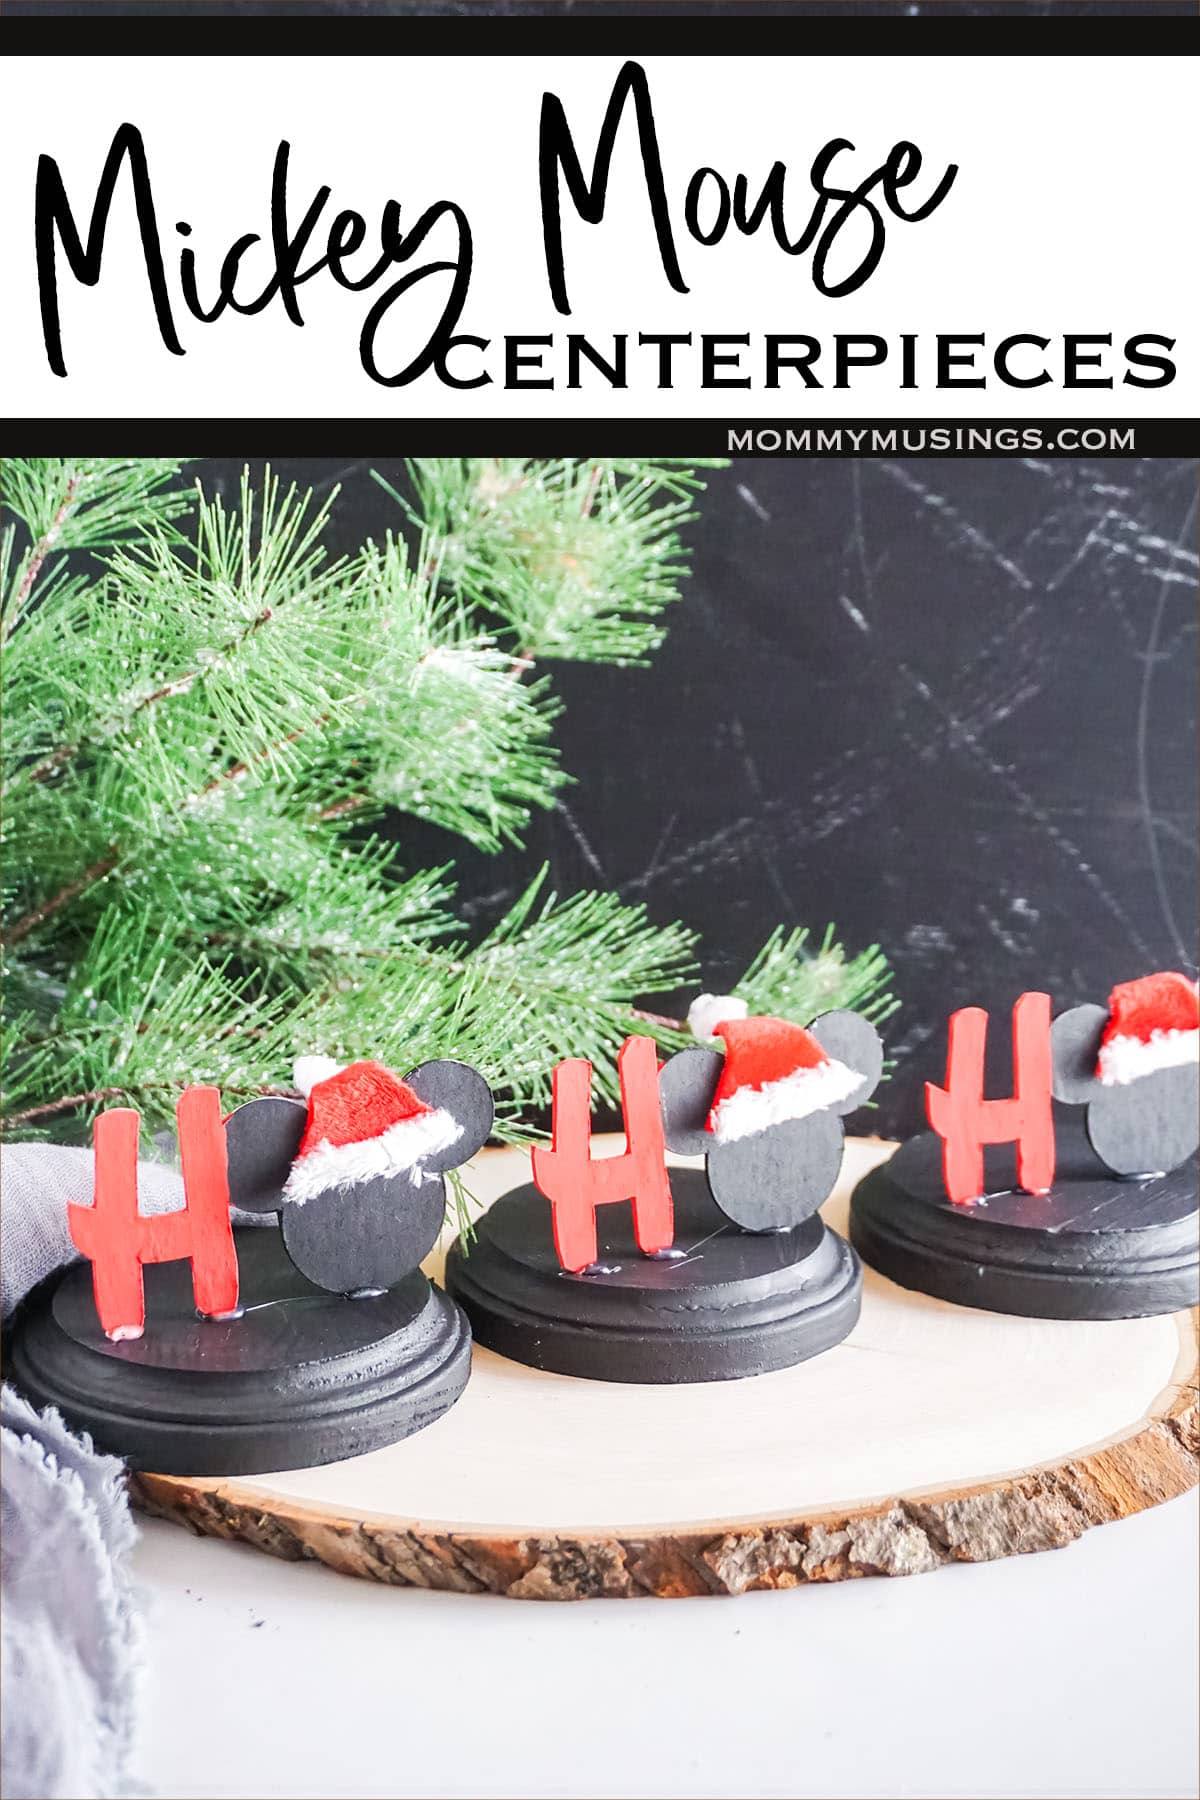
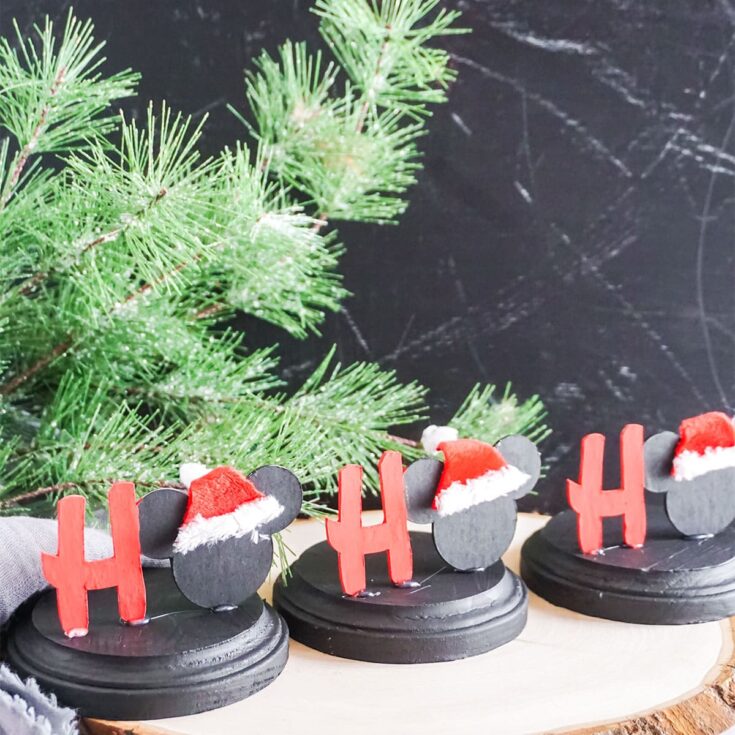
If you are looking for some Mickey inspired Christmas decorations, this Mickey Ho Ho Ho Centerpiece Cricut Craft is just what you need for some Disney themed holiday cheer!
This centerpiece features a fun “ho ho ho” design with a little Santa hat that’s too cute. Perfect for a centerpiece or to use as stocking holders over the fireplace mantel. The best part about this project is that it is easy enough for beginner Cricut users – or those who don’t want to spend too much money at their local craft store!
Mickey Ho Ho Ho Centerpiece Cricut Craft
It’s time to start your Christmas decorating, and I have you covered with this Mickey Christmas centerpiece that is easy to make. This project has a mickey shaped mat that you can use as the base of the centerpiece or as an ornament on its own. It also features a mickey-shaped tree, Santa hat cookies, and snowflake buttons.
The Mickey Ho Ho Ho Centerpiece will be the star of any holiday gathering!
It’s the perfect addition to your holiday decor. It’s also a great gift idea for friends and family. This fun mickey centerpiece can be made with any cutting machine!
Let’s get crafty!
What You Need to Make a Mickey Ho Ho Ho Centerpiece Cricut Craft
- 1 12×12 Chipboard
- 3 3-inch Wood Rounds
- Black Acrylic Paint
- Red Acrylic Paint
- Scraps Red Felt
- Scraps White Fluffy Fabric (I used sherpa fabric, but even felt would work)
- Downloadable Mickey Ho Ho Ho File
- Cricut Maker
- Strong Grip Mat
- Masking Tape
- Deep Cut Blade
- Paintbrush
- Hot Glue Gun & Glue
- Painter’s Tape
How to Make a Mickey Ho Ho Ho Centerpiece Cricut Craft
- Paint the 3 wood rounds black. Allow the paint to dry completely.
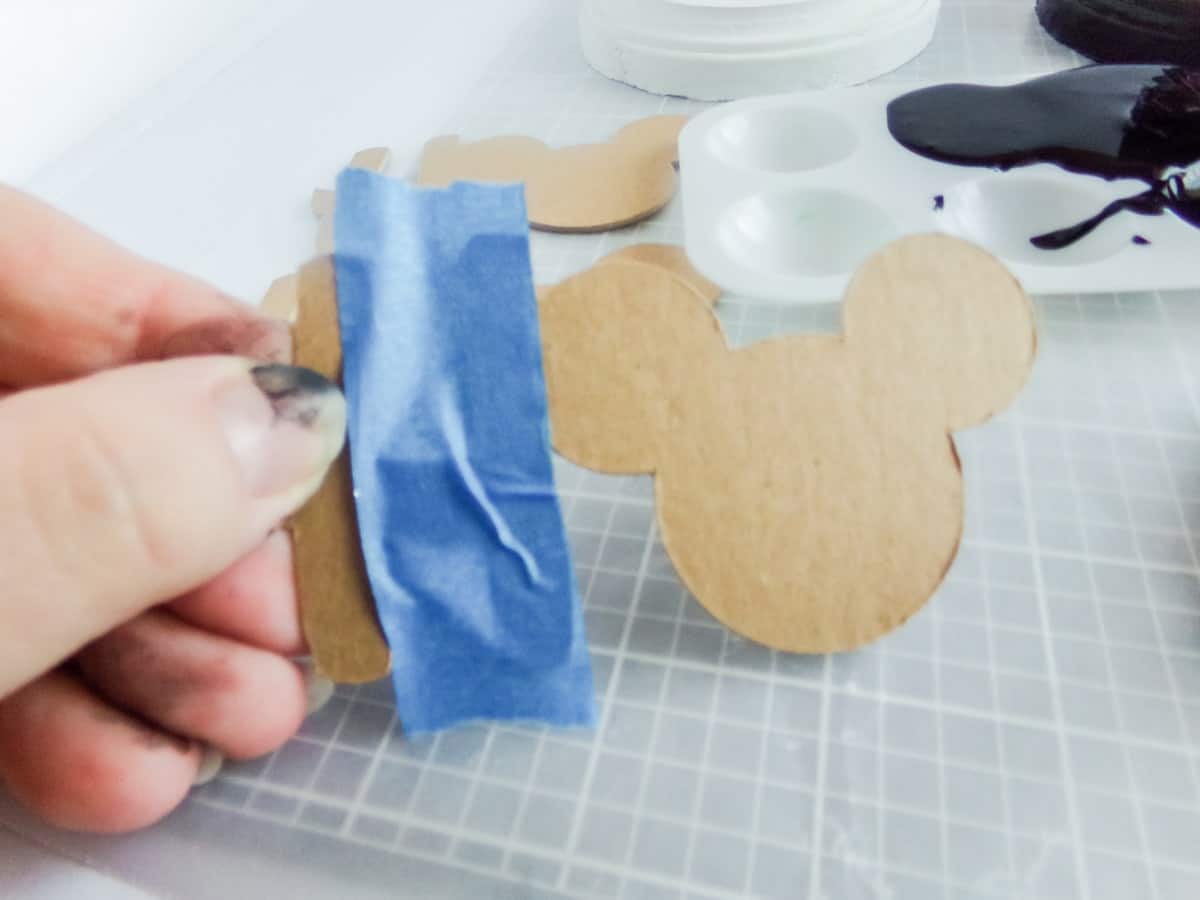
- Download the Mickey Ho Ho Ho file and upload it to Cricut Design Space. Follow the prompts to cut the shapes from the chipboard. I recommend that you tape down the corners of the chipboard to avoid the possibility of the cut moving while in the machine.
- When the shapes are cut, discard the unused chipboard and, with the painter’s tape, tape off the H on each shape.

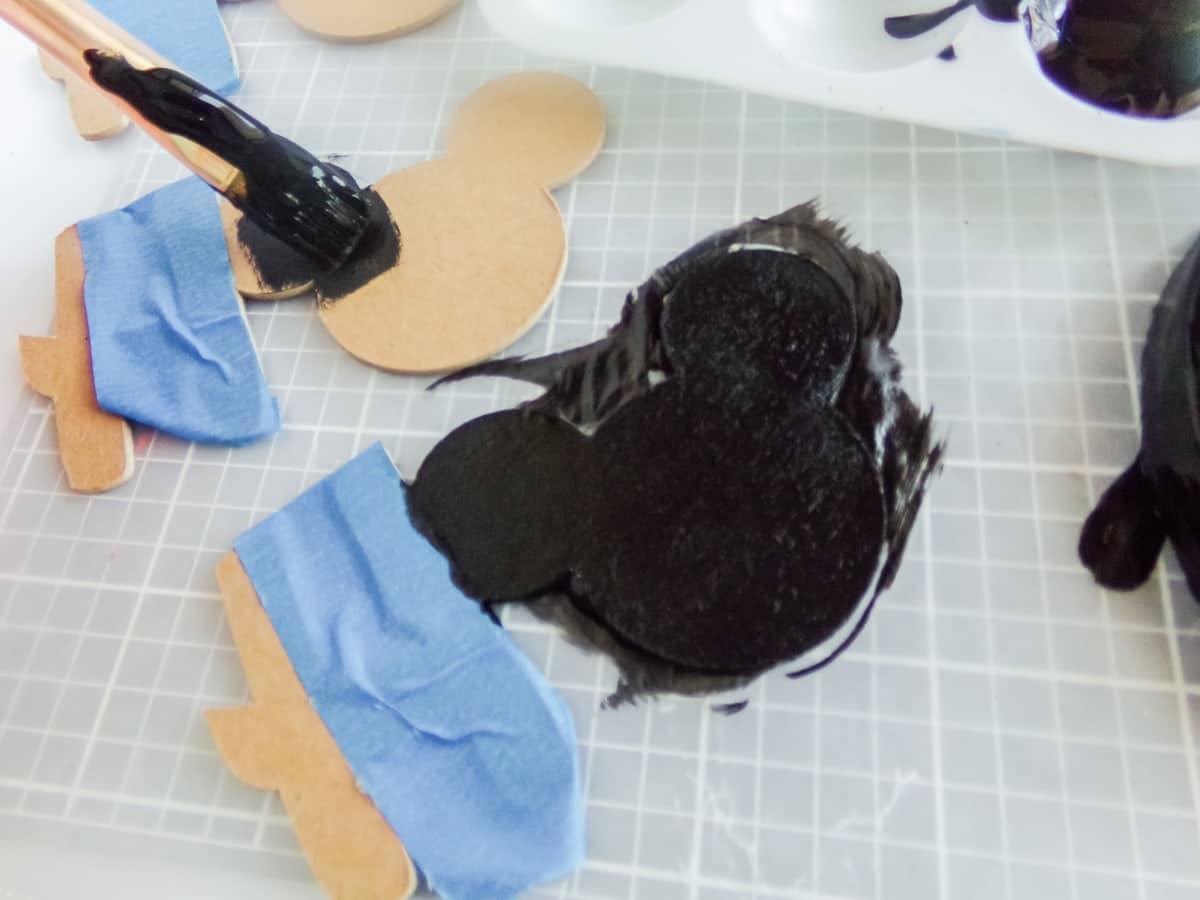
- Paint all of the Mickey heads black on both sides, allowing the paint to dry fully on each side before flipping the piece or moving on.
- Paint the H on each shape with the red acrylic paint on each side, allowing the paint to dry fully on each side before flipping the piece or moving on.
- While the paint is drying, you can make the little Santa hats by cutting 3 triangles from the red felt that is 1 ½ inch wide by 1 ½ inch tall.
- Cut 3 – 1-inch long by ¼-inch wide strips of the fluffy fabric.
- Cut 3 mini circles of the fluffy fabric for pom poms on the hat.
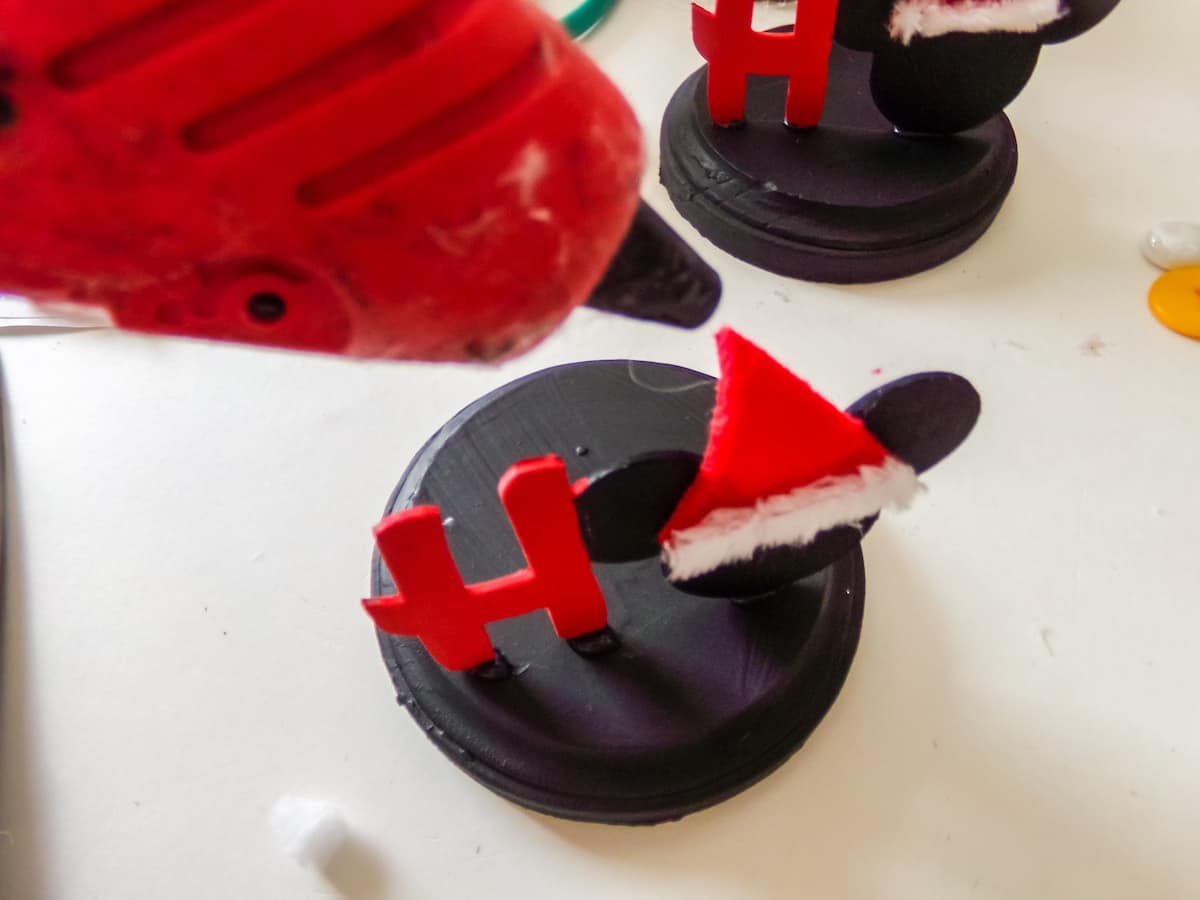
- Hot glue the pom poms to the tip of the red triangles and the strips to the bottom of the triangle.
- Attach the hats to the Mickey part of the shapes using hot glue.
- Stand a Mickey shape up on the center of a wood round and hot glue it in place. Repeat with the other two Mickey shapes and enjoy!

More Holiday Crafts you’ll Love
Mickey Ho Ho Ho Centerpiece Cricut Craft
Fast and fun to make, this easy Cricut craft is a great way to make a Mickey centerpiece for your holiday decor!
Materials
- 1 12x12 Chipboard
- 3 3-inch Wood Rounds
- Black Acrylic Paint
- Red Acrylic Paint
- Scraps Red Felt
- Scraps White Fluffy Fabric (I used sherpa fabric, but even felt would work)
- Downloadable Mickey Ho Ho Ho File
Tools
- Cricut Maker
- Strong Grip Mat
- Masking Tape
- Deep Cut Blade
- Paintbrush
- Hot Glue Gun & Glue
- Painter’s Tape
Instructions
- Paint the 3 wood rounds black. Allow the paint to dry completely.
- Download the Mickey Ho Ho Ho file and upload it to Cricut Design Space. Follow the prompts to cut the shapes from the chipboard. I recommend that you tape down the corners of the chipboard to avoid the possibility of the cut moving while in the machine.
- When the shapes are cut, discard the unused chipboard and, with the painter’s tape, tape off the H on each shape. Paint all of the Mickey heads black on both sides, allowing the paint to dry fully on each side before flipping the piece or moving on.
- Paint the H on each shape with the red acrylic paint on each side, allowing the paint to dry fully on each side before flipping the piece or moving on.
- While the paint is drying, you can make the little Santa hats by cutting 3 triangles from the red felt that is 1 ½ inch wide by 1 ½ inch tall.
- Cut 3 - 1-inch long by ¼-inch wide strips of the fluffy fabric.
- Cut 3 mini circles of the fluffy fabric for pom poms on the hat.
- Hot glue the pom poms to the tip of the red triangles and the strips to the bottom of the triangle.
- Attach the hats to the Mickey part of the shapes using hot glue.
- Stand a Mickey shape up on the center of a wood round and hot glue it in place. Repeat with the other two Mickey shapes and enjoy!
Recommended Products
As an Amazon Associate and member of other affiliate programs, I earn from qualifying purchases.