Making charms out of polymer clay is a fun and easy way to show your personality! In this tutorial, we will be making bacon and egg charms. These are perfect for best friends, couples, or anyone who loves breakfast and a good laugh!
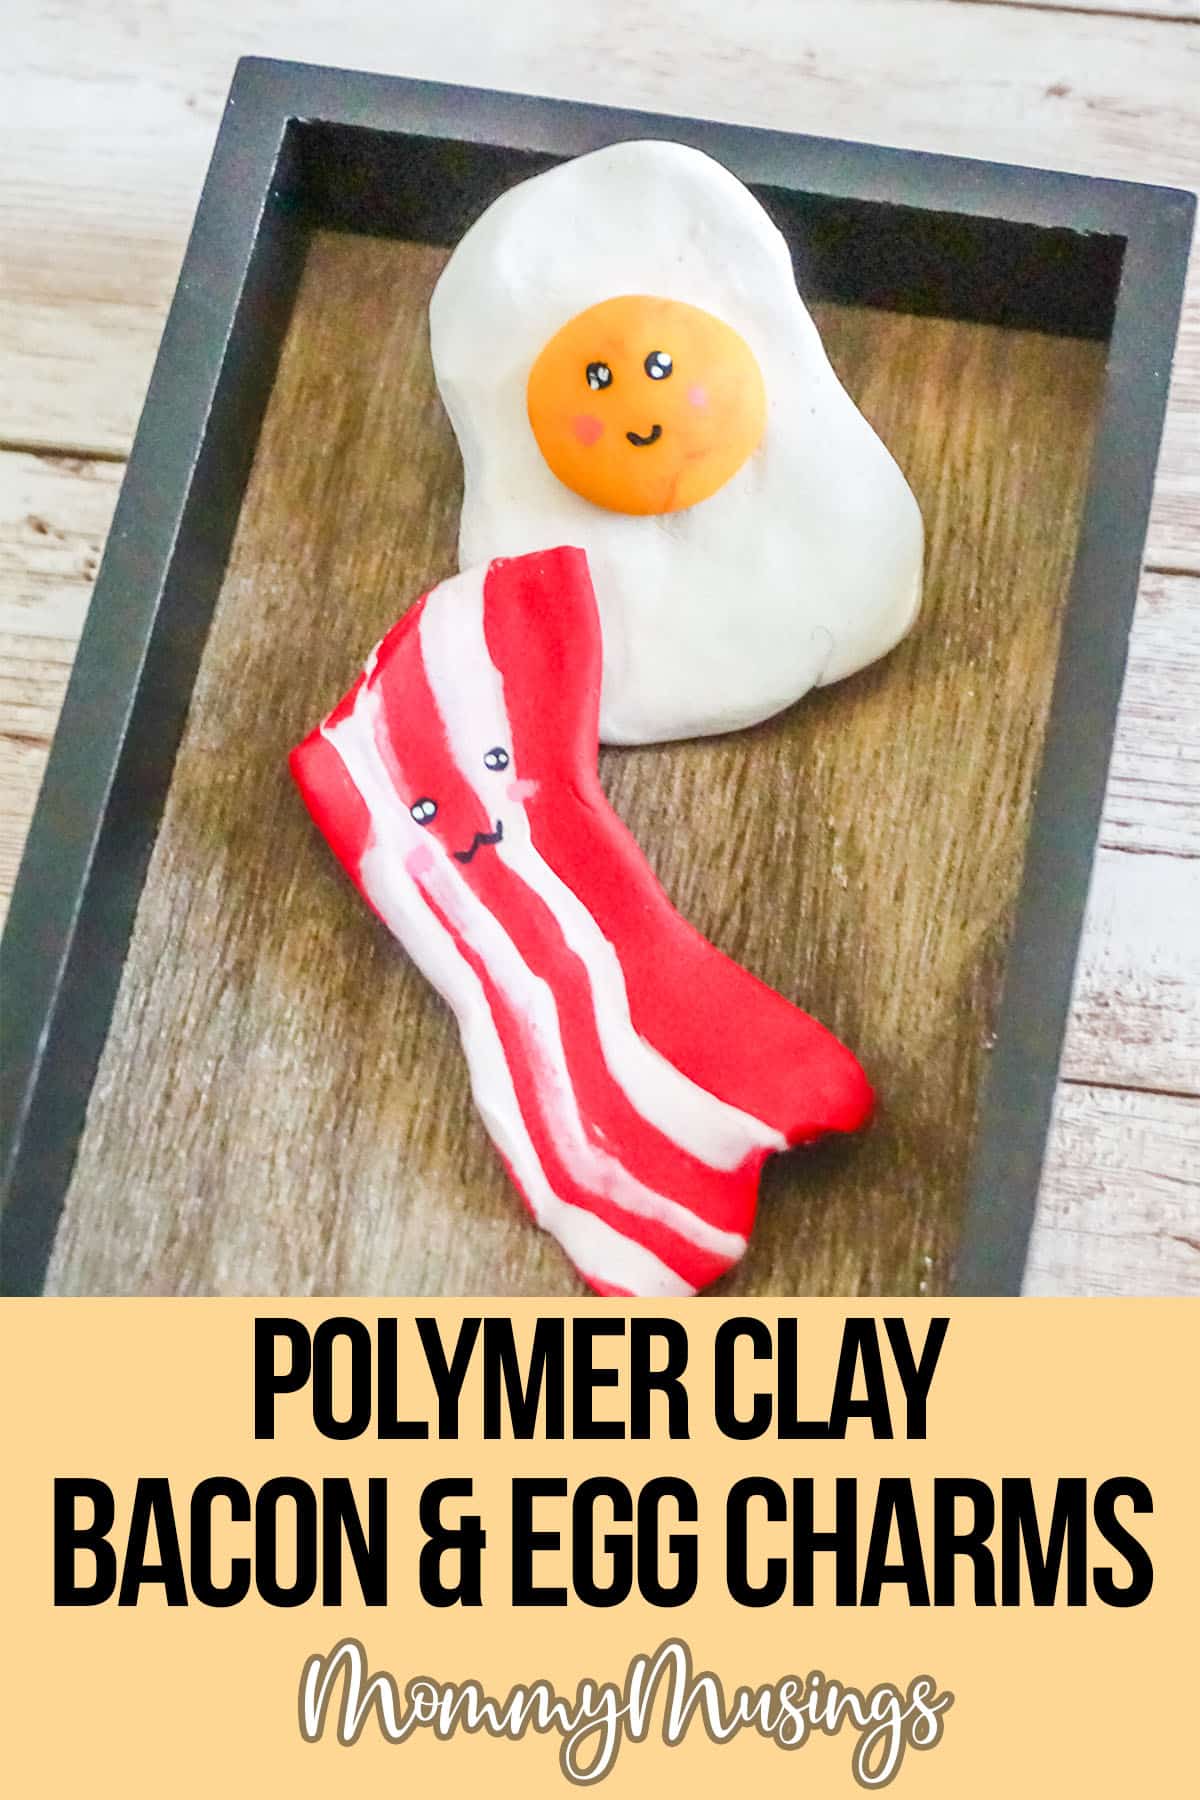
Best Friends Charms: Bacon and Egg Polymer Clay Craft for Kids
WHAT IS POLYMER CLAY?
Polymer clay is a type of modeling clay that is made from polyvinyl chloride (PVC), plasticizers, and pigments. It is non-toxic, soft, and easy to mold. Polymer clay can be baked in a conventional oven to harden it.
WHY USE POLYMER CLAY?
Polymer clay is a great crafting material for kids because it is non-toxic, easy to use, and very versatile. It can be molded into any shape and hardened in the oven, making it perfect for charms!
DO YOU NEED SPECIAL TOOLS TO WORK WITH POLYMER CLAY?
No, you don't need any special tools to work with polymer clay. All you need is your hands and some imagination!
WHAT KIND OF CLAY SHOULD I USE?
For this project, we recommend using the little blocks of clay you can buy at your local craft store like FIMO kids or Sculpey III. These clays are soft and easy to work with, perfect for beginners.
What if I Want to Use Air-Dry Clay Instead?
If you prefer, you can use air-dry clay instead of polymer clay although I don't recommend it. Air-dry clay is a type of modeling clay that dries hard when left out to dry. It doesn't need to be baked in an oven like polymer clay does.
The downside of air-dry clay is that it can take 24 hours or longer to dry completely, so you'll need to be patient. The other downside is that air-dry clay has a tendency to crack. Which can be disappointing after you spent all that time working on your craft. That's why I don't recommend it.
What Do You Need to Make this Bacon and Egg Polymer Clay Craft for Kids?
- Red Polymer Clay
- White Polymer Clay
- Black Polymer Clay
- Yellow Polymer Clay
- Black Acrylic Paint
- White Acrylic Paint
- Pink Acrylic Paint
- Rubbing Alcohol
WHAT TOOLS DO YOU NEED TO MAKE THIS EASY POLYMER CLAY Bacon and Egg CRAFT?
- Oven
- Parchment Paper
- Baking Sheet
- Toothpick
- Paintbrush
How Do You Make this Bacon and Egg Polymer Clay Craft for Kids?
- Preheat your oven to the temperature noted on your clay packaging. For my clay the baking temperature is 230-degrees F.
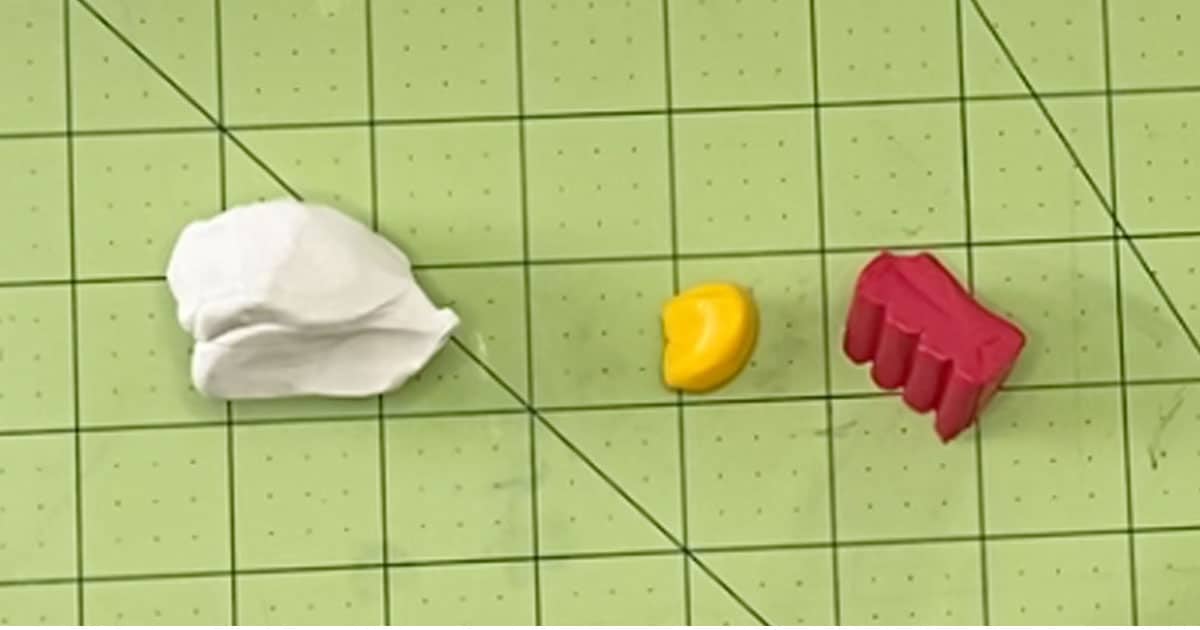
- To make the bacon, break off a small portion (about ½ inch square) of the red clay and a slightly smaller portion (about ¼ inch by ½ inch rectangle) of white clay.
- Break the red clay into 4 similarly-sized pieces, roughly rolling them into snakes, but not smooth and not equal - roughly. Repeat with the white clay, breaking it into 3 similarly-sized pieces, roughly rolling them into snakes, but not smooth and not equal.
- Line up the rough lengths of red and white clay side-by-side in the following order: red, white, red, white, red, white, red. Press the red and white clay together, then, while not mixing, smash them flat (to less than ⅛-inch thickness).
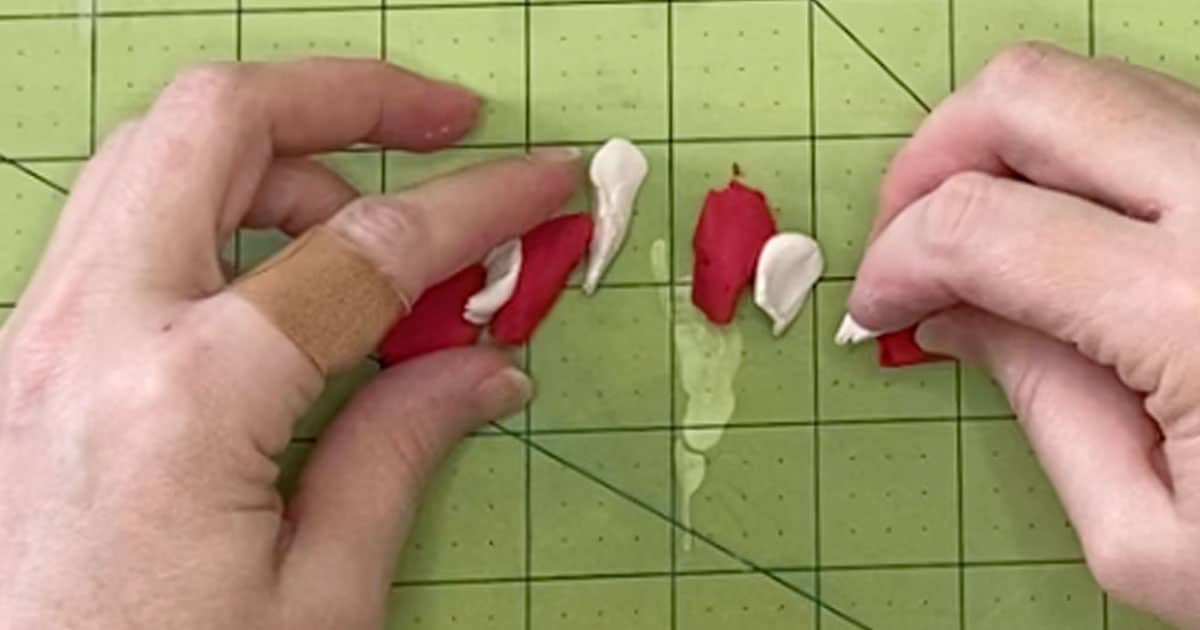
- Form up the sides and ends in a wonky ripply way, to make the clay look like cooking bacon.
- Make the egg by pinching off a piece of white clay (about 1-inch square) and shaping it into a wide, flat oblong shape. I made an oval and then just mashed in the sides.
- Round each of the corners, making the shape of an egg white in the process of cooking.
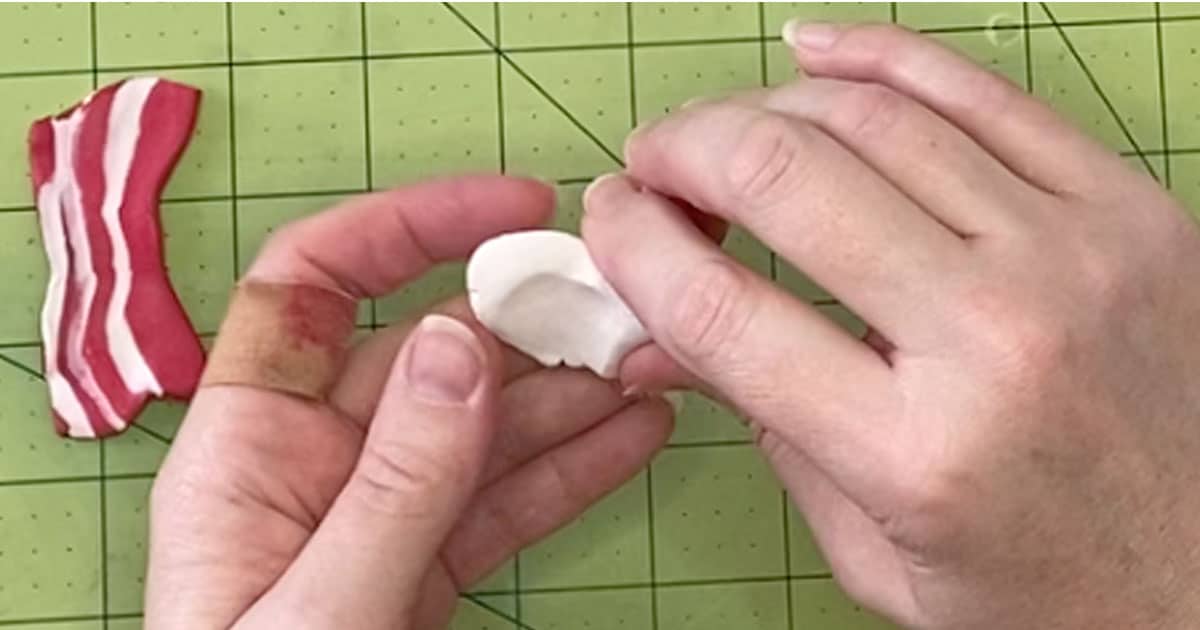
- Make the yolk by pinching off a piece of yellow clay (about ¼-inch square) and shaping it into a neat circle. Mash the circle using the palm of your hand, flattening the backside but leaving the top rounded.
- Place the yolk squarely in the center of the egg white and press it into the white clay firmly. Normally, I would recommend blending, but in this instance, because you want to retain the rounded edge of the yolk, just press firmly - if the yolk falls off after baking, you can superglue it in place (although this did not happen with mine).
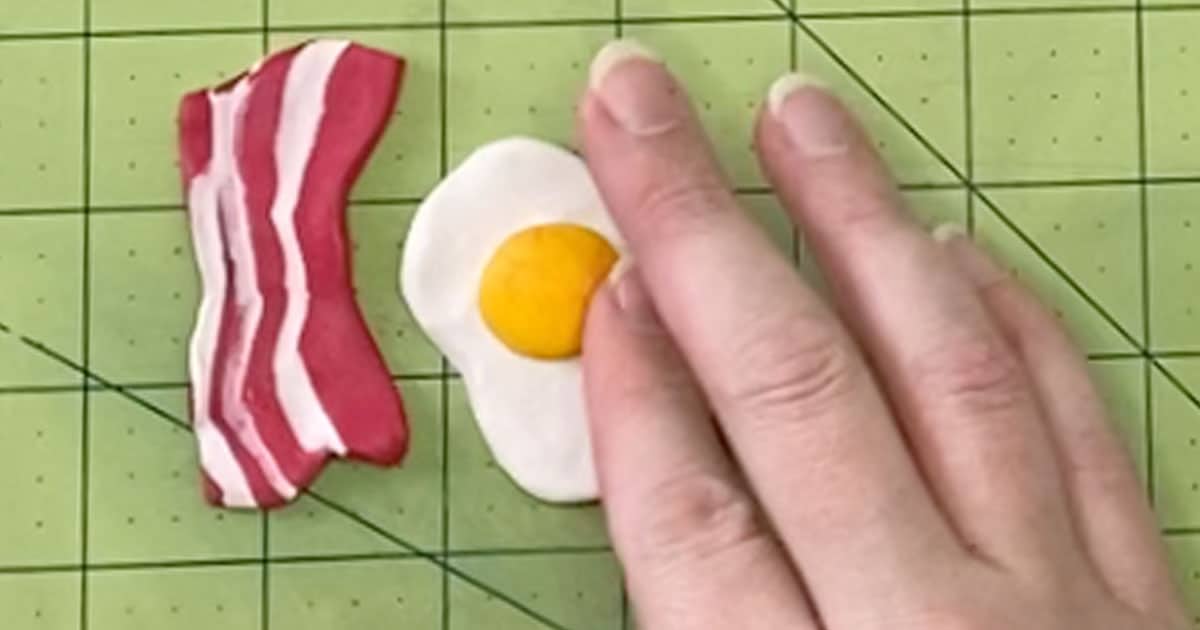
- Clean your fingerprints and tiny imperfections from your bacon and egg by gently brushing the clay with a paintbrush dampened in rubbing alcohol. This does not have to be super wet with the alcohol, just a little goes a long way. Take care to brush the white parts first, followed by the other colors so that no yellow or red clay smears on your white clay.
- Bake the clay creations per the instructions on your clay packaging. Allow to cool completely before handling.
- Using the end of a toothpick, draw on a smile and two dots for eyes.
- Using a small paintbrush, add two pink cheek blushes to either side of the smile on both the egg and bacon.
- Using the clean end of the toothpick, place the smallest dot of white paint on the black part of the eyes.
- Allow the paint to dry then enjoy!
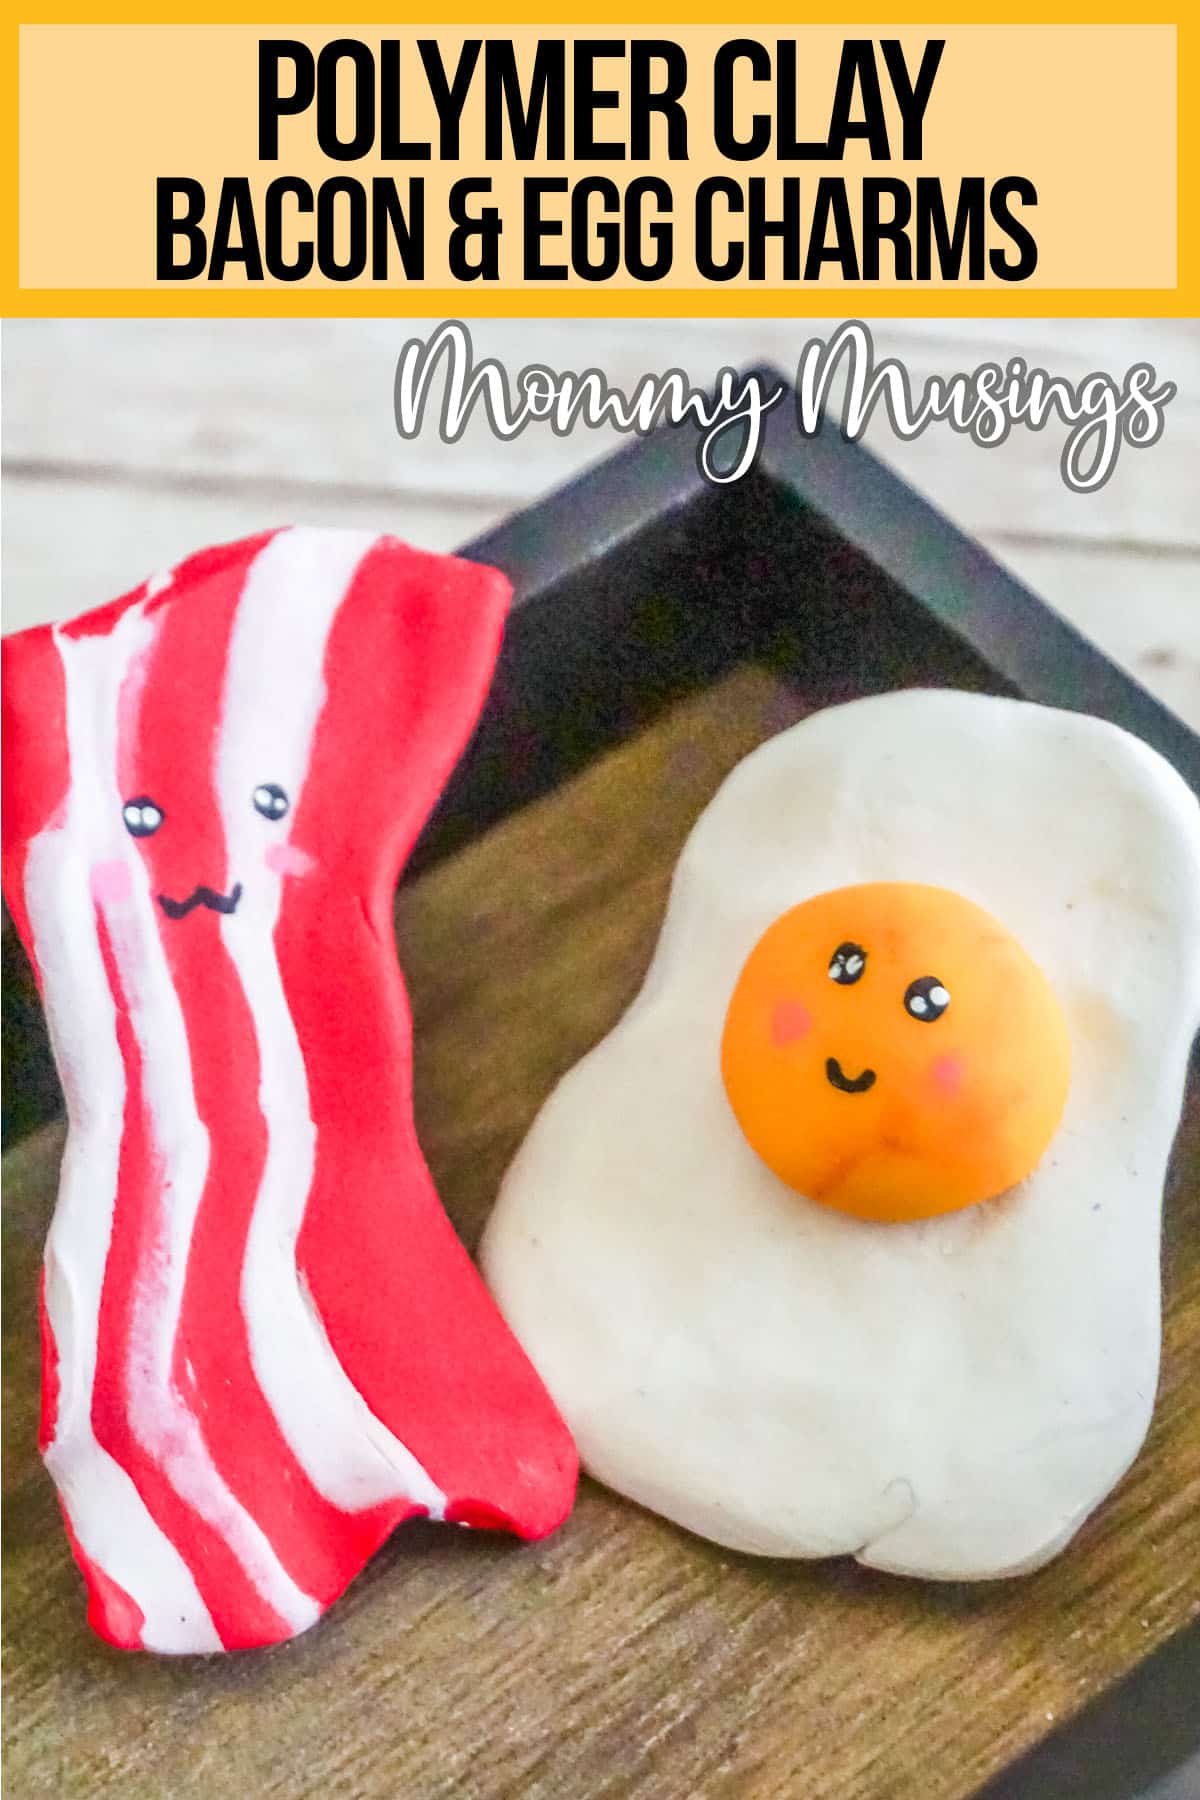
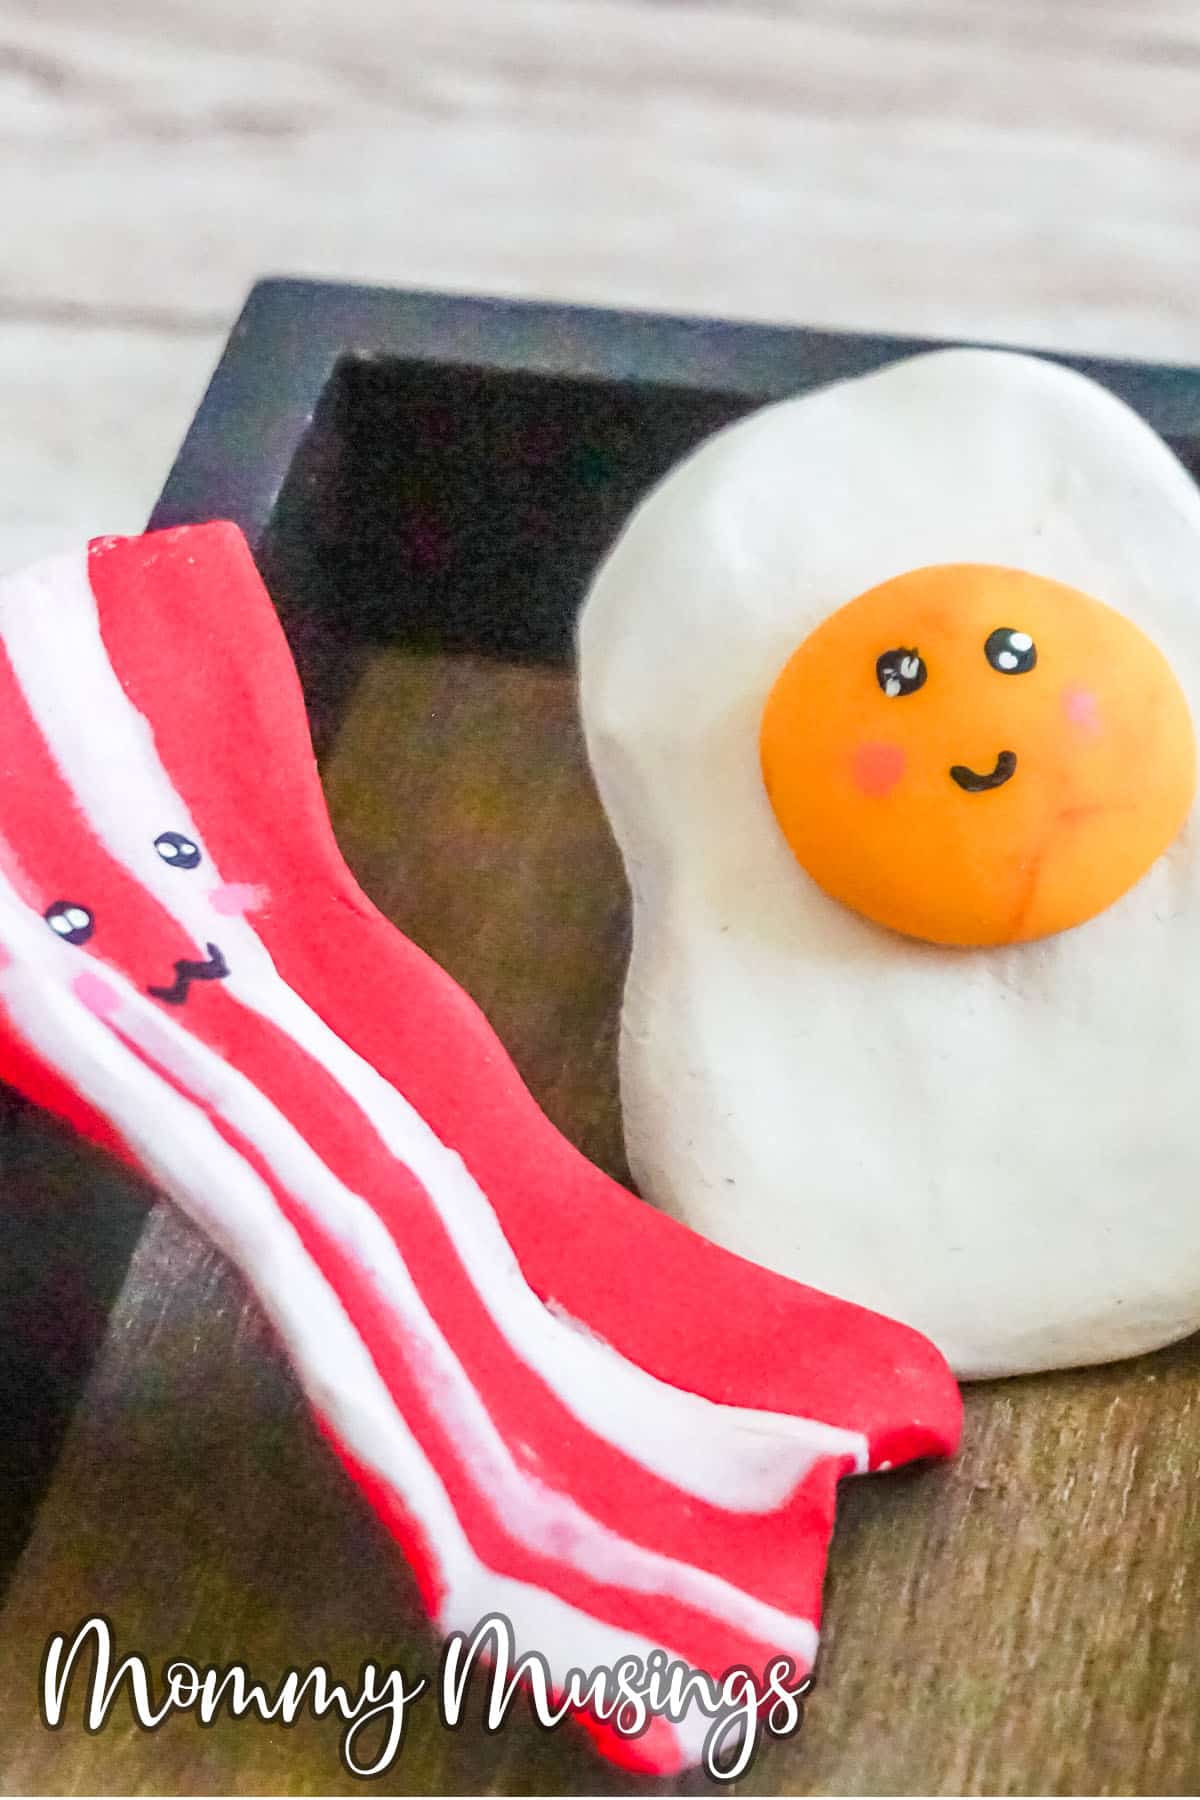
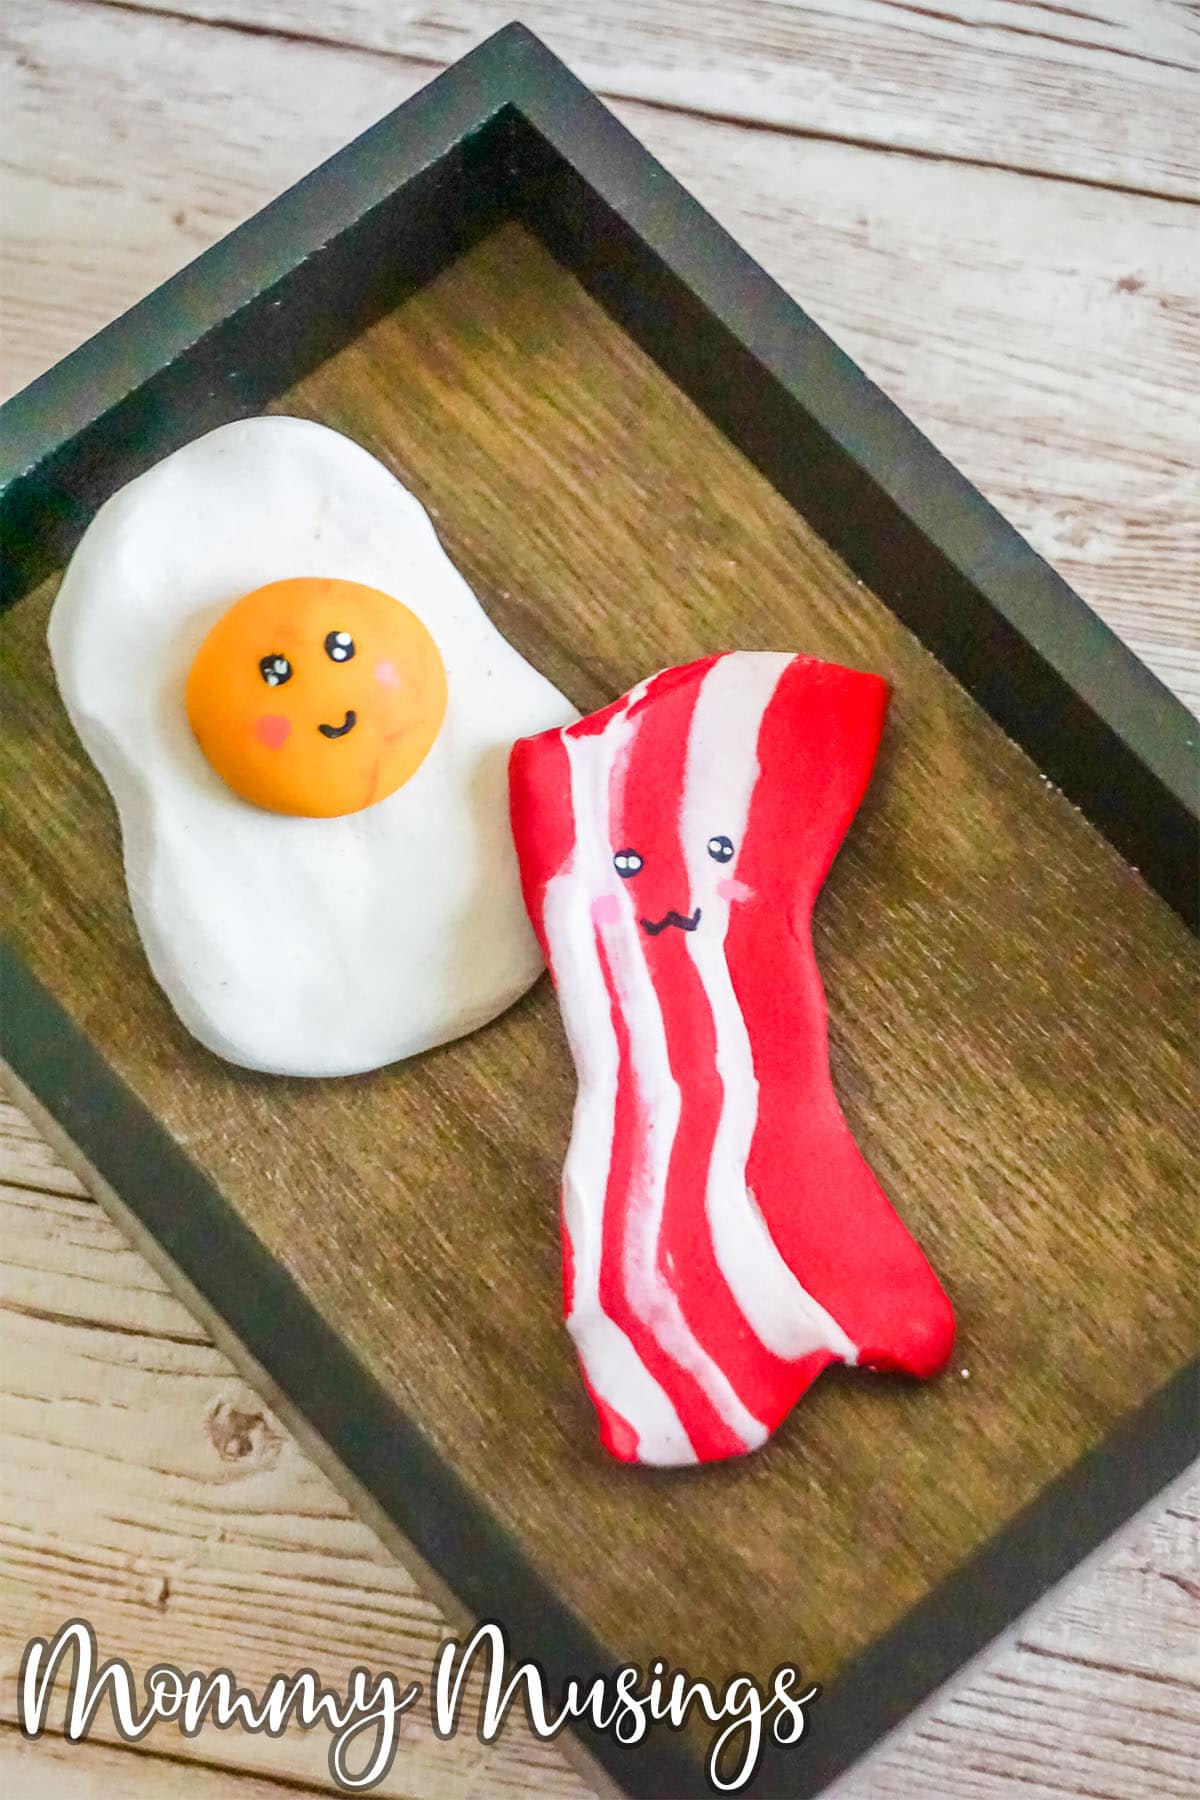
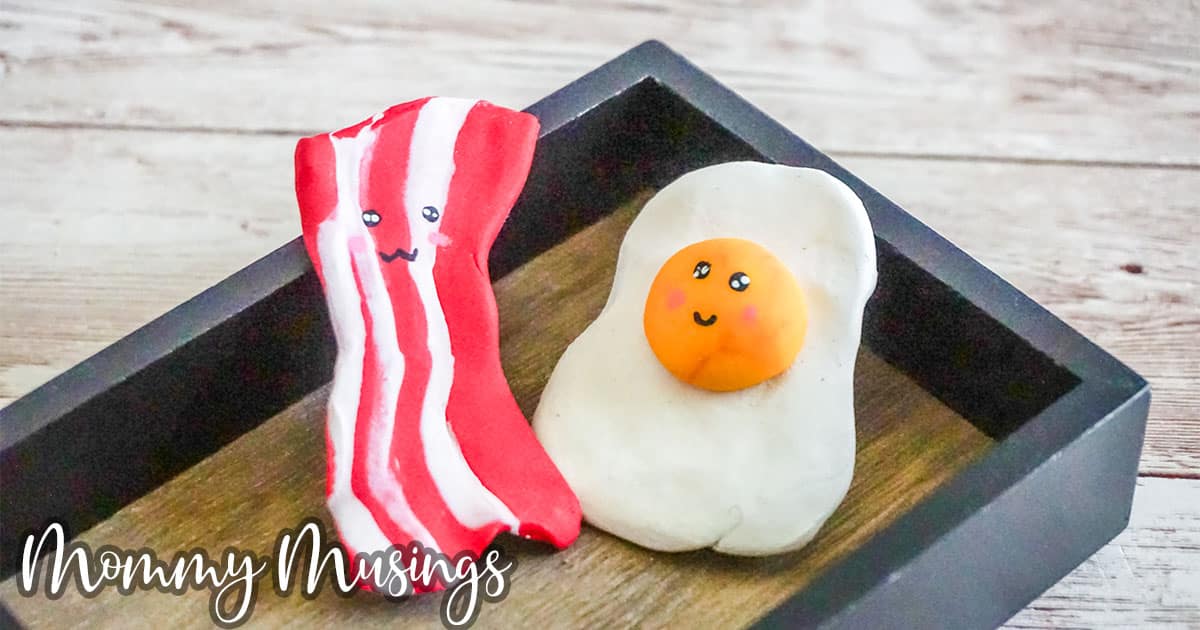
Isn't this just the funnest little craft?! If you wanted to turn it into a charm, you'll just add an eye hook and chain. I personally just love having the figure on my desk.
If you loved this as much as I do, be sure to pin it to your favorite craft board on pinterest so you can find it again fast when you're ready.
MORE FUN KIDS CRAFTS YOU'LL LOVE
- Easy Kid-Made Crystals
- Edible Finger Paint for Kids
- Adorable Unicorn Planter
- Simple Unicorn Bookmark
Bacon and Egg Polymer Clay Craft
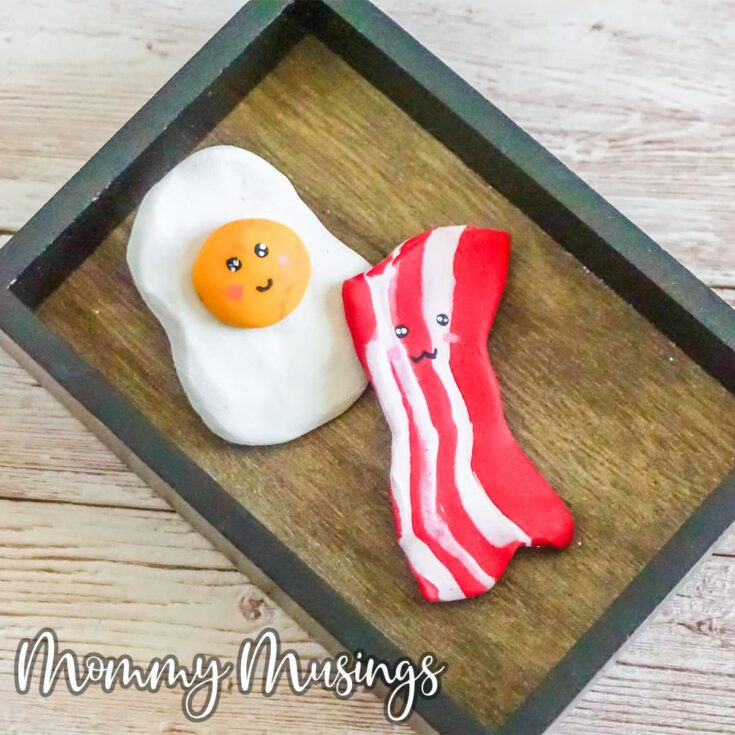
So fast and fun, this bacon and egg polymer clay craft for kids makes a great best friends charm idea or just a really fun addition to a desk.
Materials
- Red Polymer Clay
- White Polymer Clay
- Black Polymer Clay
- Yellow Polymer Clay
- Black Acrylic Paint
- White Acrylic Paint
- Pink Acrylic Paint
- Rubbing Alcohol
Tools
- Oven
- Parchment Paper
- Baking Sheet
- Toothpick
- Paintbrush
Instructions
- Preheat your oven to the temperature noted on your clay packaging. For my clay the baking temperature is 230-degrees F.
- To make the bacon, break off a small portion (about ½ inch square) of the red clay and a slightly smaller portion (about ¼ inch by ½ inch rectangle) of white clay.
- Break the red clay into 4 similarly-sized pieces, roughly rolling them into snakes, but not smooth and not equal - roughly. Repeat with the white clay, breaking it into 3 similarly-sized pieces, roughly rolling them into snakes, but not smooth and not equal.
- Line up the rough lengths of red and white clay side-by-side in the following order: red, white, red, white, red, white, red. Press the red and white clay together, then, while not mixing, smash them flat (to less than ⅛-inch thickness).
- Form up the sides and ends in a wonky ripply way, to make the clay look like cooking bacon.
- Make the egg by pinching off a piece of white clay (about 1-inch square) and shaping it into a wide, flat oblong shape. I made an oval and then just mashed in the sides.
- Round each of the corners, making the shape of an egg white in the process of cooking.
- Make the yolk by pinching off a piece of yellow clay (about ¼-inch square) and shaping it into a neat circle. Mash the circle using the palm of your hand, flattening the backside but leaving the top rounded.
- Place the yolk squarely in the center of the egg white and press it into the white clay firmly. Normally, I would recommend blending, but in this instance, because you want to retain the rounded edge of the yolk, just press firmly - if the yolk falls off after baking, you can superglue it in place (although this did not happen with mine).
- Clean your fingerprints and tiny imperfections from your bacon and egg by gently brushing the clay with a paintbrush dampened in rubbing alcohol. This does not have to be super wet with the alcohol, just a little goes a long way. Take care to brush the white parts first, followed by the other colors so that no yellow or red clay smears on your white clay.
- Bake the clay creations per the instructions on your clay packaging. Allow to cool completely before handling.
- Using the end of a toothpick, draw on a smile and two dots for eyes.
- Using a small paintbrush, add two pink cheek blushes to either side of the smile on both the egg and bacon.
- Using the clean end of the toothpick, place the smallest dot of white paint on the black part of the eyes.
- Allow the paint to dry then enjoy!




Leave a Reply