Do you want to make your holiday decorating a little more festive? If so, this Mickey holiday topiary craft is perfect for you! It’s cute, easy and can be made in any color or theme that suits your holiday décor.

Mickey Holiday Topiary Craft
Mickey Mouse is one of the most recognizable cartoon characters in the world. He has appeared on television, movies, comics and video games for nearly 90 years. His iconic face can be seen plastered everywhere during the holiday season - from snow globes to Christmas ornaments.
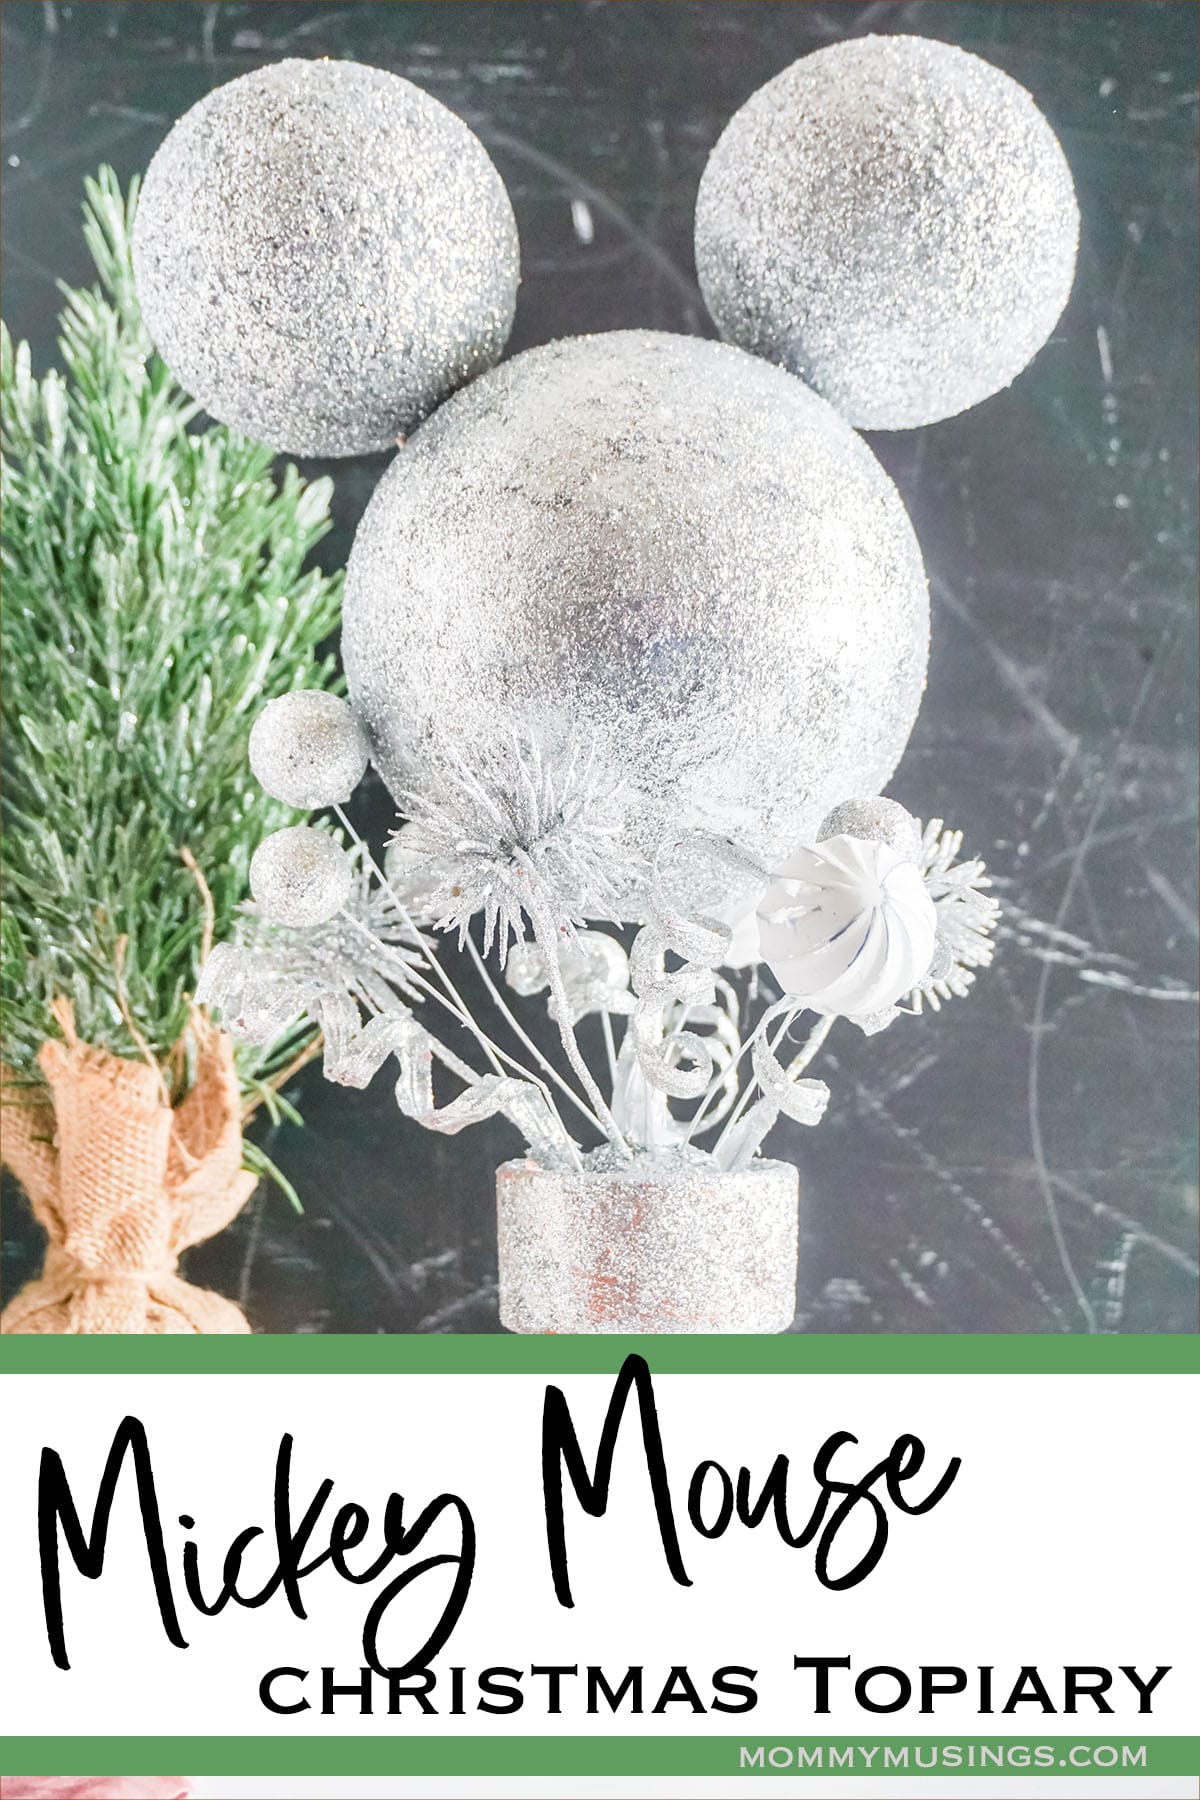
But have you ever thought about what Mickey would look like if he was made out of glitter? That's where this fun Disney craft comes in! This simple DIY Disney craft project re-invents your favorite mouse with glitter and holiday cheer into a Mickey Holiday Topiary that looks just like your favorite mouse!
Mickey Mouse topiaries are a great craft to make while you spend the day with your kids and create something beautiful for any holiday or occasion! The best part is that they're super easy to make.
And while there are a ton of crafts out there that you can do with your kids, but I think this one is one of my favorites because GLITTER!
Let's get crafting!
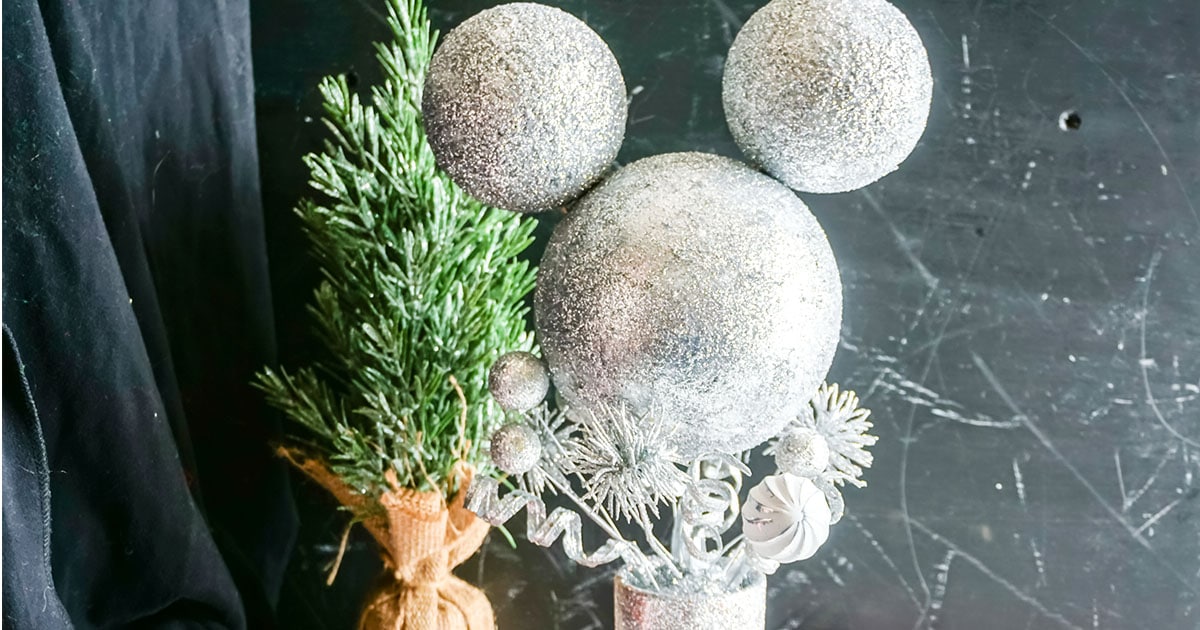
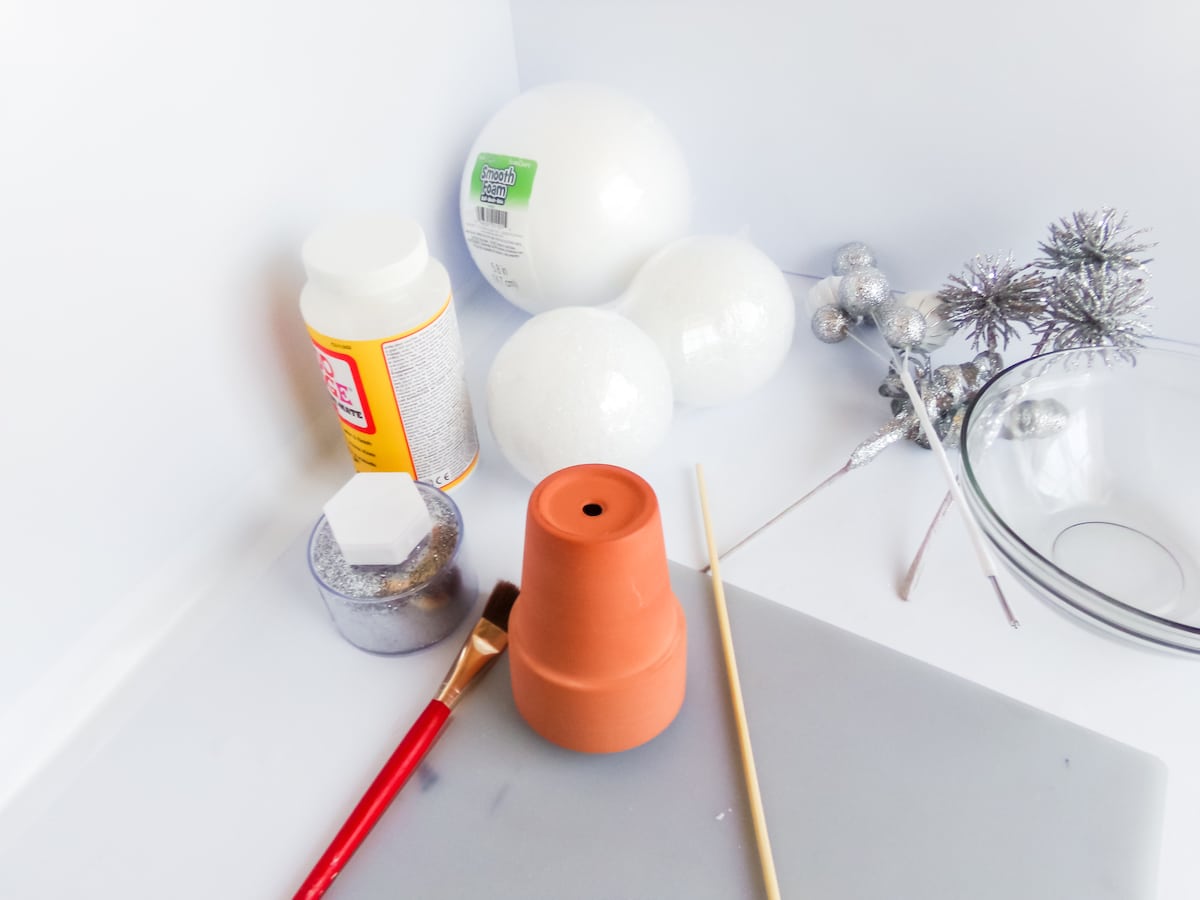
What You Need to Make This Mickey Holiday Topiary Craft
- 1 4-inch Terra Cotta Pot
- Various White and Silver Floral Picks
- 3 Bamboo Sticks
- 4oz Container Silver Glitter
- 3 3-inch Foam Balls
- 1 5-inch Foam Ball
- Mod Podge
- Wire Cutters
- Paint Brush
- Bowl
- Hot Glue Gun & Glue, optional
How to Make This Mickey Holiday Topiary Craft
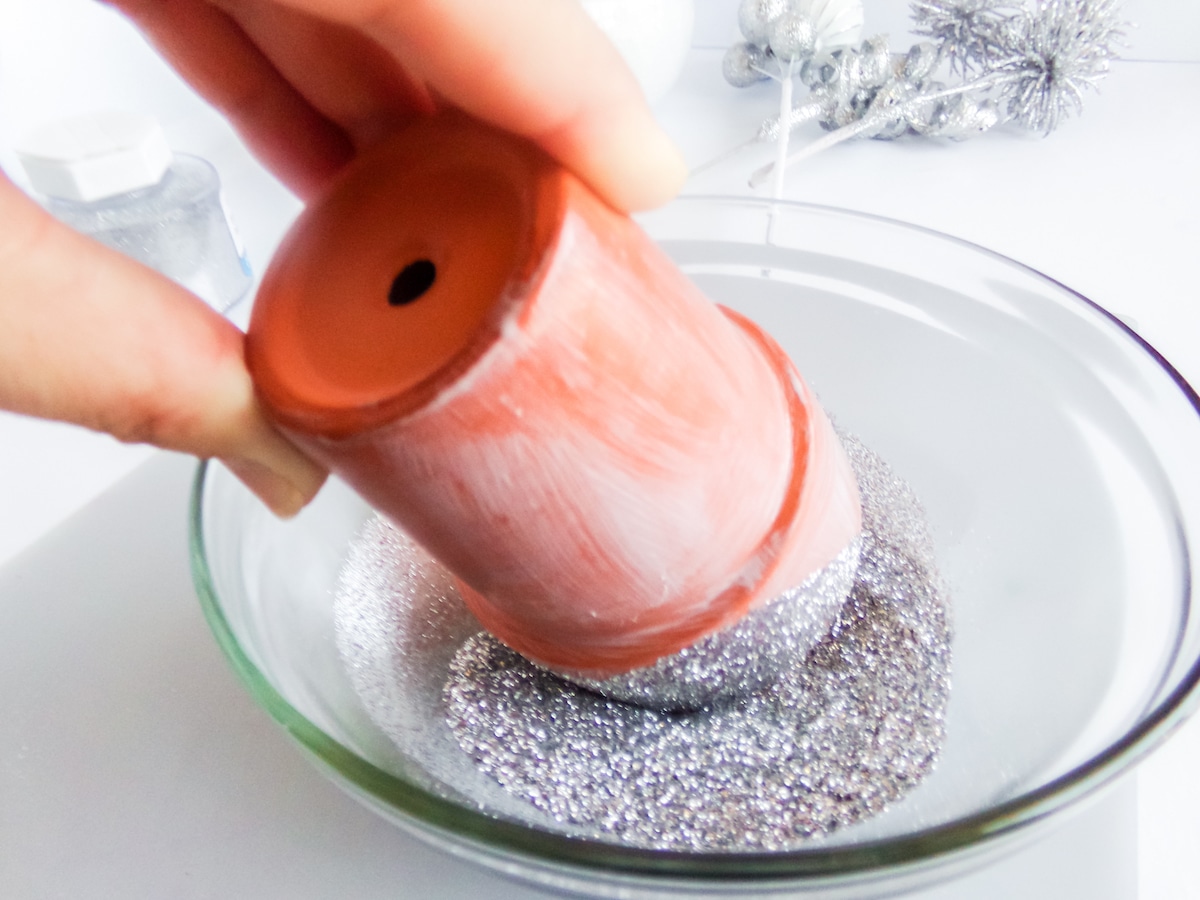
- Coat the terra cotta pot in a light coat of mod podge, then immediately cover the pot in the glitter, doing this over the bowl so you don’t make a giant mess on the table (even though this is still a highly likely event). Set the terra cotta pot aside to dry completely.
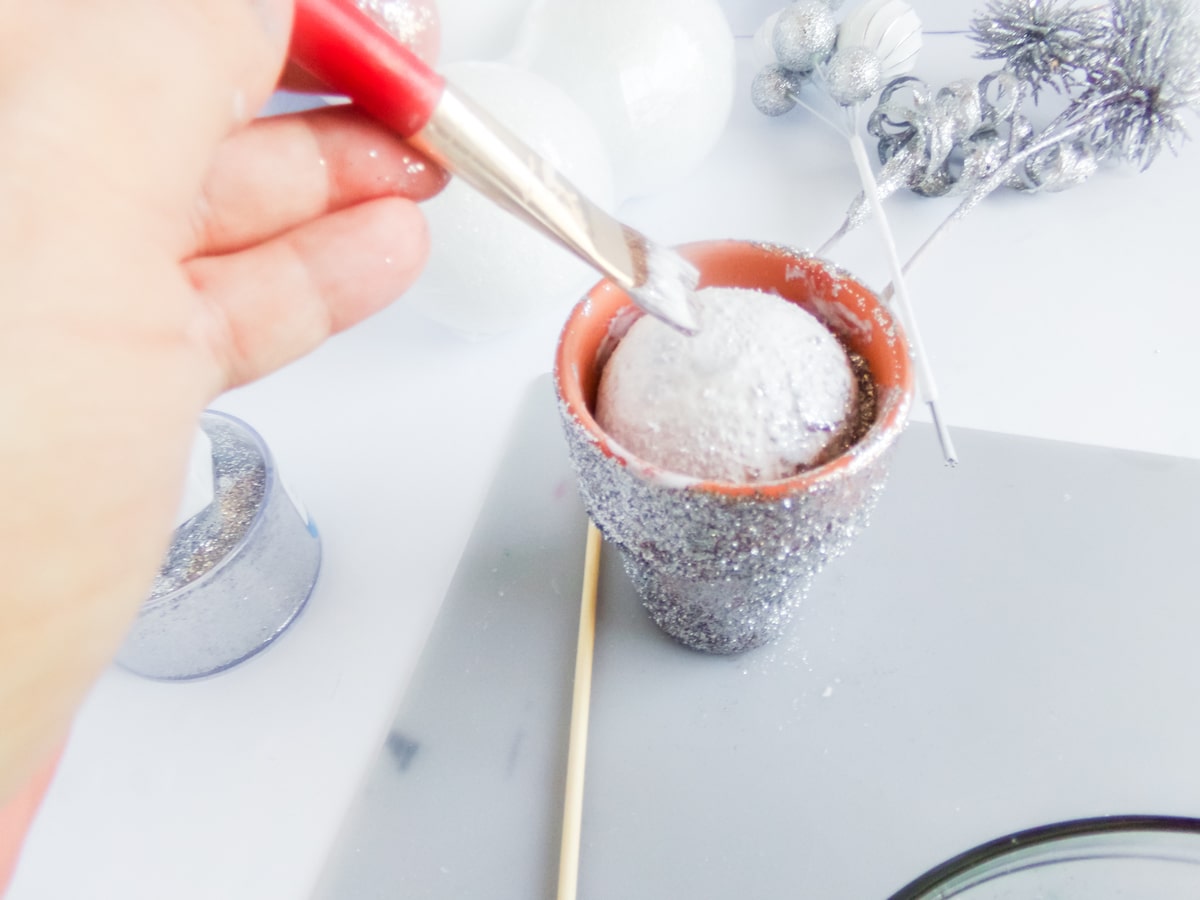
- Place one of the 3-inch foam balls inside the terra cotta pot, if desired, hot glue it in place.
- Coat the visible portion of the foam ball in mod podge then immediately sprinkle the glitter over it, covering it completely.
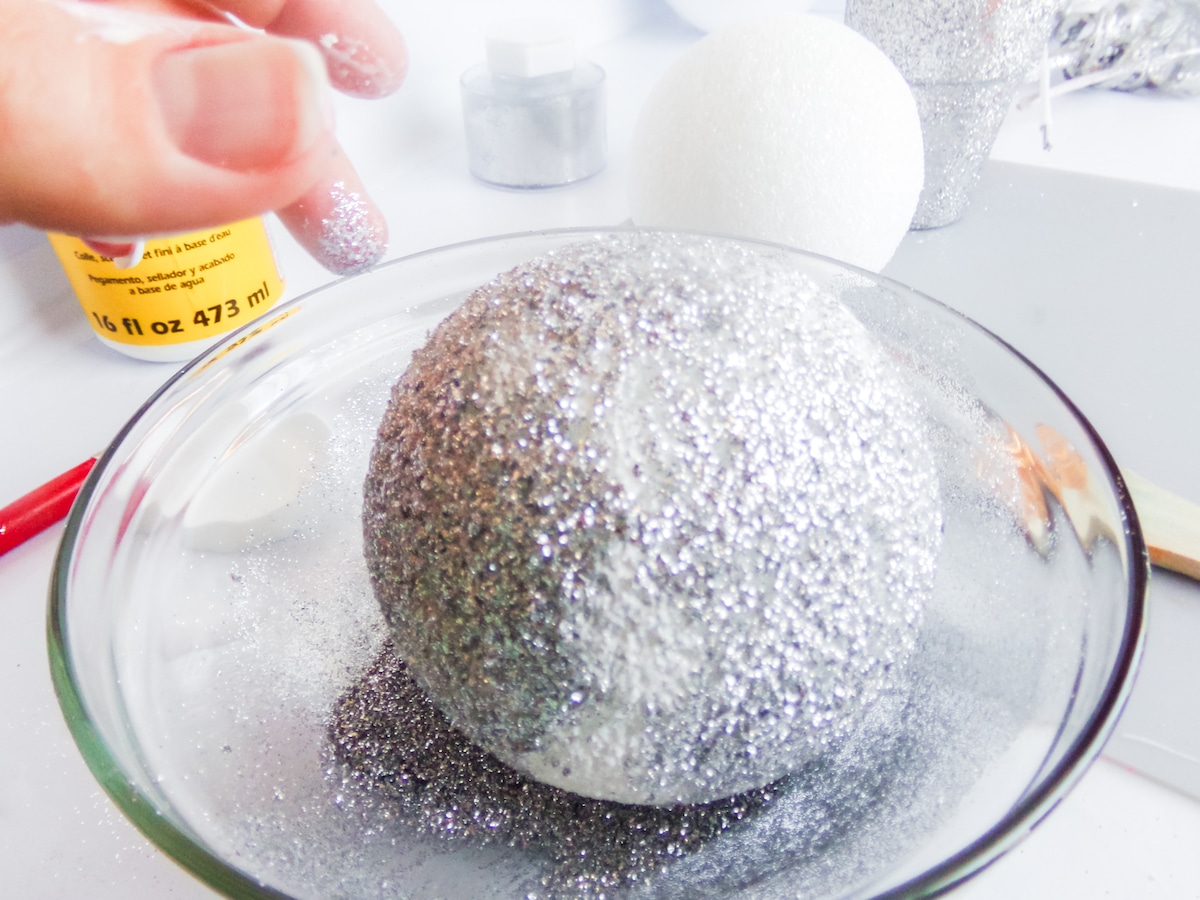
- Insert a 2-3 inch section of bamboo stick into each of the remaining 3-inch foam balls and a 6-8 -inch section of bamboo stick into the larger foam ball as handles, then, working with one ball at a time, coat them in a thin layer of mod podge, then cover in the glitter, holding it over the bowl as you work. When ready to set that foam ball aside, you can poke the other end of the foam ball into the foam ball in the terra cotta pot. When all of the foam balls are fully coated, set them all aside to dry completely.
- When the Mod Podge is completely dry, insert a second 2-3 inch section of bamboo stick into each of the 3-inch foam ball, about ¾ inches from the first one.
- Using the two bamboo sticks in the 3-inch balls, attach the smaller balls to the large one, about 3-4 inches apart to make your Mickey head. Add hot glue to hold the foam balls together, if desired.
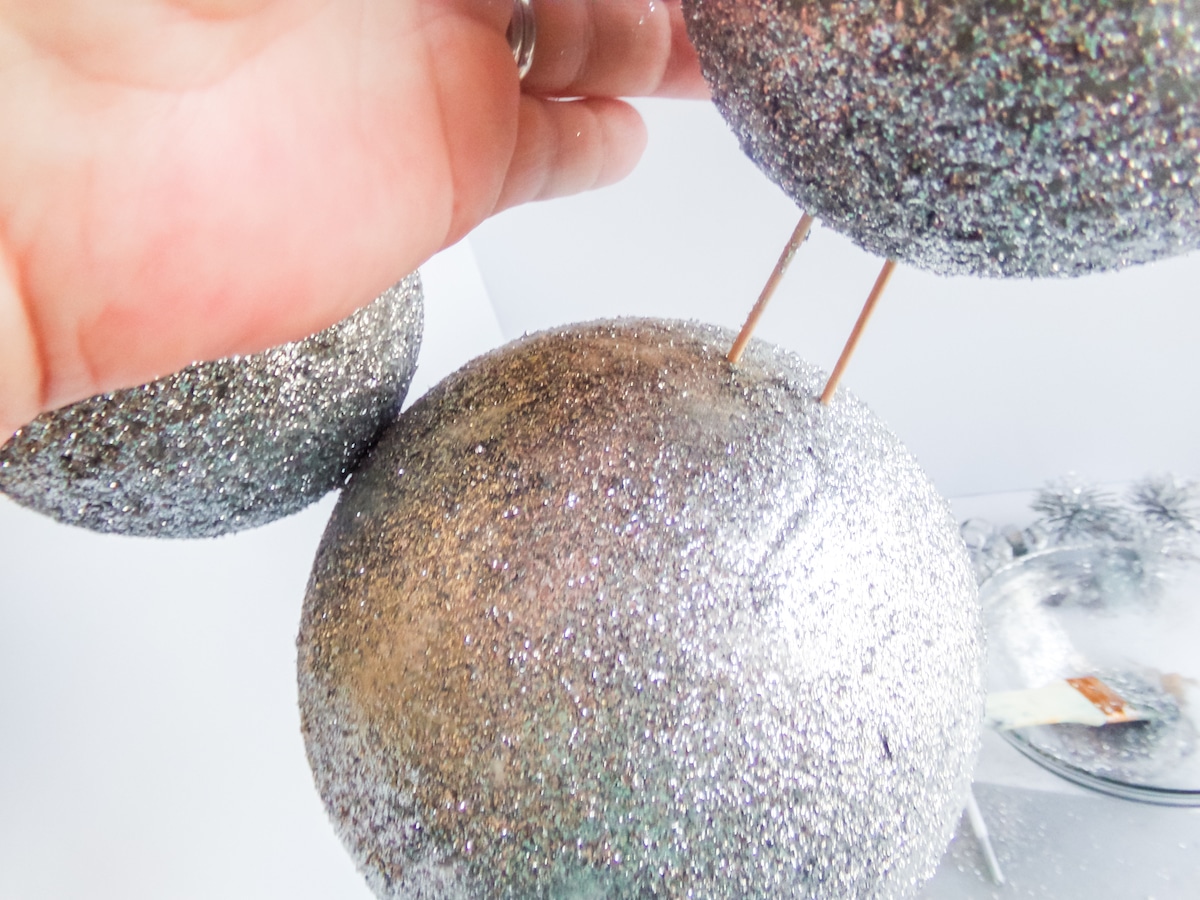
- At this point, if you want to reduce the amount of glitter falling off your pot and Mickey head, you can apply an additional coat of Mod Podge. Allow that to dry completely before continuing.
- Position the Mickey head straight in the pot, then trim the various white and silver floral picks to the length desired and insert them into the pot around the Mickey head. Place in the center of your table and enjoy!
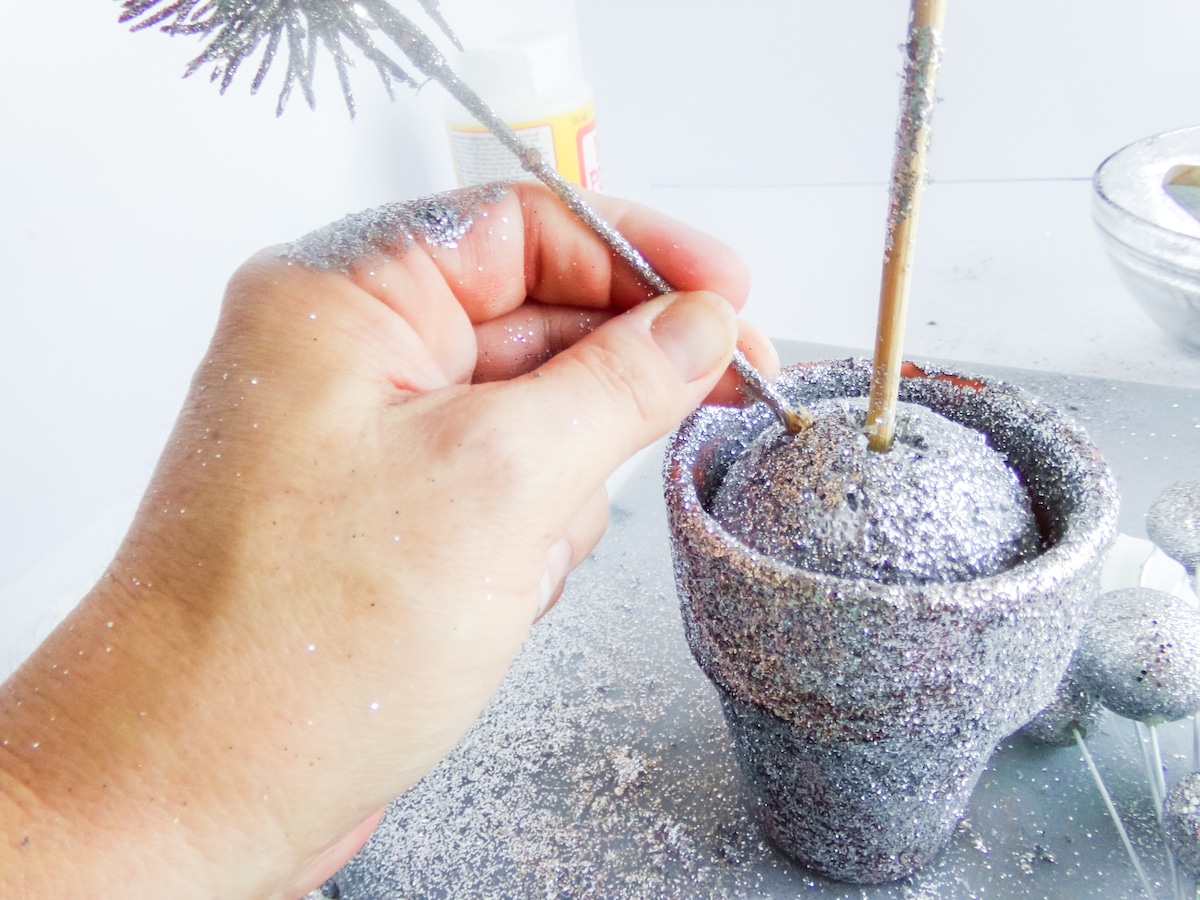
And that's all you have to do for this fun Christmas centerpiece to be all yours! LOL! If you're loving this fun DIY Christmas craft, be sure to pin it to your favorite Disney holiday crafts board on Pinterest so you can find it again fast when you're ready!
More Holiday Crafts You'll Love
Easy DIY Mickey Mouse Christmas Topiary Craft
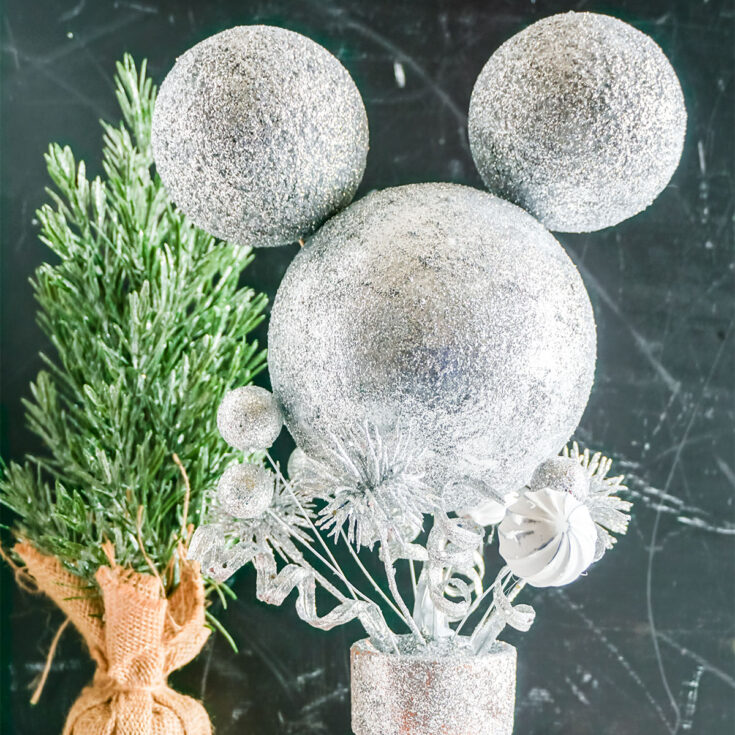
So easy and fast to make, you can have this fun Mickey holiday topiary on your table for a Christmas centerpiece in about 30 minutes!
Materials
- 1 4-inch Terra Cotta Pot
- 1 4-inch Terra Cotta Pot
- Various White and Silver Floral Picks
- Various White and Silver Floral Picks
- 3 Bamboo Sticks
- 3 Bamboo Sticks
- 4oz Container Silver Glitter
- 4oz Container Silver Glitter
- 3 3-inch Foam Balls
- 3 3-inch Foam Balls
- 1 5-inch Foam Ball
- 1 5-inch Foam Ball
- Mod Podge
- Mod Podge
Tools
- Wire Cutters
- Paint Brush
- Bowl
- Hot Glue Gun & Glue, optional
Instructions
- Coat the terra cotta pot in a light coat of mod podge, then immediately cover the pot in the glitter, doing this over the bowl so you don’t make a giant mess on the table (even though this is still a highly likely event). Set the terra cotta pot aside to dry completely.
- Place one of the 3-inch foam balls inside the terra cotta pot, if desired, hot glue it in place.
- Coat the visible portion of the foam ball in mod podge then immediately sprinkle the glitter over it, covering it completely.
- Insert a 2-3 inch section of bamboo stick into each of the remaining 3-inch foam balls and a 6-8 -inch section of bamboo stick into the larger foam ball as handles, then, working with one ball at a time, coat them in a thin layer of mod podge, then cover in the glitter, holding it over the bowl as you work. When ready to set that foam ball aside, you can poke the other end of the foam ball into the foam ball in the terra cotta pot. When all of the foam balls are fully coated, set them all aside to dry completely.
- When the Mod Podge is completely dry, insert a second 2-3 inch section of bamboo stick into each of the 3-inch foam ball, about ¾ inches from the first one.
- Using the two bamboo sticks in the 3-inch balls, attach the smaller balls to the large one, about 3-4 inches apart to make your Mickey head. Add hot glue to hold the foam balls together, if desired.
- At this point, if you want to reduce the amount of glitter falling off your pot and Mickey head, you can apply an additional coat of Mod Podge. Allow that to dry completely before continuing.
- Position the Mickey head straight in the pot, then trim the various white and silver floral picks to the length desired and insert them into the pot around the Mickey head. Place in the center of your table and enjoy!
Recommended Products
As an Amazon Associate and member of other affiliate programs, I earn from qualifying purchases.



Leave a Reply