A friend told me she was into a spooky-pastel vibe this fall and the idea inspired me to make a Pastel Skull Wreath for Halloween. Funky, fun and surprisingly beautiful, I'm a little in love.
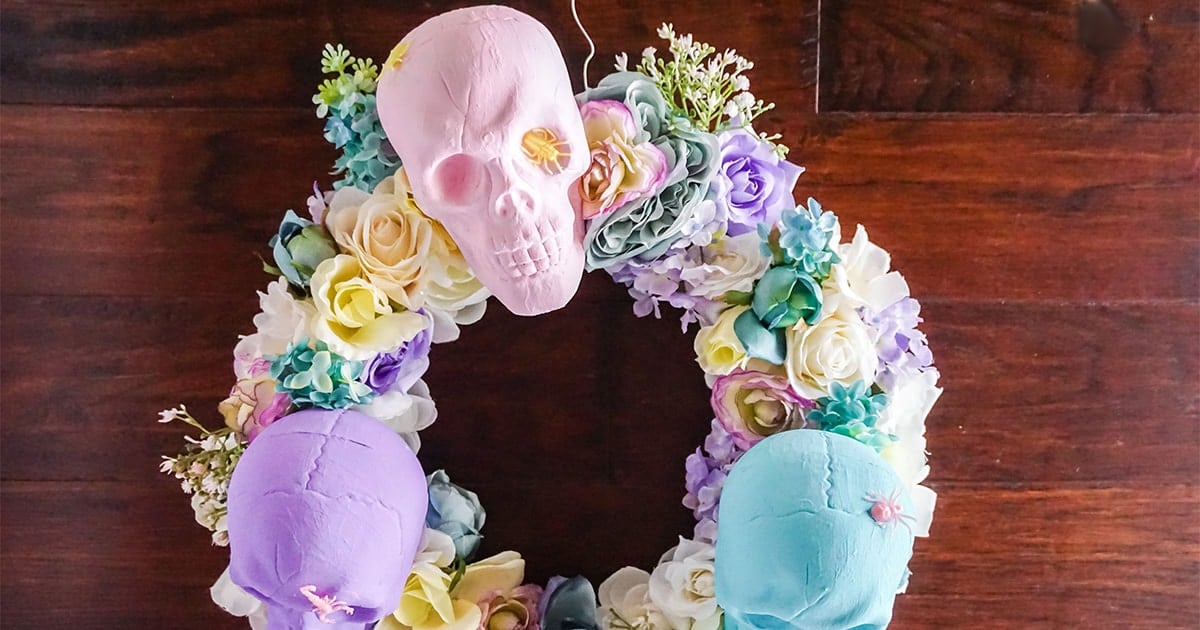
I honestly don't usually go for big, fluffy floral displays of pastel. Something about bubblegum pink and baby blue are just kind of meh most of the time. But when my friend suggested the creepy factor being quite amped-up because of the pastel?
I had to try it.
And when I realized that most of my supplies could come from the dollar store, I couldn't wait to get started!
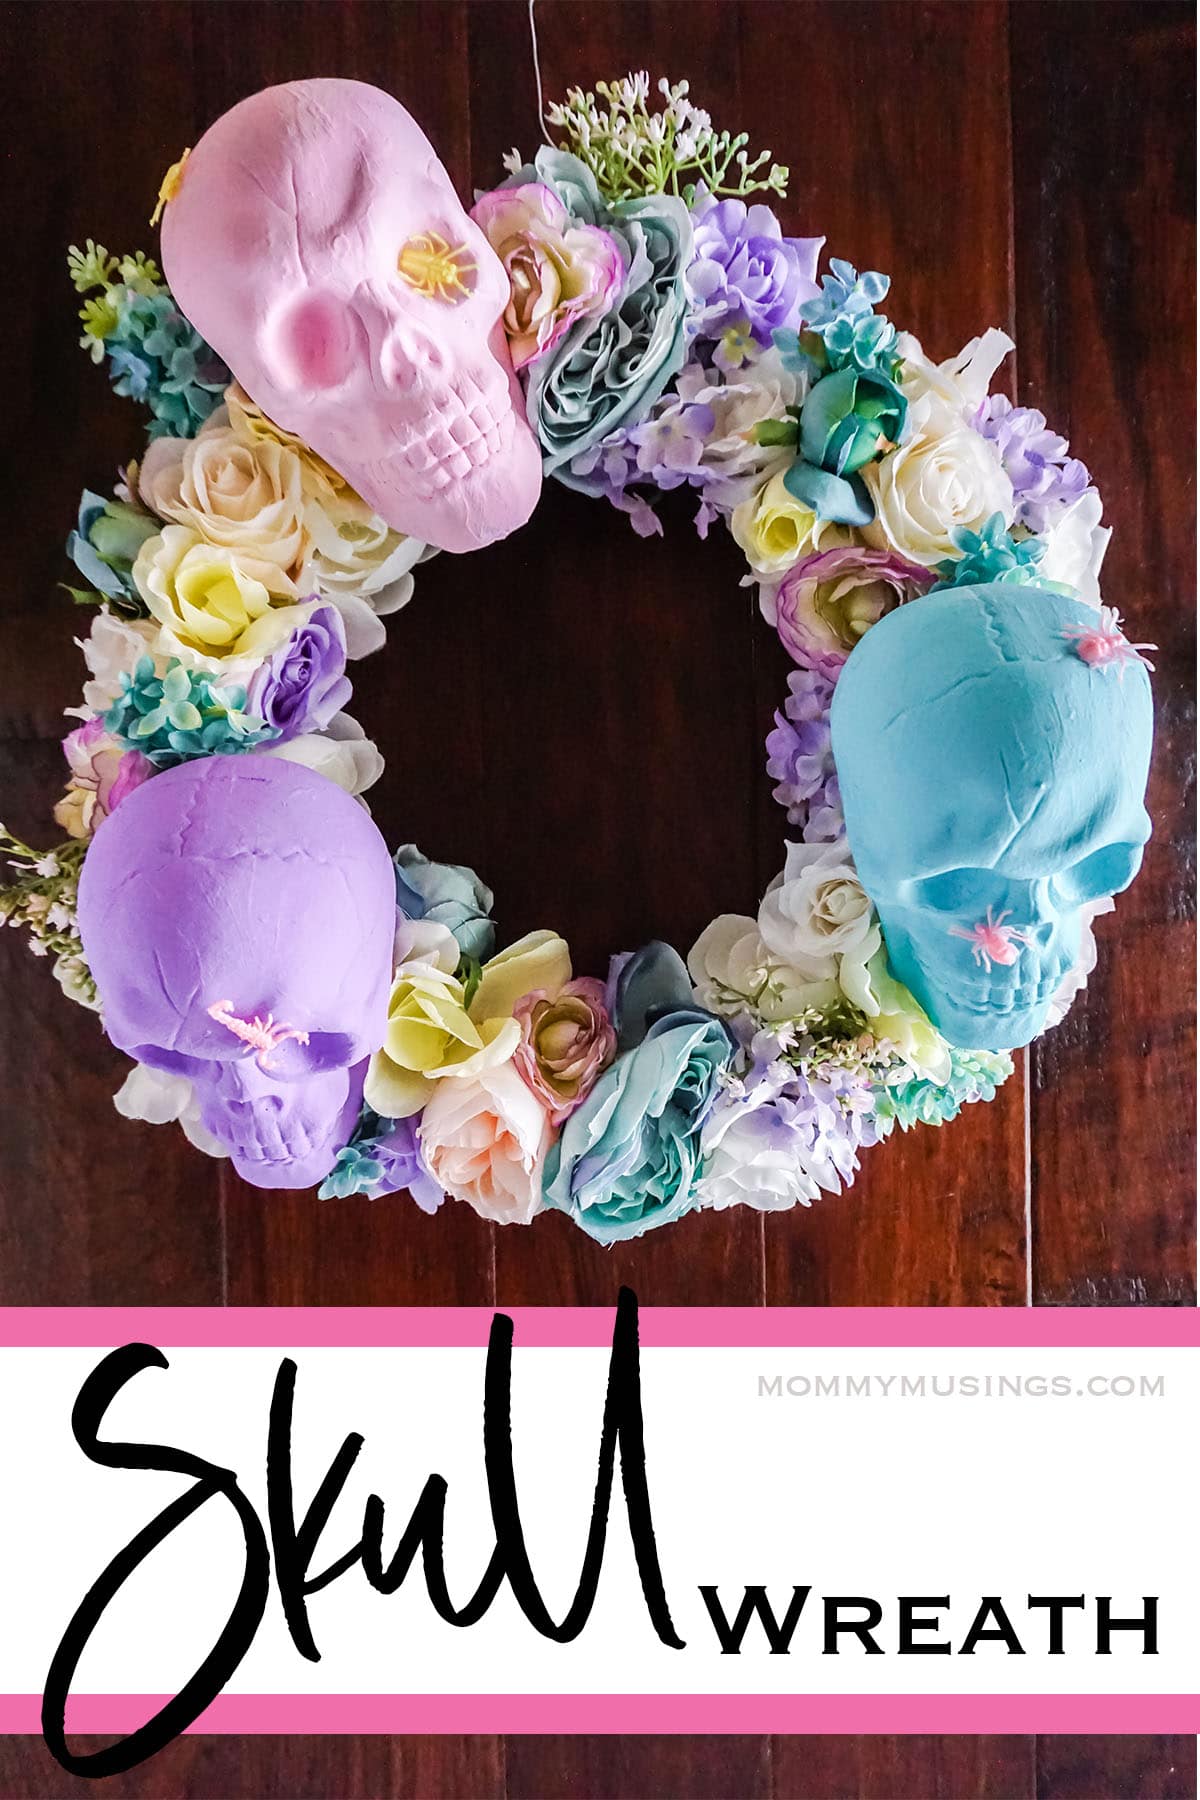
Pastel Skull Wreath for Halloween
How to Decorate with a Wreath for Halloween
As you're probably well aware, wreaths make fantastic accessories for front doors. Probably the reason they were invented. But, if we wanted to get creative, I think we can come up with a lot of ideas to decorating with Halloween wreaths that don't involve your front door.
I've been kind of wreath-curious about the idea of putting those mini-wreaths on kitchen cabinets, just the small tiny wreaths hung from a ribbon on each one.
Alternatively, you could pop a wreath onto the wall in your Halloween entryway, by your coat hooks or side table.
There are really so many fun options. Maybe even take away the flat surface altogether and have place it on a shelf, your mantle, or even the back of a chair!
If you're ready to make an inexpensive and fun halloween skull wreath, let's get making!
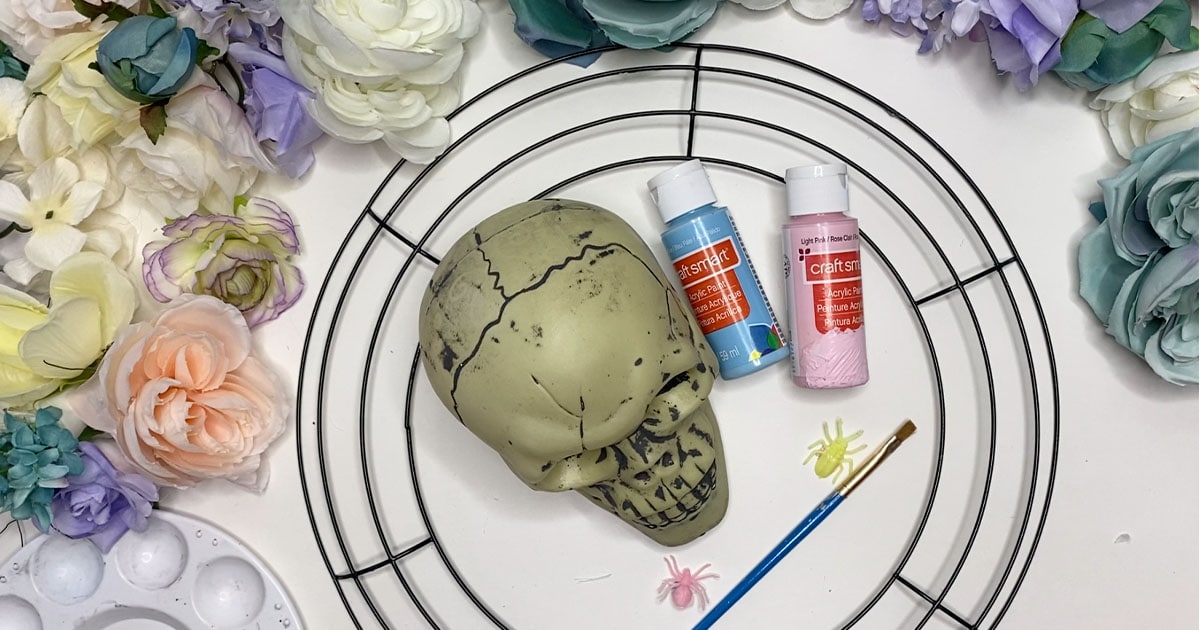
What You Need to Make a Pastel Skull Wreath for Halloween
- 2-3 Plastic Skulls
- 4-5 Bunches of Faux Flowers in Pale Colors (blue, pink, white, purple)
- Acrylic Paint in Blue, Pink, White and Purple
- 10-12-inch Wire Wreath Form
- Floral Wire
- Random Selection Plastic Bugs and Arachnids (I found pastel ones)
- Hot Glue Gun & Glue
- Sharp Scissors
- Wire Cutters
How to Make a Pastel Skull Wreath for Halloween
- First, paint each of the skulls with a different color of pastel acrylic paint. Allow the paint to dry completely. If you have trouble getting your paint to stick (which you shouldn’t, but in case), you can paint your skulls with chalk paint first, then when that’s dry, apply the acrylic paint. Repeat with the plastic bugs and allow the paint to dry fully.
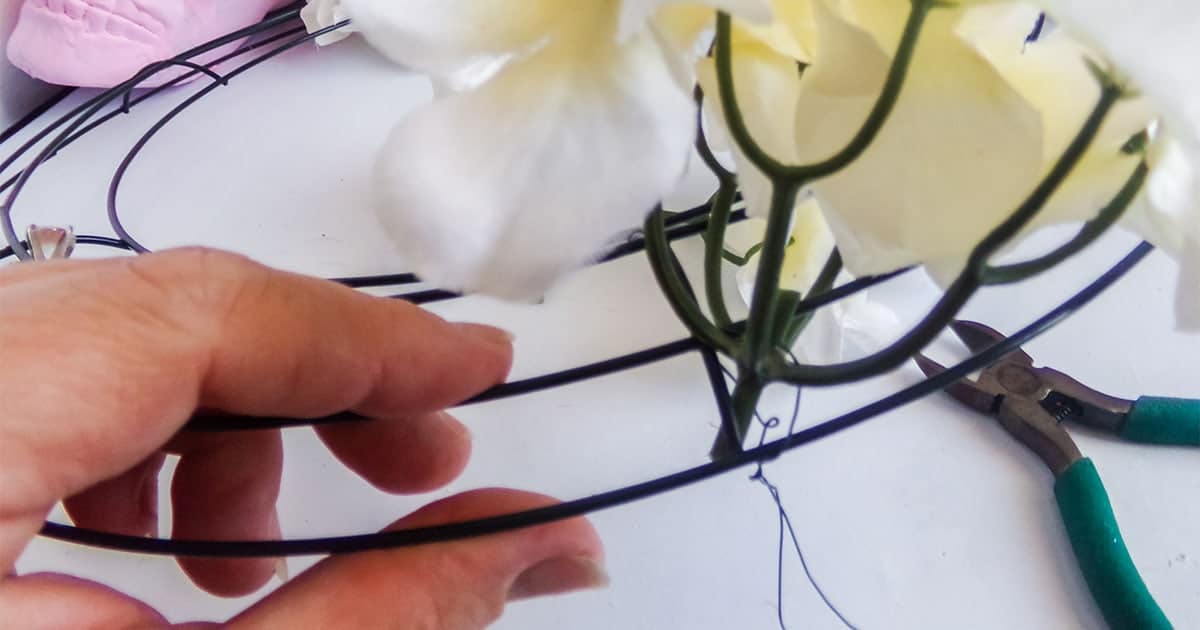
- Cut off the tops of each of the flowers and thread a piece of floral wire through each flower head.
- Using the floral wire, affix each flower head onto the wire wreath form, mixing the colors together as desired.
- Using your hot glue gun tip, make two holes, one inch apart, on the back top of each skull. Be mindful of how the skull will face when you make these holes, as holes lower on the back of the skull will make the skull look down, while holes higher up on the head will make the skull look up.
- Affix the bugs randomly over the skulls or in the flowers with the hot glue.
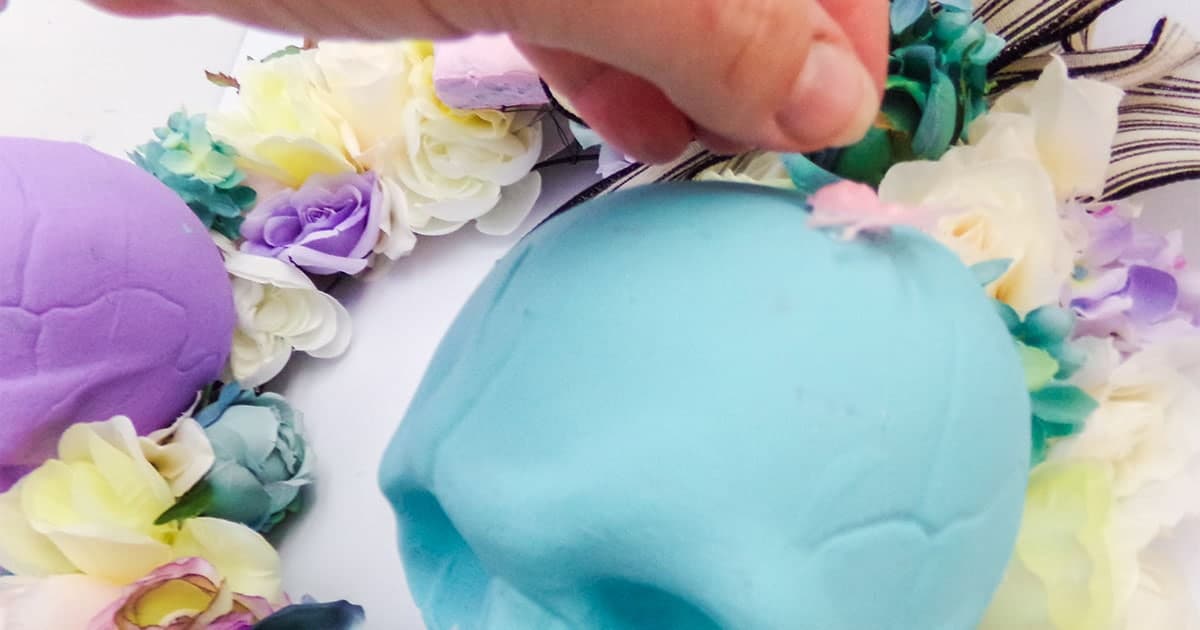
- Thread a piece of floral wire through the two holes (one wire, curved in a hook threaded through one hole and out the other) on each skull.
- Using the floral wire in the back of the skull, attach the skull to the wire wreath frame and enjoy!
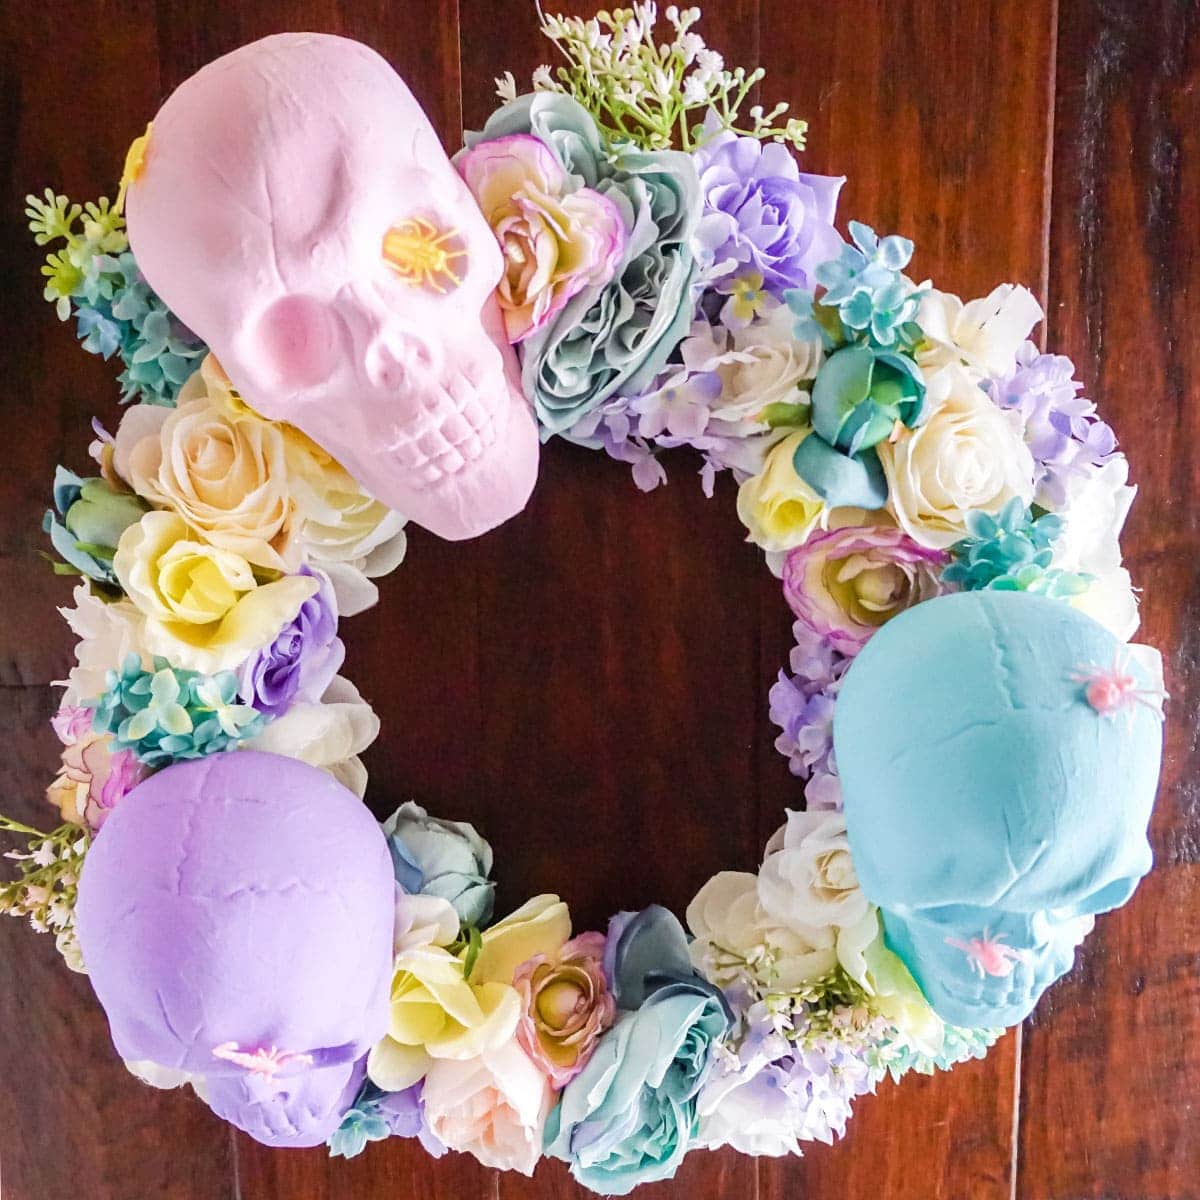
And that's it! Just a few minutes and you've got a fun and creepy pastel halloween decoration you'll love! It definitely dresses-up a door, too, or any halloween display.
If you love this fun floral Halloween wreath, be sure to pin it to your favorite Halloween crafts board on Pinterest so you can find it again fast when you're ready to make your own!
More Halloween Crafts You Might Like
- Dark and Spooky Floral Skull Halloween Wreath
- The Ultimate List of Disney Pumpkin Carving Stencils
- 20 Cute and Easy Halloween Crafts for Kids
- Monster Eye Cookies
Pastel Skull Wreath for Halloween
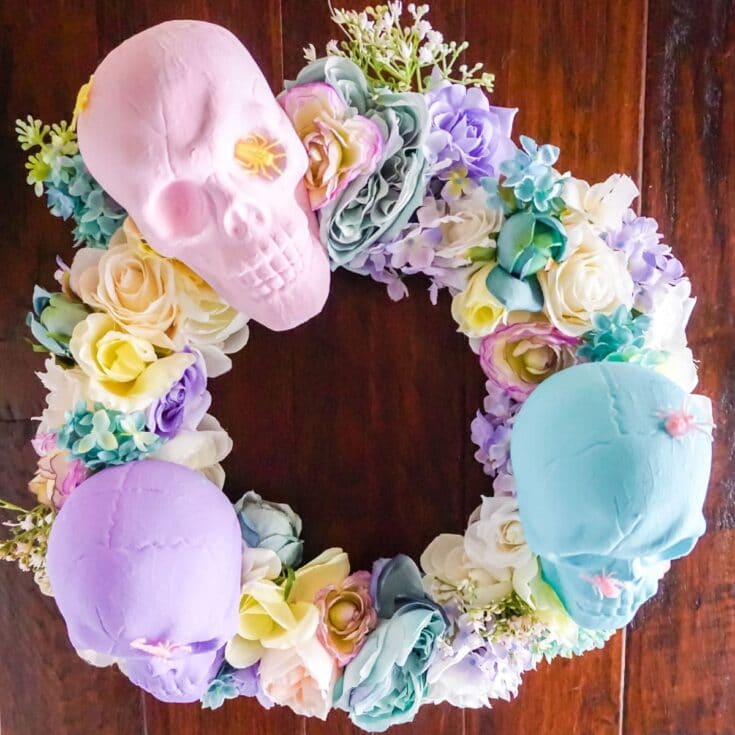
I can't believe how much I really like this pastel skull wreath for halloween. It's not what I usually go for, but the combination of sweet colors and spooky skulls is too cool not to love!
Materials
- 2-3 Plastic Skulls
- 4-5 Bunches of Faux Flowers in Pale Colors (blue, pink, white, purple)
- Acrylic Paint in Blue, Pink, White and Purple
- 10-12-inch Wire Wreath Form
- Floral Wire
- Random Selection Plastic Bugs and Arachnids (I found pastel ones)
Tools
- Hot Glue Gun & Glue
- Sharp Scissors
- Wire Cutters
Instructions
- First, paint each of the skulls with a different color of pastel acrylic paint. Allow the paint to dry completely. If you have trouble getting your paint to stick (which you shouldn’t, but in case), you can paint your skulls with chalk paint first, then when that’s dry, apply the acrylic paint. Repeat with the plastic bugs and allow the paint to dry fully.
- Cut off the tops of each of the flowers and thread a piece of floral wire through each flower head.
- Using the floral wire, affix each flower head onto the wire wreath form, mixing the colors together as desired.

- Using your hot glue gun tip, make two holes, one inch apart, on the back top of each skull. Be mindful of how the skull will face when you make these holes, as holes lower on the back of the skull will make the skull look down, while holes higher up on the head will make the skull look up.
- Affix the bugs randomly over the skulls or in the flowers with the hot glue.

- Thread a piece of floral wire through the two holes (one wire, curved in a hook threaded through one hole and out the other) on each skull.
- Using the floral wire in the back of the skull, attach the skull to the wire wreath frame and enjoy!


Leave a Reply