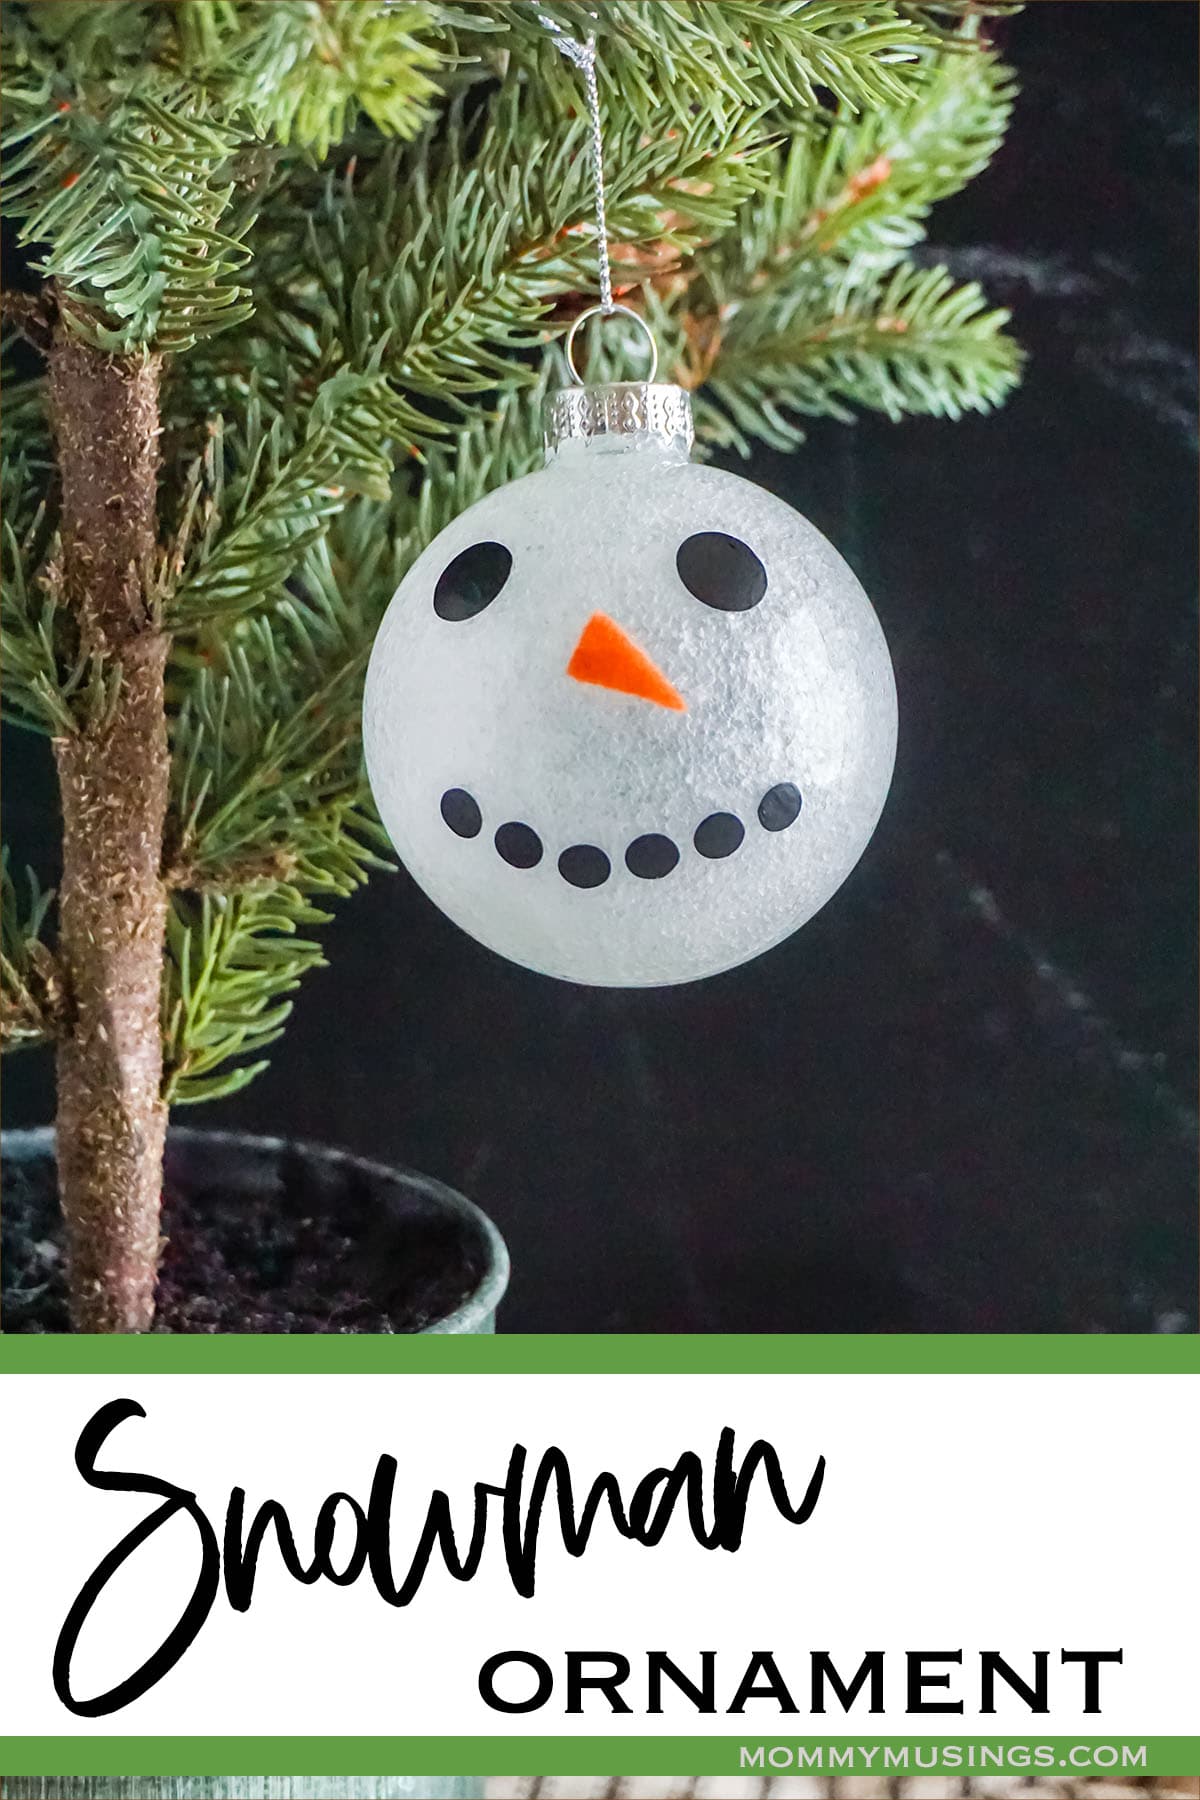
It's never too late to put a snowman ornament on your tree! You can make this snowman ornament using a few simple tools and materials.
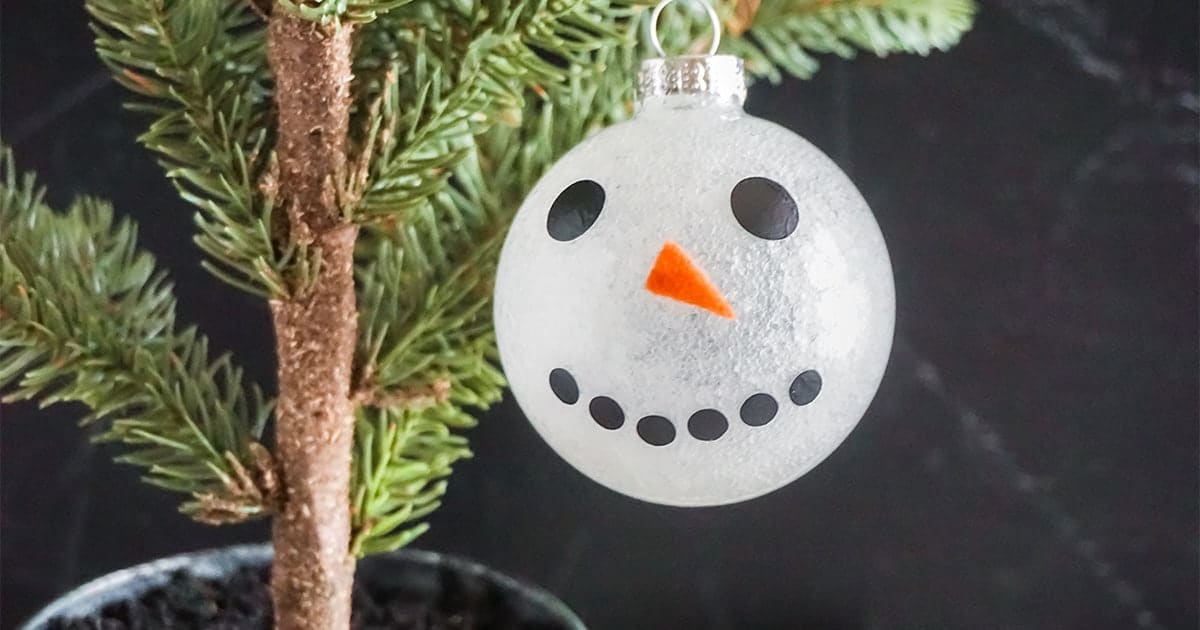
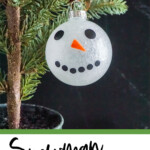
The snowman has button smile, carrot nose and button eyes. He is made from heat transfer vinyl that you cut with the Cricut machine. This snowman ornament craft is easy to do for any level of crafter.
But, it's worth pointing out that you can make this easy snowman ornament Cricut craft without a Cricut, if you want. You can simply print the file, using it as a pattern, and cut out the vinyl with scissors, so don't let not having a cutting machine stop you from making this easy DIY Christmas ornament.
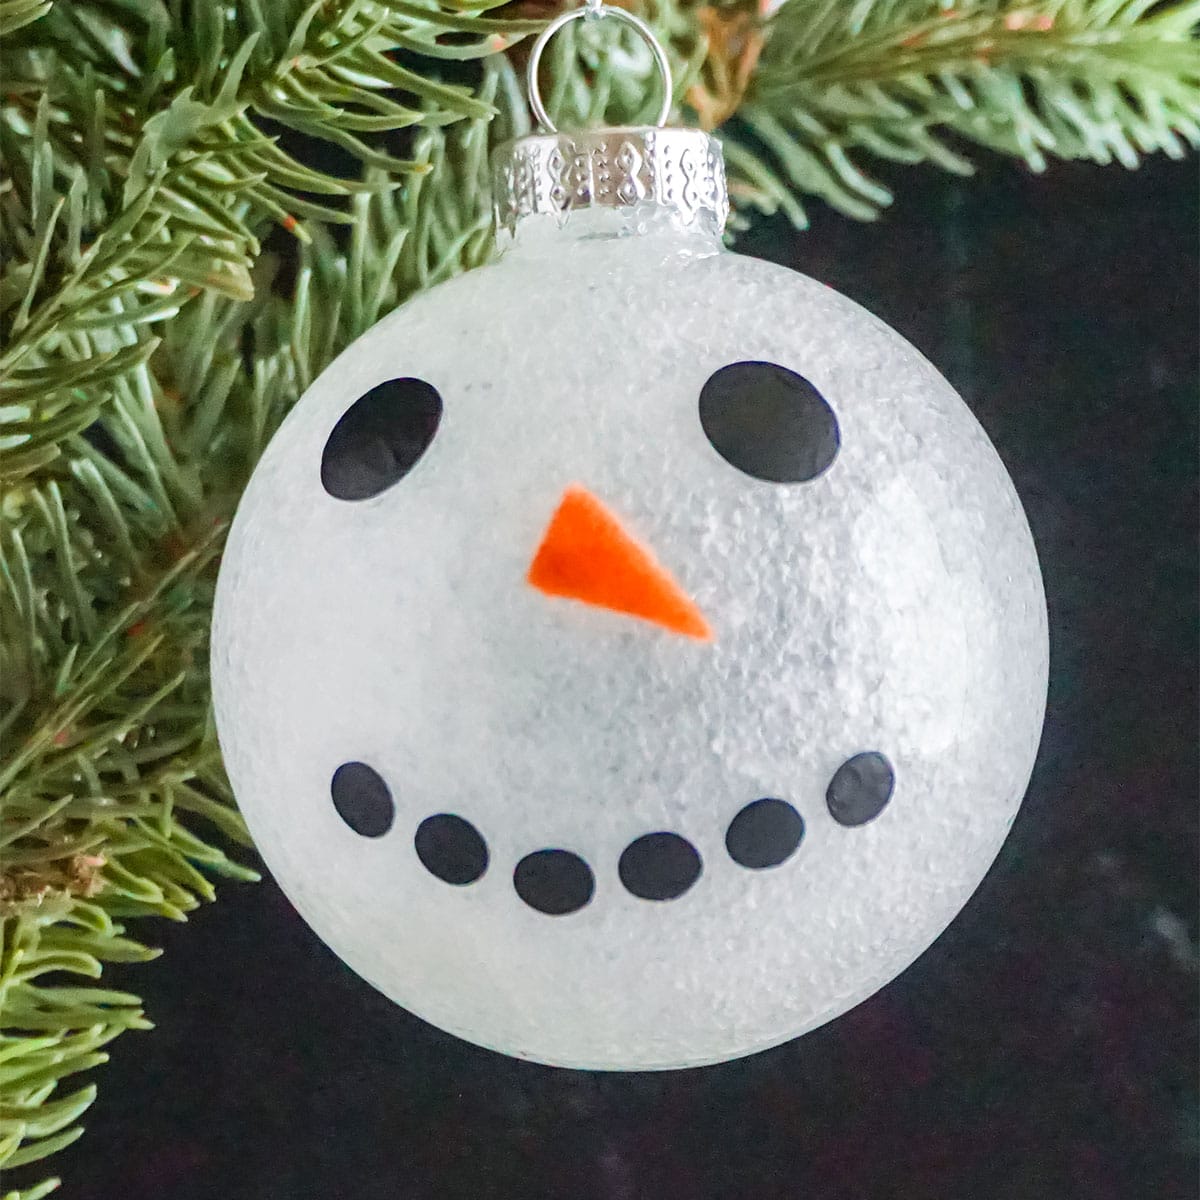
And the snowman is such a classic Christmas character, you just can't go wrong. Simple and fun, these would make a great gift for anyone who would like a handmade ornament.
So, grab your glitter and let's get making!
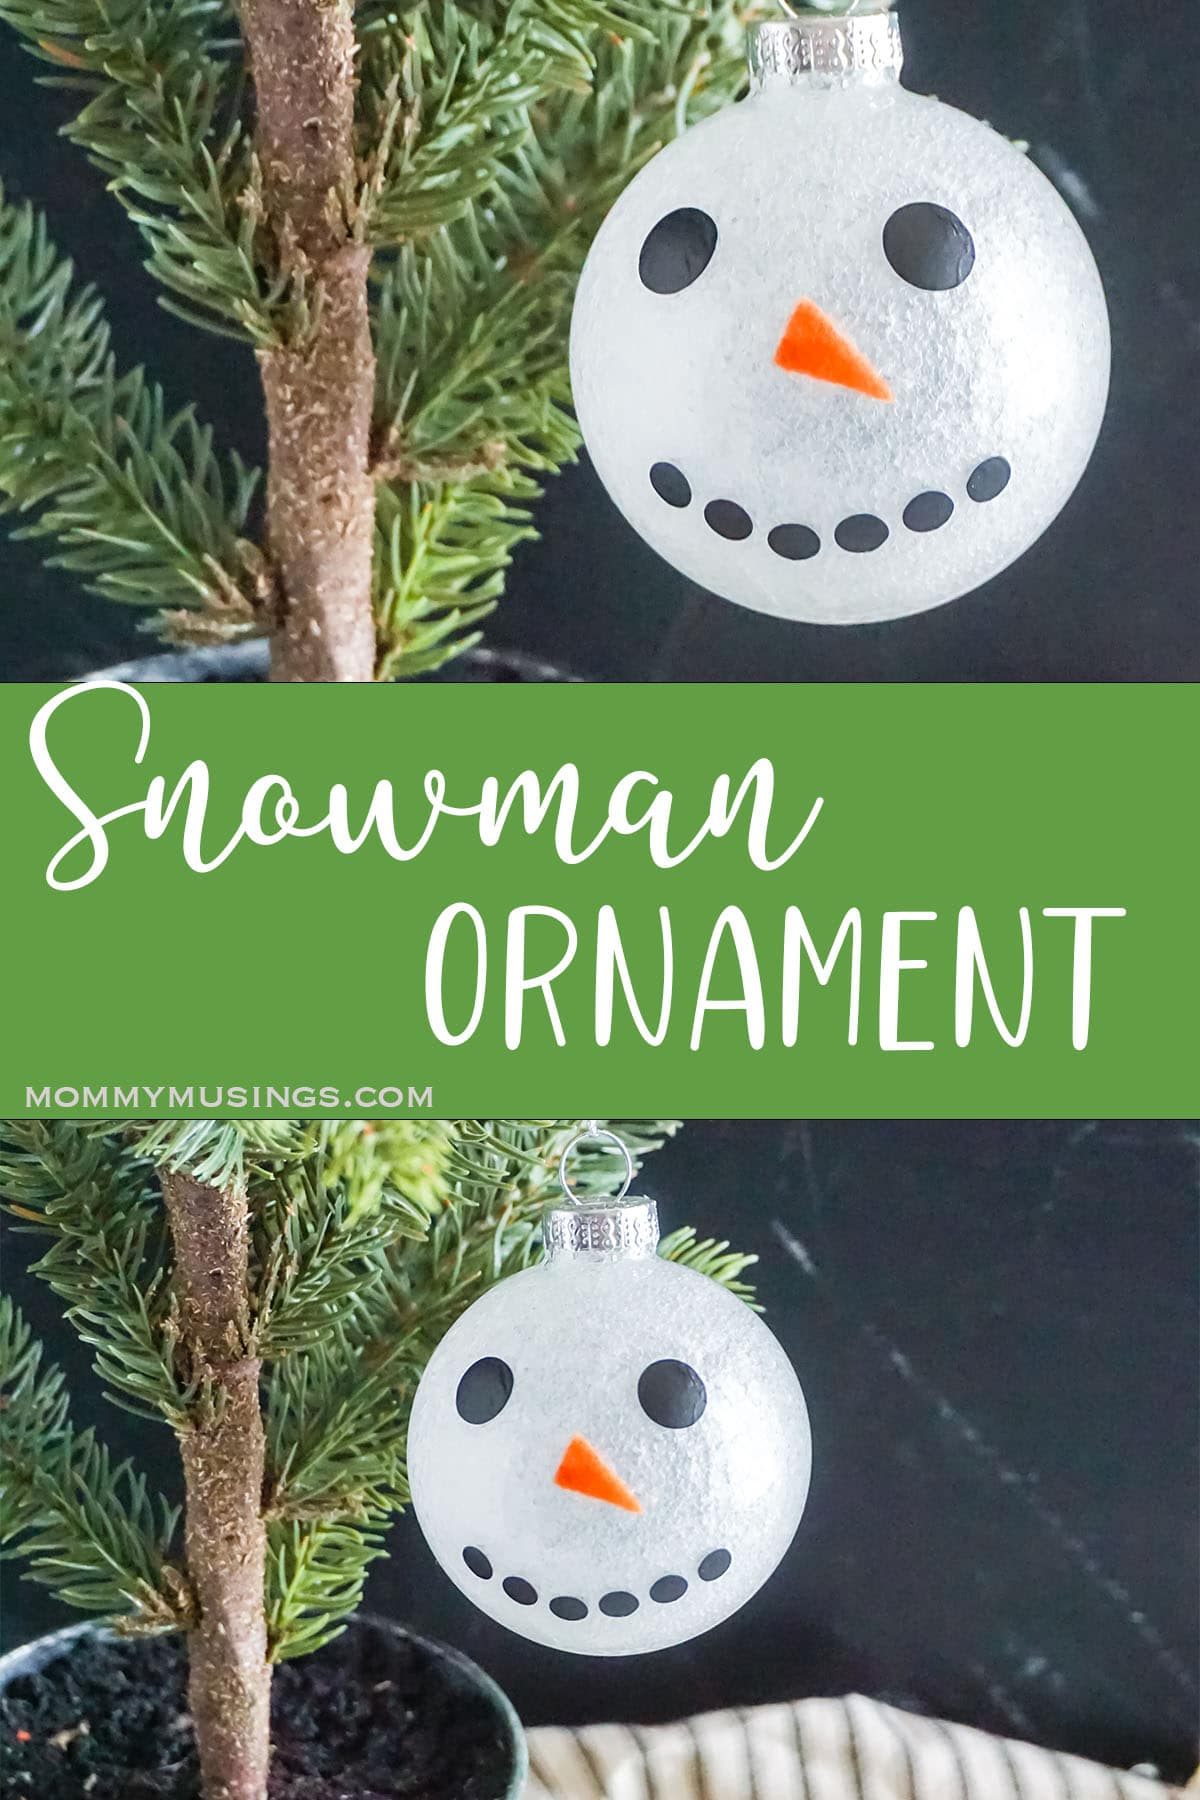
Easy Snowman Ornament Cricut Craft
What Do You Need to Make This Easy Snowman Ornament Cricut Craft
- Clear Glass Fillable Ornament
- White Glitter
- Mod Podge
- Heat Transfer Vinyl in Black and Orange
- Snowman Man Face Cut File
You'll also need:
- Small Paper Cup
- Small Funnel
- EasyPress Mini
- Cricut Explore Air2 or Cricut Maker
How to Make this Cricut Christmas Ornament
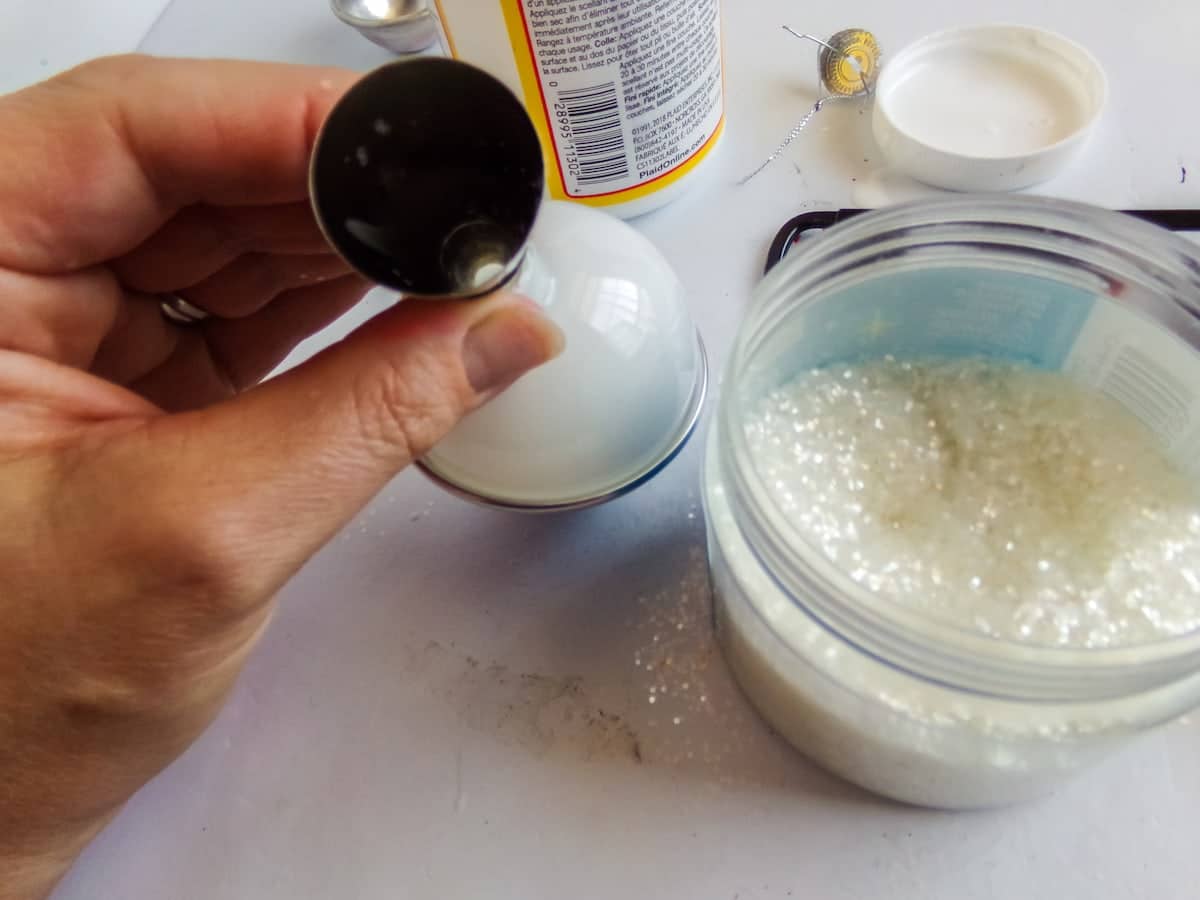
- Set the ornament on the paper cup and remove the metal top of the ornament, setting it aside.
- Pour about 1 tablespoon of Mod Podge inside the ornament with the use of the funnel.
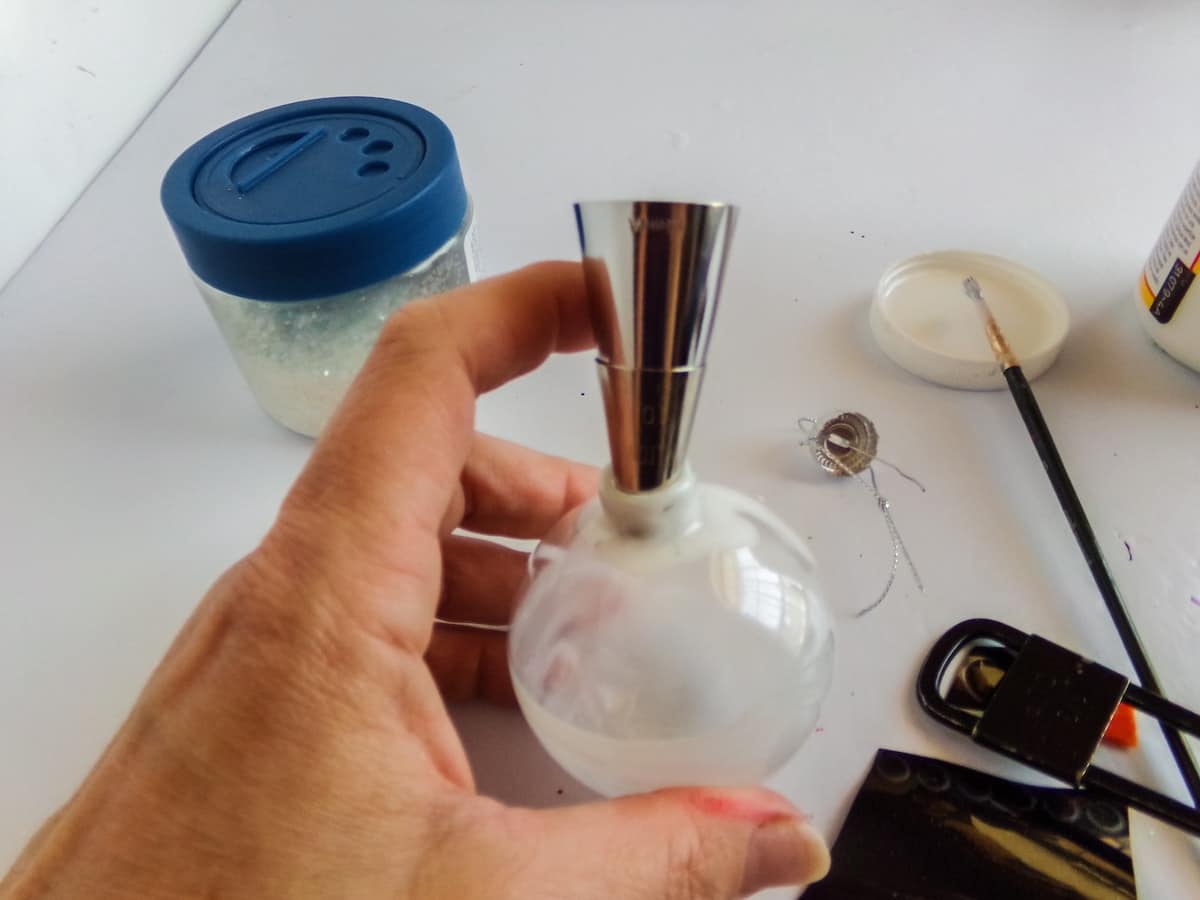
- Add about 1 tablespoon of the white glitter to the ornament then swirl the ornament around, turning it, shifting it and even shaking (with your thumb over the opening) in order to cover the entire interior of the ornament with the glitter and Mod Podge. Allow the interior to dry completely.
- Download the cut file and upload the design to Design Space. You should not need to resize it, but I feel it is always best to measure and check, because your ornament could be a different size than the one I designed the file for. Follow the prompts to cut the following from the vinyl: 2 eyes and smile from black vinyl, 1 nose from orange vinyl.
- Remove the unnecessary vinyl from around the designs and place the design on the surface of the ornament as desired.
- Use the EasyPress to apply the vinyl to the ornament surface and hang the finished Christmas ornament from your tree!
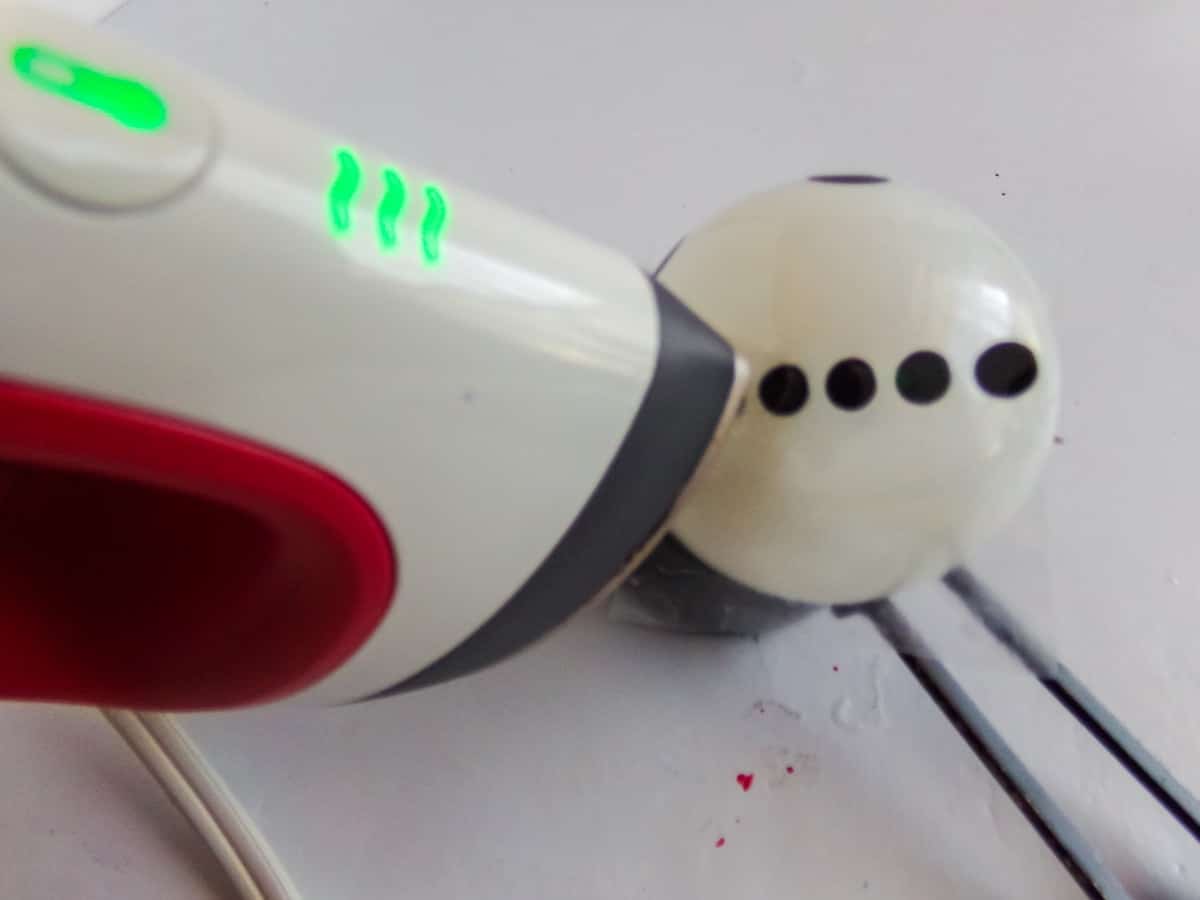
It's as easy as that! And it's seriously ready to go on the tree as soon as the vinyl cools.
And the best part is, being heat transfer vinyl on glass, it's going to stay FOREVER. No way the kids can accidentally peel it off or the heat in the attic is going to make the vinyl design peel off during the summer.
So, grab your glitter and let's do it!
Oh, you're not quite ready to make a DIY Christmas ornament right this second? That's ok. Just pin this to your favorite holiday DIYs board on Pinterest so you can find it again fast when you're ready!
More DIY Christmas Ideas You'll Love
Snowman Ornament Cricut Craft
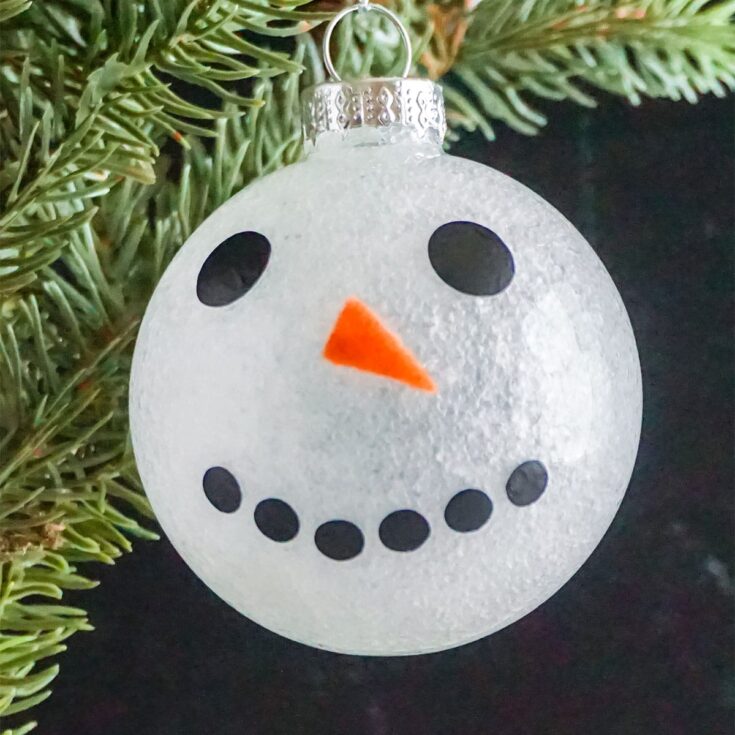
Simple, fast and fun, this DIY Christmas ornament is a great way to make your own holiday craft for the tree. I would make an army of these little snowman ornament Cricut crafts to decorate a whole tree! LOL!
Materials
- Clear Glass Fillable Ornament
- White Glitter
- Mod Podge
- Black and orange Heat Transfer Vinyl
- Snowman Cut File
Tools
- Cricut Explore Air 2, Cricut Joy or Cricut Maker
- Light Grip Mat
- Cricut EasyPress Mini
- Scissors
- Paper Cup
- Funnel
Instructions
- Set the ornament on the paper cup and remove the metal top of the ornament, setting it aside.
- Pour about 1 tablespoon of Mod Podge inside the ornament with the use of the funnel.
- Add about 1 tablespoon of the white glitter to the ornament then swirl the ornament around, turning it, shifting it and even shaking (with your thumb over the opening) in order to cover the entire interior of the ornament with the glitter and Mod Podge. Allow the interior to dry completely.
- Download the cut file and upload the design to Design Space. You should not need to resize it, but I feel it is always best to measure and check, because your ornament could be a different size than the one I designed the file for. Follow the prompts to cut the following from the vinyl: 2 eyes and smile from black vinyl, 1 nose from orange vinyl.
- Remove the unnecessary vinyl from around the designs and place the design on the surface of the ornament as desired.
- Use the EasyPress to apply the vinyl to the ornament surface and hang the finished Christmas ornament from your tree!
Recommended Products
As an Amazon Associate and member of other affiliate programs, I earn from qualifying purchases.



Leave a Reply