
This Rudolph Cricut Ornament is adorable and fun! I love the colors and all the detail. This project is perfect for a beginner or someone who wants to hand out some adorable Christmas ornaments as presents this year.
We’ll be using vinyl cut with our Cricut machine as well as a clear glass ornament to complete this crafty project.
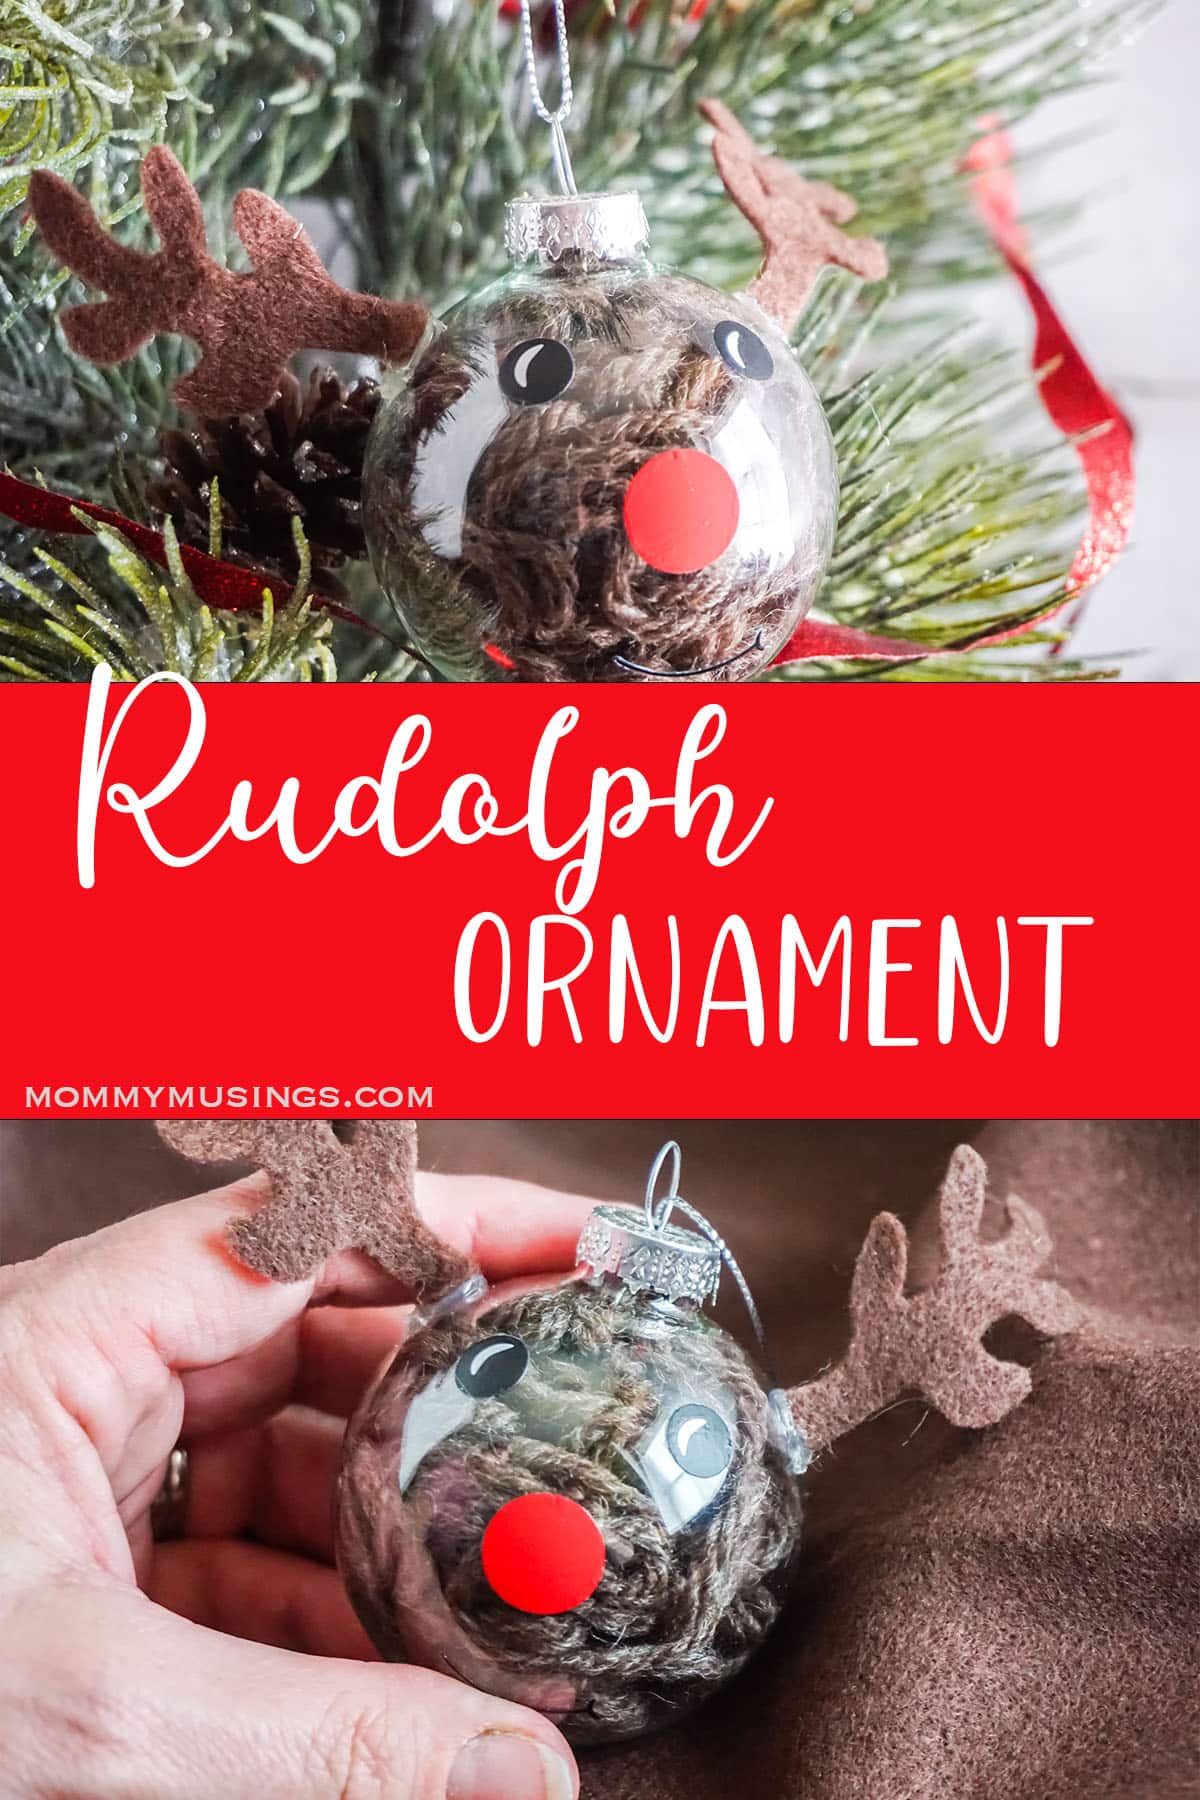
Rudolph Reindeer Ornament Cricut Craft
This reindeer Cricut ornament can be made in less than 5 minutes with your Cricut. The best part about this craft is that it’s easy to make, you can customize the design any way you want, and it doesn’t require any fancy tools or materials.

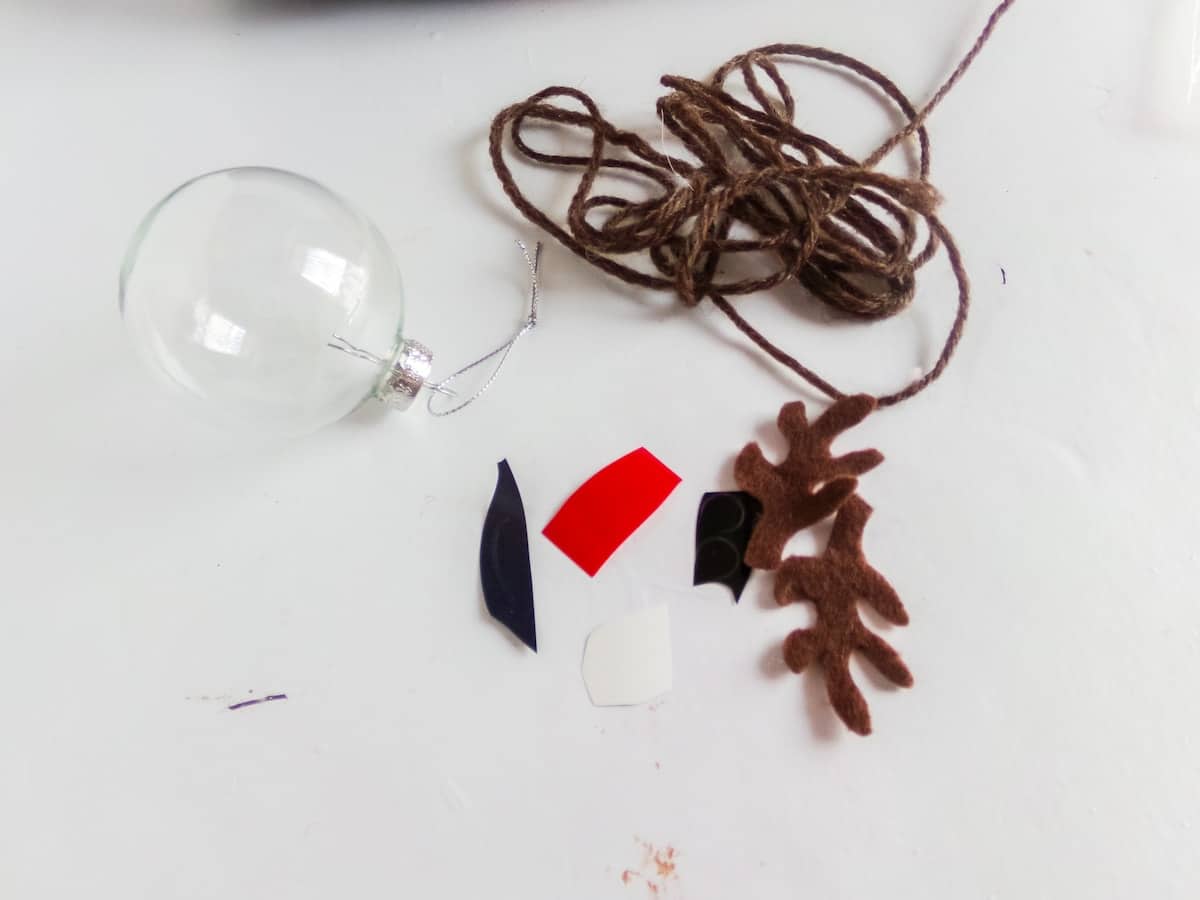
What You Need to Make a Rudolph Reindeer Ornament Cricut Craft
- Fillable Glass Ornament
- Brown Yarn
- Small Amount of Brown Craft Felt
- Black, Red and White Heat Transfer Vinyl
- Cricut Explore Air 2, Cricut Joy or Cricut Maker
- Light Grip Mat
- Cricut EasyPress Mini
- Scissors
How to Make a Rudolph Reindeer Ornament Cricut Craft
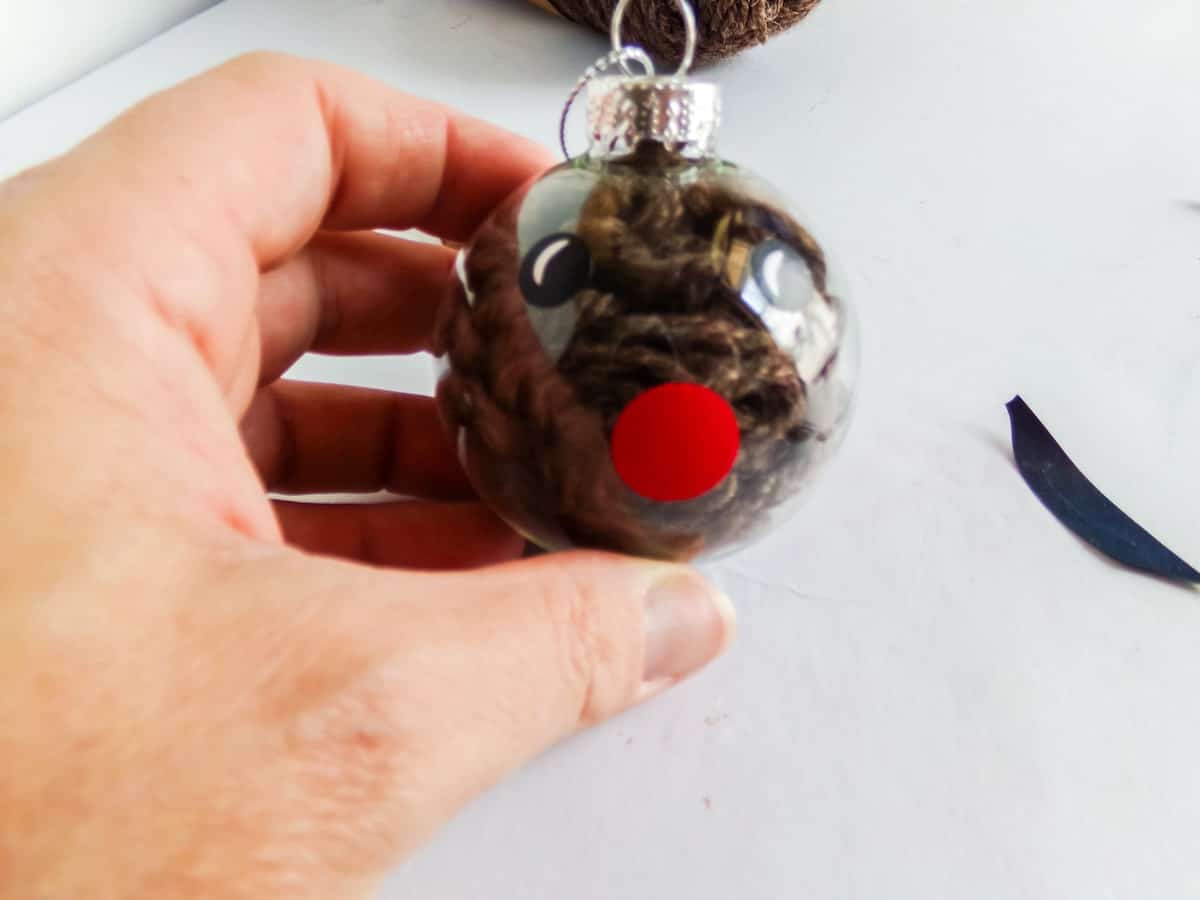
- Download the cut files and upload them to Cricut Design Space. Cut two antler shapes from the brown craft felt and the smile and eyes from black heat transfer vinyl. Cut the two eye glints from the white heat transfer vinyl and the nose from the red heat transfer vinyl.
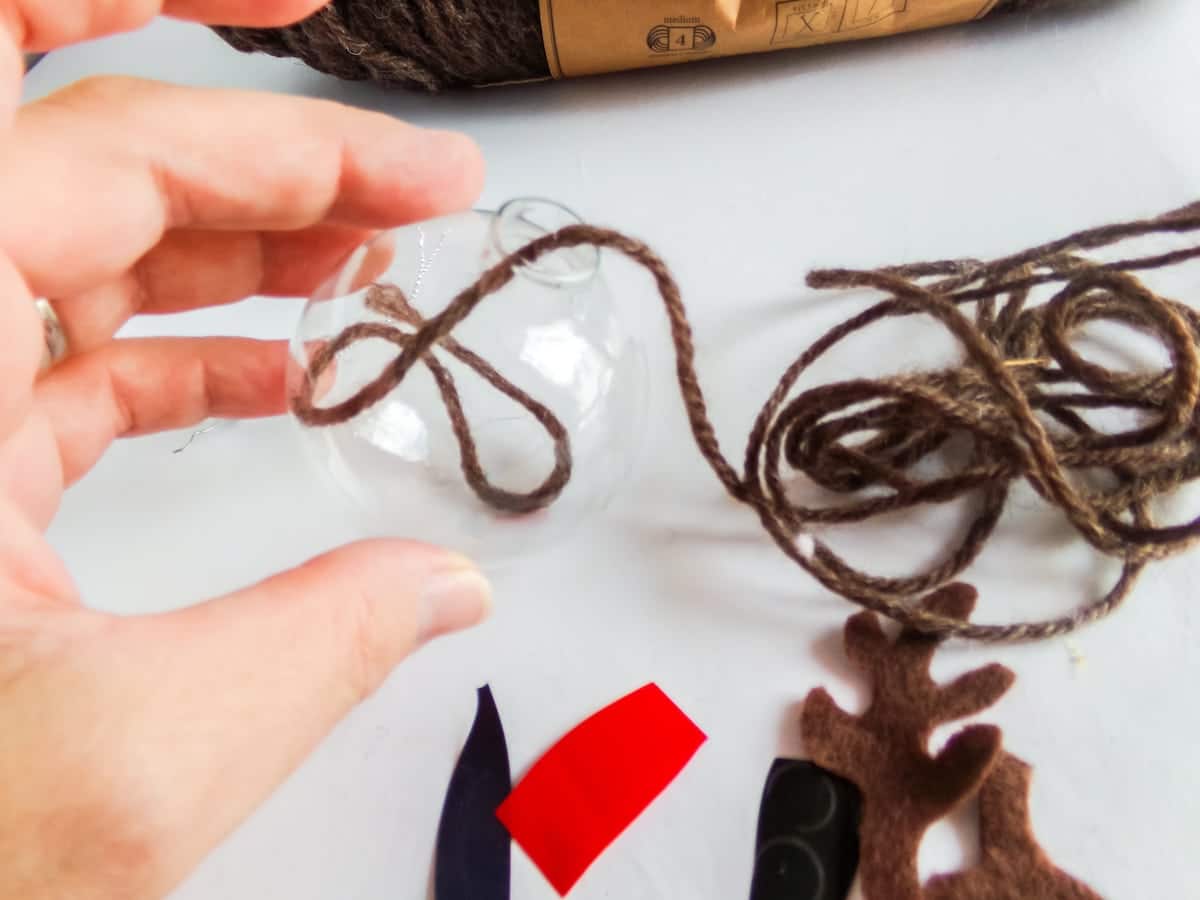
- While that’s cutting, fill the ornament with the brown yarn.

- Weed your design elements and, using the EasyPress Mini, press the nose eyes and eye glints onto the ornament.
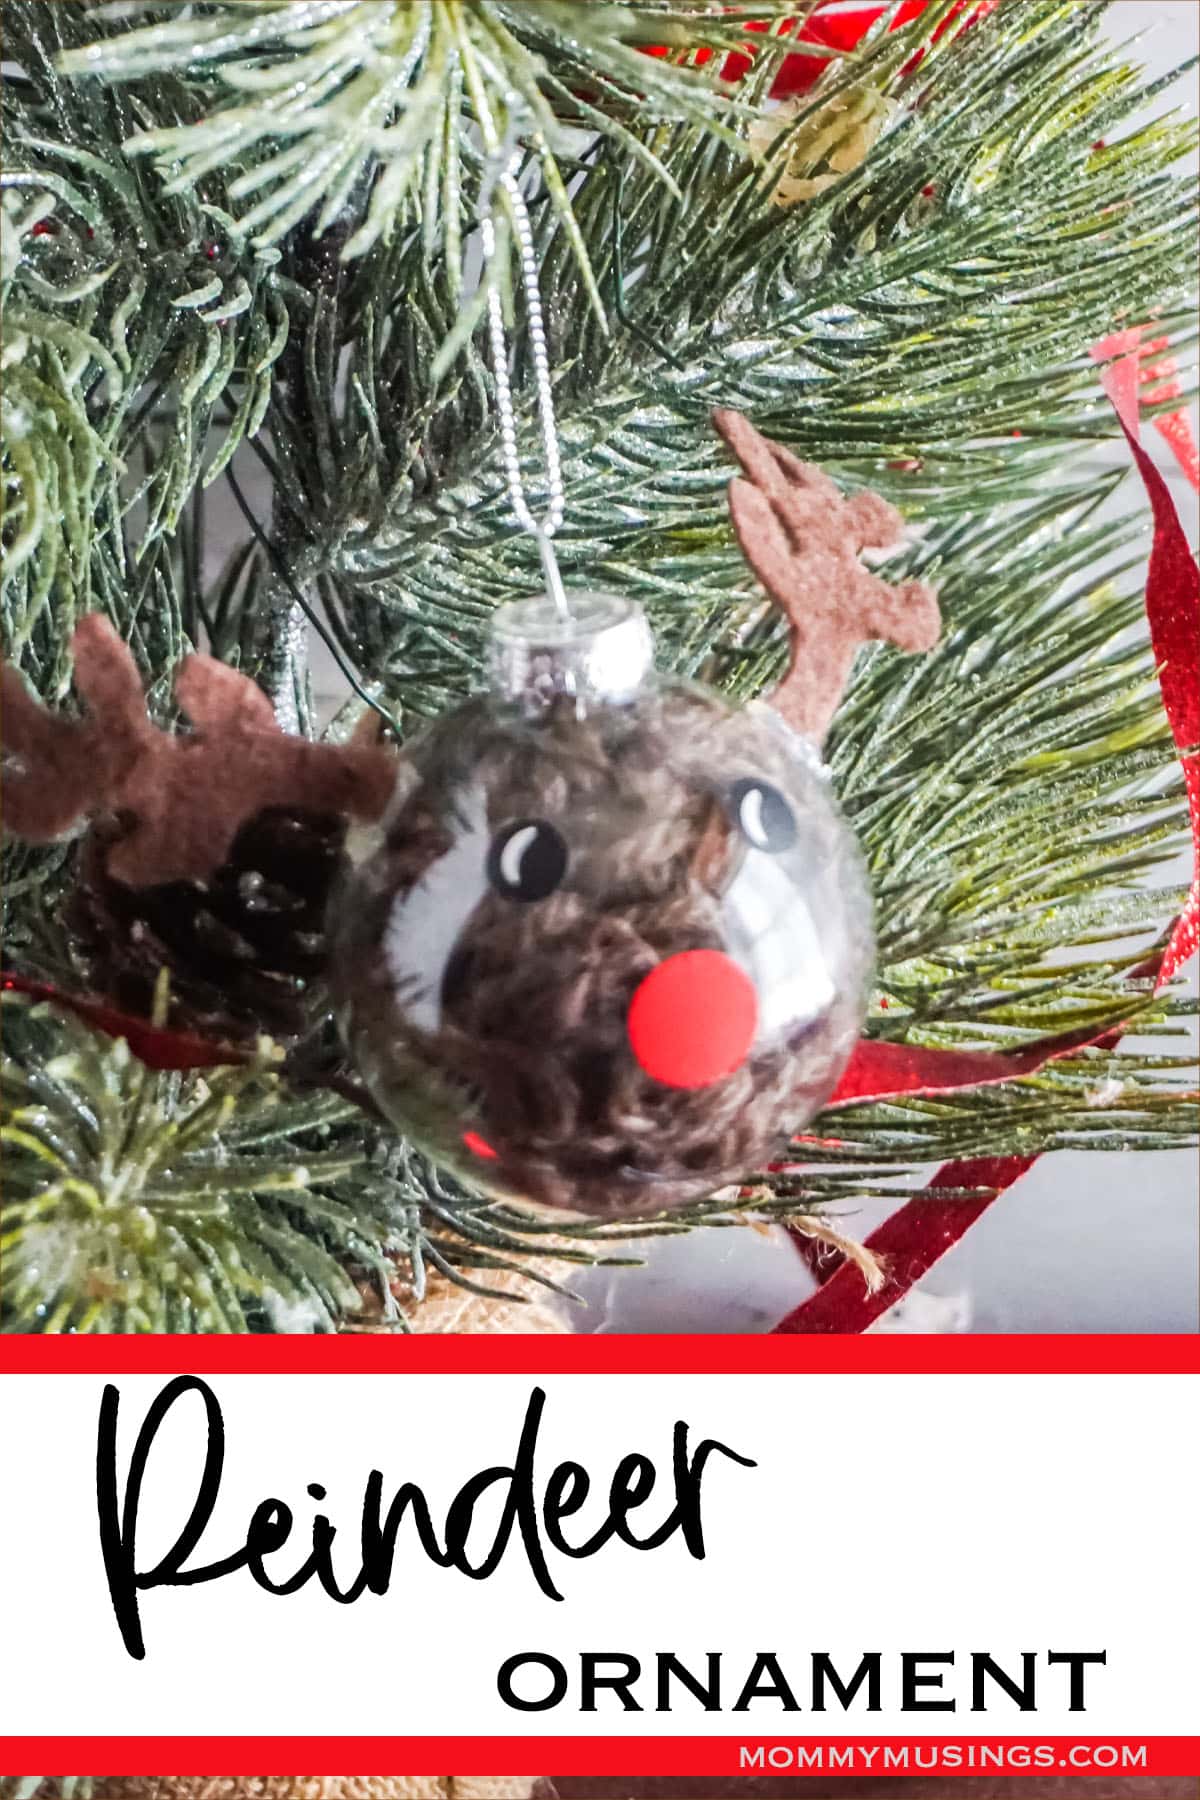
- Hot glue the felt antlers to the top of the ornament, on either side.
- Hang from the tree!

More Christmas Crafts You’ll Love
Rudolph Reindeer Ornament Cricut Craft

Simple, fast and fun, this DIY Christmas ornament is a great way to make your own holiday craft for the tree. For a fun holiday craft, this Rudolph Reindeer ornament Cricut craft is a great and easy handmade ornament!
Materials
- Clear Glass Fillable Ornament
- Brown Yarn
- Small Amount of Brown Craft Felt
- Black, Red and White Heat Transfer Vinyl
- Reindeer Face Cut File
Tools
- Cricut Explore Air 2, Cricut Joy or Cricut Maker
- Light Grip Mat
- Cricut EasyPress Mini
- Scissors
Instructions
- Set the ornament on the paper cup and remove the metal top of the ornament, setting it aside.
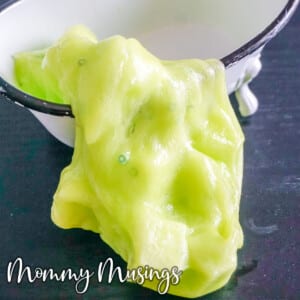
- Pour about 1 tbsp of Mod Podge inside the ornament with the use of the funnel.
- Add about 1 tbsp of the white glitter to the ornament then swirl the ornament around, turning it, shifting it and even shaking (with your thumb over the opening) in order to cover the entire interior of the ornament with the glitter and Mod Podge. Allow the interior to dry completely.
- Download the cut file and upload the design to Design Space. You should not need to resize it, but I feel it is always best to measure and check, because your ornament could be a different size than the one I designed the file for. Follow the prompts to cut the following from the vinyl: 2 eyes and smile from black vinyl, 1 nose from orange vinyl.
- Remove the unnecessary vinyl from around the designs and place the design on the surface of the ornament as desired.
- Use the EasyPress to apply the vinyl to the ornament surface and hang the finished Christmas ornament from your tree!
Recommended Products
As an Amazon Associate and member of other affiliate programs, I earn from qualifying purchases.